##How to Make Ice Chalk for Summer Art: A Step-by-Step Guide
As summer rolls in, I find myself yearning for creative ways to embrace the warmth and vibrancy of the season. One of my favorite activities to engage in with kids (or even solo) is making Ice Chalk. Not only is this fun DIY project a great way to cool down on a hot day, but it also opens up endless possibilities for outdoor art. Whether we're decorating the driveway or creating masterpieces in the backyard, Ice Chalk brings color and joy to my summer days.
What is Ice Chalk?
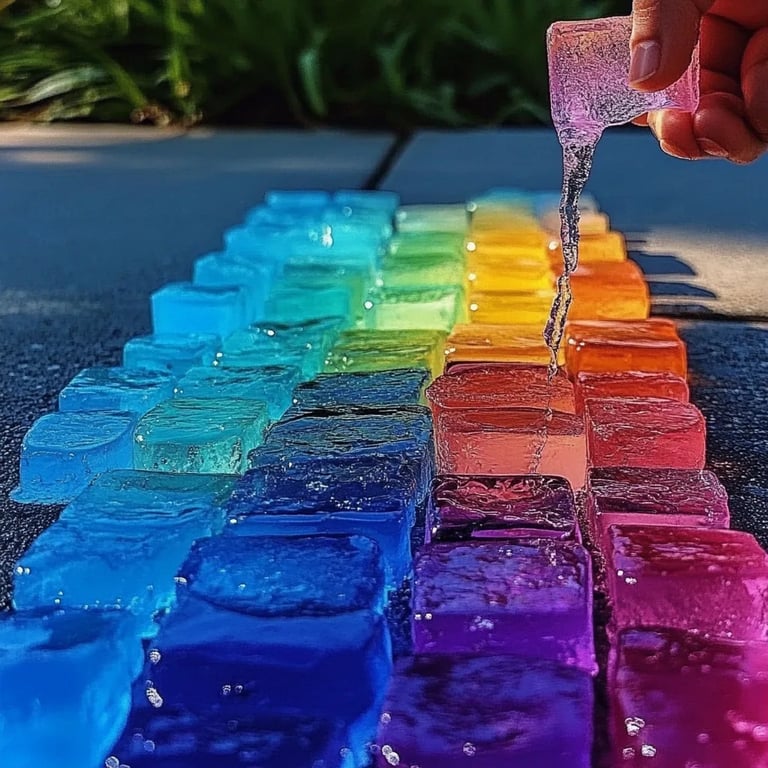
Ice chalk is simply colored chalk made by freezing a mixture of cornstarch, water, and food coloring. The result is a somewhat solid, colorful block that can be used like traditional chalk but melts and drips with the heat of the sun, creating captivating patterns and textures. It's fantastic for drawing on sidewalks, driveways, or any outdoor surfaces, and the melting process adds an element of transformation to your art.
The popularity of ice chalk has surged over recent years, and it’s not hard to see why. Not only does it offer a refreshing twist on conventional sidewalk chalk, but it also incorporates science into art-making, engaging young minds with both creativity and curious minds. We use it for everything from elaborate sidewalk murals to simple doodles, and it sparks imagination like no other!
When and Where to Use Ice Chalk
Ice chalk is perfect for letting loose creatively during summer gatherings, birthday parties, or family playdates. Personally, I love organizing outdoor art days where everyone can come together to create! Just make sure to use them on a hot day; if the temperature is too cool, the ice won’t melt too quickly, and you won’t achieve that beautiful blended effect that makes ice chalk so unique.
Let’s Get Started!
Ready to make your own Ice Chalk? Grab the following simple ingredients and let’s dive into the step-by-step process.
Materials Needed:
- Cornstarch – 1 cup
- Water – 1 cup
- Food Coloring – assorted colors
- Ice Cube Trays – make sure they’re large enough to facilitate easy handling
- Mixing Bowls – for your chalk mixtures
- Stirring Utensils – for mixing the ingredients
- Storage Bag or Plastic Wrap – to cover your workstation
Step-by-Step Guide
Step 1: Prepare Your Workstation
Before you begin mixing your ingredients, cover your workspace with a plastic tablecloth or paper towels to catch any spills. This will save you from any messy cleanup later!
Step 2: Create the Mixture
In a mixing bowl, combine 1 cup of cornstarch with 1 cup of water. Stir until the mixture is smooth and free of lumps. It’s important to mix well because any undissolved cornstarch can lead to uneven colors in the final product.
*Pro Tip:* If you notice lumps or clumping after mixing, a quick round in a blender can smooth things out perfectly.
Step 3: Add Colors
Once your mixture is smooth, it's time to add food coloring. I typically use about 5-10 drops per batch for a vibrant color, but feel free to experiment! For pastel colors, stick to a few drops.
Step 4: Pour into Ice Cube Trays
Carefully pour the mixture into the ice cube trays. If you're using multiple colors, consider using a separate bowl for each color and then pouring them into the tray to create a marbled effect. Just be mindful not to overfill, as they will expand a bit when frozen.
*What Could Go Wrong?* If you accidentally spill or overflow the molds, don't worry; just wipe it up and use a towel to clean the excess from your workstation.
Step 5: Freeze!
Place the trays in the freezer for at least 4-6 hours, or until they are solid. Overnight works best for a thorough freeze, especially if you’ve added a lot of food coloring.
Step 6: Getting Your Chalk Out
Once the ice chalk is frozen, you can pop it out of the ice cube trays. If you’re having difficulty, run warm water over the bottom of the tray for a few seconds to help loosen them up.
*Safety Warning:* Be careful not to touch your skin with the edges of the frozen molds, as they can be sharp.
Step 7: Create Your Art!
Now, the moment we’ve all been waiting for! Head outside and start creating. The melted chalk not only creates stunning visuals but also allows for some wonderful mixing of colors.
Tips for Great Art & Fixes for Your Ice Chalk
- Combine Colors: Don’t be afraid to combine colors while you’re drawing! This leads to beautiful blending effects.
- Experiment with Surfaces: Different outdoor surfaces provide a textured look. Sidewalks, asphalt, and paved areas are optimal.
- Use Water: If you want a dripping effect, use a spray bottle filled with water and lightly mist your drawing; this will help the chalk drip beautifully.
- Clean Up: When you're done, simply hose off your drawing—all of it washes away with water!
Alternative Methods & Ingredient Substitutions
If you find yourself without cornstarch, you can substitute flour or even a mixture of both. Flour may lead to a somewhat grainier texture but will still yield satisfying results.
Instead of food dye, you can use natural dyes like beet juice, turmeric, or spinach juice to create beautiful, earthy colors. This method not only is beneficial for kids who may be prone to colorful messes but also adds an organic twist to your creations!
Personal Anecdote
I remember the first time I attempted to make Ice Chalk with my children. The kitchen was a whirlwind of splashes and giggles, and by the end, they were more colorful than the chalk itself! But when they finally took their ice chalk outside, I was in awe of the vivid swirls and patterns they created together. Each piece turned into a family masterpiece—a moment frozen in time that we cherished together.
Creative Variations
Here are a few variations you might want to try out:
- Glow-in-the-Dark Ice Chalk: Add glow paint to your mixture for a magical evening effect!
- Chunky Ice Chalk: Use larger ice cube molds to create bigger pieces of chalk for more dramatic strokes.
- Scented Ice Chalk: Add a few drops of essential oils for a fun sensory experience as you create.
Final Thoughts
Ice Chalk is more than just summer fun; it’s an engaging way to express creativity, bond with family, and embrace the beauty of impermanence as your art melts away. As we step outdoors and let our imaginations run wild, I hope this guide helps you create your own memories filled with laughter, color, and a touch of magic. So gather your materials, step outside, and let the art begin!
Happy crafting! 🌈