How to Make Ice Chalk Cubes: A Comprehensive Guide for Crafters
Welcome, fellow crafters! Today, I’m thrilled to share with you my detailed process for creating one of the most vibrant and imaginative outdoor crafts: Ice Chalk Cubes. If you’re looking for a unique way to add color to your outdoor playtime or simply want to engage your kids in a creative and sensory-filled experience, then you’re in the right place.
What Are Ice Chalk Cubes and Why Are They So Popular?
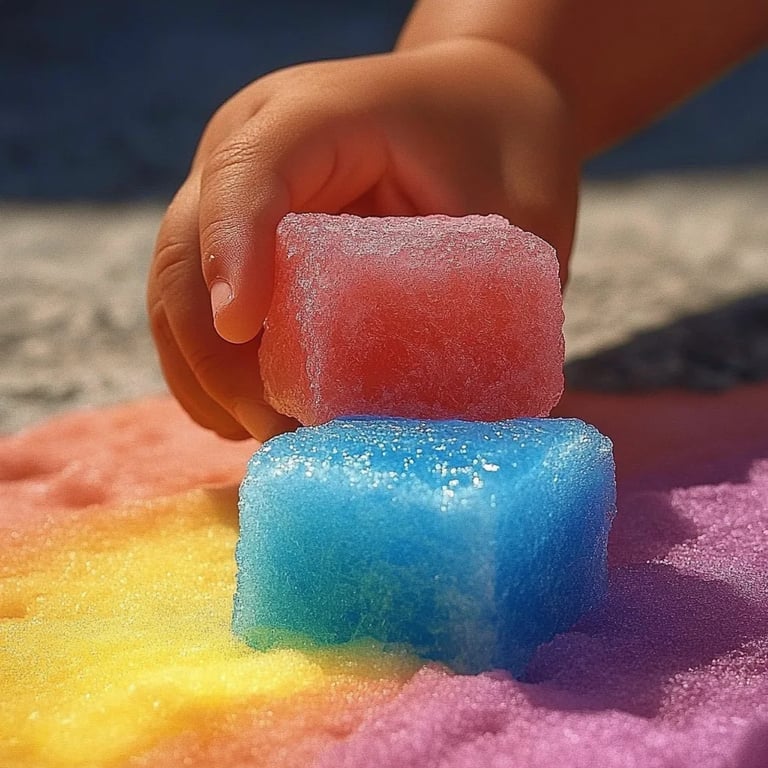
Ice Chalk Cubes are precisely what they sound like—colorful chalk infused into ice cubes. When the weather warms up, these cubes can serve as a refreshing way to add color to your pavement, driveway, or sidewalk. Kids (and adults!) can use them creatively for drawing, painting, and even for imaginative play scenarios. The melting ice creates a vibrant wash of colors that’s not just beautiful, but a delightful sensory experience. These cubes are perfect for summer activities, birthday party games, or just a fun way to pass the time on a sunny afternoon.
When to Use Ice Chalk Cubes?
Ice Chalk Cubes come into play during warmer months, particularly during spring and summer when outdoor activities surge. They are perfect for:
- Outdoor creative play for children
- Artistic summer gatherings with friends and family
- Birthday parties as an interactive game
- Educational moments to teach about color mixing and melting
Ready to dive into crafting? Let’s roll up our sleeves!
—
Materials You’ll Need
- Ice Cube Tray or Silicone Molds: Make sure the molds are well-sized for handling by little hands.
- Water: The base of your icy creations!
- Food Coloring: Use liquid food coloring or natural alternatives like fruit juices.
- Mixing Bowls: For mixing your colors and water.
- Spoon or Stirring Stick: To mix the ingredients thoroughly.
- Protective Gloves: If you're sensitive to dye.
- Old Towels or Drop Cloths: To protect surfaces during the crafting process.
Step 1: Choosing and Preparing Your Workspace
This step is often overlooked but crucial. Make sure you have a designated area, preferably outside, covered with old towels or a drop cloth to protect your surfaces from any splashes or mishaps. Ensure the area has adequate sunlight to help the cubes melt and release their vibrant colors.
Tip: Work in an area where spills won’t cause any issues! Consider using an outdoor table or patio.
Step 2: Mixing Your Colors
In a mixing bowl, combine a cup of water with 10-12 drops of food coloring. You can use multiple bowls to create different colors. Why mix more water than dye? If you want intense colors, add a few more drops until you’re satisfied with the shade.
What Could Go Wrong: If the color is too light, you can always add more dye. Conversely, if you feel it's too dark, simply dilute with additional water.
Step 3: Filling the Molds
Carefully pour your colorful mixture into the ice cube tray or silicone molds. Fill them just to the top but be cautious not to overflow—each cube should have some space for expansion as it freezes.
Tip: For creative variations, layer colors by filling one color and allowing it to freeze for a bit before adding another. This creates stunning striped patterns!
Step 4: Freezing the Cubes
Place your filled molds flat in the freezer. I usually leave them for at least 4-6 hours or overnight to ensure they are fully frozen. The longer you wait, the more solid they’ll become, ensuring a longer-lasting art experience!
What Could Go Wrong: If you’re in a rush and don’t freeze them long enough, they might break easily once removed. Patience pays off here!
Step 5: Removing the Cubes
Once frozen, it’s time to unveil your colorful creations! Simply twist the silicone mold or run warm water over the back of an ice cube tray to release them.
Tip: If you encounter difficulty removing the cubes, gently ease them out with a butter knife or your fingers.
Step 6: Playing with Ice Chalk Cubes
Take your cubes outside and let creativity flow! Have your little ones use them on the driveway, sidewalk, or even on large sheets of paper. As they press the cubes against the surface, watch as the colors mingle and spread, creating a beautiful wash of color.
Safety Warning: Ensure that your kids are supervised while playing. While food coloring is generally safe, it can stain surfaces and clothing, so encourage them to be mindful!
—
Creative Variations and Personal Touches
- Scented Cubes: Consider adding a few drops of essential oils to the water mixture for a fragrant twist. Lavender for calming times or citrus for energetic play!
- Natural Dyes: If you wish to go the natural route, use beet juice for red, spinach for green, and blueberry juice for blue. This can be a fun experiment in color mixing for kids!
- Mixing Design: Freeze some cubes completely colored and some clear. Use these together for a two-dimensional effect—clear cubes can create depth and variation.
- Ice Chalk Activities: Craft a game! Set out sheets of white paper and challenge kids to make the most beautiful artwork, or simply let them enjoy the movement of color and ice.
—
Conclusion: Embrace Your Creativity!
Making Ice Chalk Cubes is both an enjoyable craft and an avenue for creativity, perfect for fostering imagination in children and adults alike. The process, from mixing vibrant colors to watching them melt into beautiful art, can be a fulfilling learning experience.
Don’t be afraid to experiment and make this project your own. With each batch, you’ll discover new color combinations and designs.
So gather your materials, embrace the creative spirit, and have fun crafting your very own Ice Chalk Cubes! Let's bring some color and excitement to your next sunny day. Happy crafting, everyone!