How to Make Homemade Puffy Paint: A Crafting Guide from My Heart to Yours
Hello, fellow crafters! Today, I’m thrilled to share with you one of my all-time favorite DIY projects: homemade puffy paint! As a passionate crafter, I’ve spent countless hours experimenting with different textures and mediums, and this fluffy and colorful paint has a special place in my heart. Not only is it incredibly fun to create, but it opens up a world of artistic possibilities, whether you’re making vibrant designs on paper, decorating T-shirts, or crafting unique gifts.
Homemade puffy paint is a versatile material that's perfect for kids and adults alike. It’s great for school projects, birthday parties, or simply indulging in a crafty afternoon. Plus, it’s easy to whip up with just a few simple ingredients. In this article, I’ll walk you through every step of the process, sharing tips, tricks, and personal anecdotes that will hopefully inspire you to dive right in!
What is Puffy Paint and Why is it Popular?
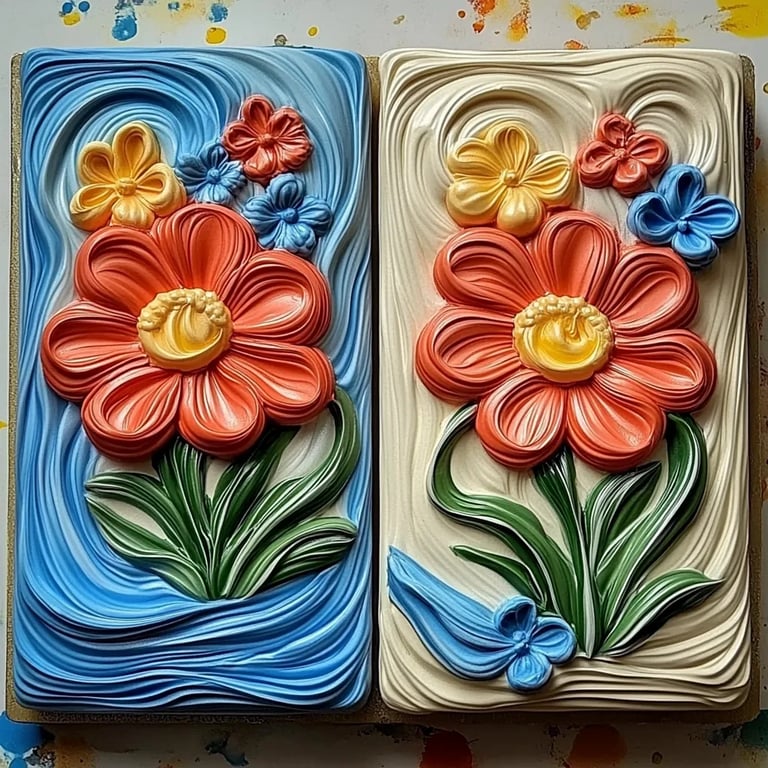
Puffy paint is a textured paint that expands when you apply it to a surface and dry it. When you use it, it creates a three-dimensional effect that resembles fluffy clouds or, as I like to say, cotton candy! Its unique texture adds depth and dimension to any project, making it a staple in kids’ crafting. Whether you’re decorating canvas bags, personalizing greeting cards, or creating your own custom home decor, puffy paint makes everything pop with its whimsical appeal.
One of the primary reasons for its popularity is that it’s a fantastic gateway into the world of art for children. It encourages creativity, fine motor skills, and even a little bit of science when they see how the paint expands. As someone who grew up with a love for DIY, I can tell you that there’s nothing quite like the joy of creating something from scratch and watching it come alive!
Step-by-Step Tutorial: Making Your Own Homemade Puffy Paint
Materials Needed
Before we get started, let’s gather the materials you’ll need. Most of them are likely already in your home:
- White glue (School glue or craft glue) – 1 cup
- Shaving cream (Foam type) – 1 cup
- Food coloring or liquid watercolors – as desired
- Bowls for mixing – 3 or 4
- Spoons for stirring
- Plastic squeeze bottles or ziplock bags (optional) – for application
- Paper or canvas for your art project
Step 1: Combining the Glue and Shaving Cream
Why This Step Matters: Mixing white glue and shaving cream creates the fluffy texture that gives puffy paint its signature look. The shaving cream is what allows the paint to rise and puff up when it dries.
Instructions: In a large bowl, combine 1 cup of white glue with 1 cup of shaving cream. Use a spoon to gently mix the two ingredients together. Be careful not to overmix, as you want to maintain that airy texture from the shaving cream.
What Could Go Wrong: If you accidentally mix too vigorously, the fluffy texture may collapse. If this happens, don’t worry! You can always add more shaving cream to restore the fluffiness.
Step 2: Adding Color
Why This Step Matters: This is where your puffy paint gets its personality! By adding food coloring or liquid watercolors, you can create custom shades to match your artistic vision.
Instructions: Divide your glue and shaving cream mixture into smaller bowls if you want to create multiple colors. Slowly add a few drops of food coloring or liquid watercolors to each bowl. Start with one drop and mix until the color is fully incorporated. You can always add more for a bolder shade!
Tip: Experiment with different colors to come up with unique shades. You can also mix colors together for even more variety!
Step 3: Transferring to Squeeze Bottles or Ziplock Bags
Why This Step Matters: Using squeeze bottles or ziplock bags allows for more precise application, giving you control over your designs.
Instructions: If using squeeze bottles, carefully spoon the paint mixture into each bottle. If using ziplock bags, carefully fill each bag and seal it tightly.
Tip: If you use ziplock bags, snip off a small corner of the bag to create a makeshift piping bag. This is especially useful for detailed work!
Step 4: Letting the Creativity Flow
Why This Step Matters: Now comes the fun part—creating! Puffy paint can be used on a variety of surfaces, including paper, cardboard, or fabric.
Instructions: Squeeze the puffy paint from your bottles or bags onto your chosen surface. You can create fluffy designs, write messages, or even use stencils for a more structured look.
Anecdote: I remember a time when my child and I spent an entire rainy afternoon creating puffy paint art. We made cards for family members and even decorated a couple of old T-shirts. It was amazing to see how something so simple could bring so much joy and creativity into our day!
Step 5: Drying Your Artwork
Why This Step Matters: The drying process allows the puffy paint to do its magic and expand, creating that three-dimensional texture.
Instructions: After you finish applying your designs, place your artwork in a safe, flat area. Allow it to dry for at least 24 hours. It’s essential not to touch or move the artwork during this time to preserve its shape.
What Could Go Wrong: Depending on the humidity and temperature of your environment, drying times may vary. Be patient—touching your artwork too soon can ruin the puffiness!
Tips for Success
- Safety First! Always use non-toxic materials, especially if children are crafting alongside you.
- Experiment! Don’t be afraid to try out textures or embellishments. Adding glitter or sequins to the wet paint can enhance your project even further.
- Store Leftovers: If you have excess puffy paint, store it in an airtight container for later use. However, I recommend using it fresh for the best results.
- Alternative Methods: You can use cornstarch instead of shaving cream for a less messy version of puffy paint. Simply mix 1 part cornstarch with 1 part water and food coloring to achieve a similar effect, although it will not be as fluffy.
Creative Variations
- Seasonal Crafts: Adjust the colors you use to correspond with the seasons or holidays. Use reds and greens for Christmas, pastels for Easter, or dark hues for Halloween!
- Fabric Application: If you're feeling adventurous, try using puffy paint on fabric. Just remember to heat-set the paint once it’s dry by placing a towel or cloth over it and pressing with an iron.
- Texture Mixing: Combine puffy paint with other textures, like sand or salt, to create unique artistic effects on your canvases.
Conclusion
Making homemade puffy paint is not just a delightful and creative activity; it’s a bonding experience that allows you to explore your artistic side, educate others, and even give back through thoughtful gifts. As I reflect on my crafting journey, I cherish the moments spent creating puffy paint art with loved ones. I can’t wait to see the stunning masterpieces you create!
So, why wait? Gather your materials, unleash your creativity, and dive into the wonderful world of puffy paint. Trust me; the only limit is your imagination! Happy crafting!