How to Make Homemade Kinetic Sand: A Step-by-Step Guide
Introduction
Hello, fellow crafters! Today, I’m thrilled to share with you my personal recipe for making homemade kinetic sand—a fun and sensory-rich material that has captured the hearts of children and adults alike. If you've ever marveled at how this magical sand flows through your fingers, moldable yet always returning to its original form, you know why it’s such a hit. Kinetic sand is perfect for calming play, creative learning activities, or just as a stress-relief tool for adults.
Whether you’re looking to spark your child’s creativity, engage in some DIY crafting, or simply want to experience the zen-like joy of molding sand at home, you’re in the right place. In this guide, I’ll take you through everything you need to know to create your very own batch of kinetic sand—right in your kitchen!
What You’ll Need
Let’s gather our materials! The good news is, you probably have most of these items lying around.
Ingredients:
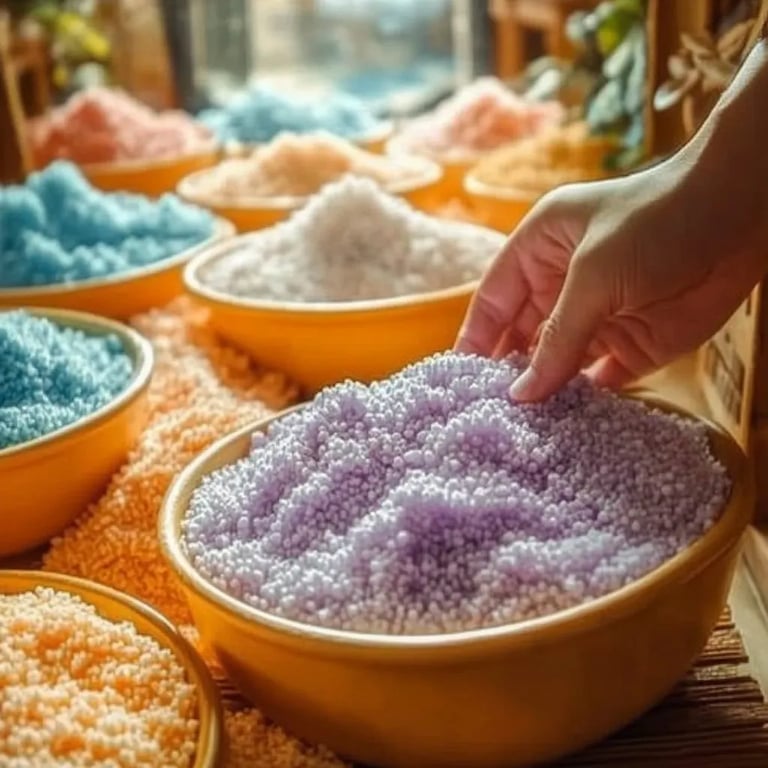
- Sand: You can use any type of clean sand (play sand works best). Aim for around 5 cups to start.
- Cornstarch: You'll need around 2.5 cups—this is a key ingredient that gives kinetic sand its characteristic texture.
- Water: Just about 1 cup will do.
- Dish soap: 1 tablespoon helps to give the sand its magical binding properties.
- Food coloring (optional): For a splash of fun color, add a few drops of food coloring to personalize your kinetic sand.
- Container for mixing: A large bowl or bucket will work perfectly.
- Storage container: An airtight container to keep your kinetic sand fresh.
Now that we have our supplies, let’s dive into the process!
Step-by-Step Tutorial
Step 1: Mix Your Dry Ingredients
Why it matters: The right balance of sand and cornstarch is crucial. Too much sand, and your kinetic mix won’t hold together; too much cornstarch, and it’ll become more like a dough than sand.
- In your mixing container, whisk together the 5 cups of sand and 2.5 cups of cornstarch. I usually start with the sand and then gradually incorporate the cornstarch to ensure an even blend.
- What could go wrong? If your mixture isn't consistent, you may end up with clumps that affect the texture. The key is to ensure that the cornstarch fully combines with the sand, so keep whisking until it’s evenly mixed.
Step 2: Prepare the Wet Ingredients
Why it matters: The wet ingredients are responsible for binding the dry mixture, giving it that unique texture we love.
- In a separate bowl, mix 1 cup of water with 1 tablespoon of dish soap. If you want colored sand, this is the perfect time to add a few drops of food coloring to the mix.
- What could go wrong? Be careful not to add too much water at once! If you make the mixture too wet, it will lose its kinetic properties. It’s easier to add more liquid than to fix an overly wet product.
Step 3: Combine Wet and Dry Ingredients
Why it matters: This step is where the magic happens—the binding process is crucial to achieving the desired texture.
- Slowly add your wet ingredients to your dry mixture, stirring continuously. I recommend using a spoon at first before switching to your hands as the mixture thickens.
- What could go wrong? If it seems too dry or crumbly, add a little more water, one tablespoon at a time, until it reaches a moldable consistency. Remember, it should hold its shape when pressed but also flow freely when you let it go.
Step 4: Knead the Mixture
Why it matters: Just like dough, kneading allows the ingredients to blend perfectly, creating that satisfying kinetic texture.
- Once the mixture is well-combined, I typically switch to using my hands to knead the sand. This process should take about 5 minutes. You'll feel it become smoother and more cohesive.
- What could go wrong? If it feels too wet, you can add a little extra cornstarch. If it’s too dry, a few drops of water can help revitalize the mix.
Step 5: Store Your Kinetic Sand
Why it matters: Proper storage can vastly extend the life of your kinetic sand, keeping it fresh and ready to play.
- Once you’re satisfied with the texture, transfer your homemade kinetic sand into an airtight container. This prevents it from drying out and keeps the fun going for weeks!
- Tip: If you have multiple colors, you may want to separate them into different containers.
Creative Variations
Now that you’ve mastered the basics, why not get a little creative? Here are some variations you can try:
- Scented Sand: Add a few drops of essential oils if you want to turn your kinetic sand into a sensory experience. Lavender for relaxation or citrus for energy could be fun additions!
- Textured Sand: Mix in small beads or glitter for added fun and texture.
- Colorful Layers: Create vibrant layers by adding different-colored sand to your container in layers.
Personal Anecdotes and Tips
I have to tell you—my kids absolutely love playing with this homemade kinetic sand. We often set up a table with molds, trucks, and small figures from their toy collection, and the hours pass by so quickly! One day, we even created a mini construction site in our garage using this sand.
A couple of additional tips:
- Make sure to clean up any spills quickly—kinetic sand can be slightly messy when played with (but that's part of the fun!).
- When you’re done playing, encourage kids to clean up their stations. It’s a good practice that also helps keep your play area tidy.
Conclusion
And there you have it—the complete guide to making homemade kinetic sand! I hope you feel empowered and excited to create your own batch at home. This tactile tool is not just brilliant for playtime; it’s also a fantastic way to unwind and express creativity. Remember, crafting is all about experimenting and having fun, so don’t hesitate to tweak the recipe to make it your own.
So grab that sand, channel your inner child, and let your creativity flow! Happy crafting!