How to Make Glue Suncatcher Magic – Liquid Rainbows for Your Windows!
Hello, fellow crafters! Today, I'm thrilled to share one of my absolute favorite DIY projects: glue suncatchers. Also known as liquid rainbows, these mesmerizing creations not only brighten up your windows but also gently catch the light and dance with colors that can lift our spirits. As someone who has dabbled in various crafting techniques over the years, I can honestly say that making glue suncatchers is one of the simplest and most gratifying projects I’ve ever encountered. Whether you're a seasoned crafter or a newbie eager to explore your artistic side, this project is perfect for all ages and skill levels.
Why Glue Suncatchers?
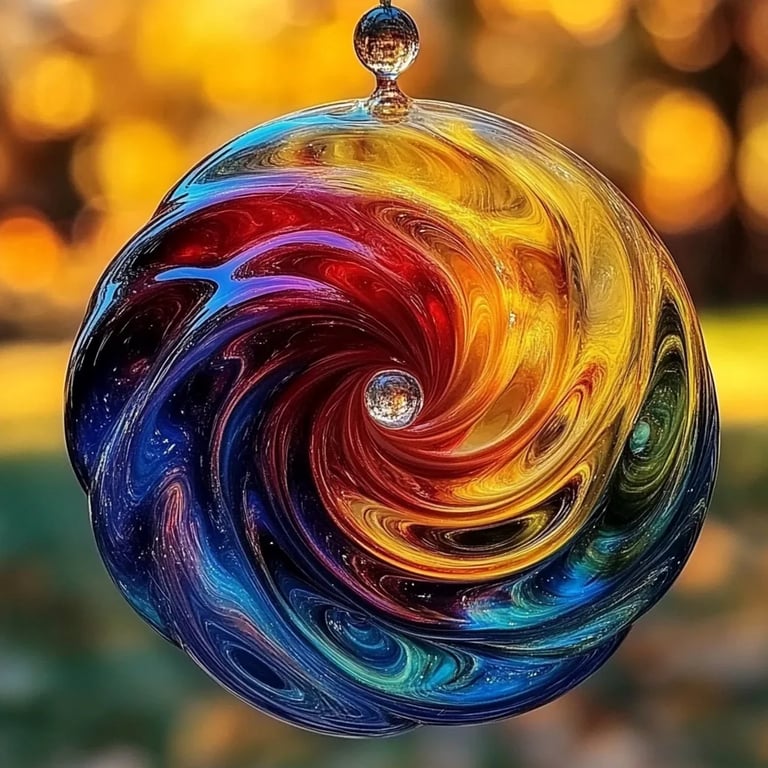
You may be asking yourself, what exactly are glue suncatchers? In essence, they are translucent art pieces made using colored glue that can be displayed in windows to create vibrant splashes of color. I've found that they are especially popular during spring and summer when sunlight pours through our windows, illuminating the beautiful colors and patterns you design. They're a fantastic way to engage children in a creative activity while bringing a bit of cheer to gloomy days, or you can make them to decorate your home for every season.
What You Will Need
Before diving into the tutorial, let's gather everything you’ll need. The beauty of this project lies in its simplicity—most materials can be found in your local craft store or even your kitchen!
Materials:
- Clear School Glue (1 bottle)
- Food Coloring (various colors)
- Shallow Plastic Dish or Baking Tray
- Wax Paper or Parchment Paper
- Paintbrush (optional)
- Scissors
- Black Marker (optional)
- String or Twine for hanging (optional)
Optional:
- Cookie Cutters (for shaping)
- Small beaded or glitter embellishments (for added effects)
Step-by-Step Tutorial
Step 1: Preparing Your Work Area
Creating glue suncatchers can get a little messy, so I recommend covering your workspace with newspaper or an old tablecloth. It’s always wise to protect your surfaces!
Step 2: Mixing the Colors
Start by pouring your clear school glue into a shallow plastic dish. I usually use about a cup of glue, but you can adjust this based on how many suncatchers you want to make. This part is particularly exciting! Add a few drops of food coloring in various sections of the glue in the dish. You can mix colors or keep them separate to create beautiful layers. Use a paintbrush to swirl the colors together if you like.
Tip: Experiment with color combinations, but remember that mixing too many colors can create a muddy brown instead of a vibrant outcome! If you happen to add too much, just keep adding clear glue until you lighten it up.
Step 3: Pouring the Mixture
Once you're happy with your colors, it’s time to pour the mixture onto wax or parchment paper. Use a spoon or the paintbrush to create whatever design you desire—freeform shapes, flowers, or even animals using your cookie cutters to guide you! Keep in mind that these will however be quite decorative, and don’t need to be perfected. This is a creative process!
Warning: Be careful not to make the glue too thick; a 1/4 inch thickness is usually optimal. If your suncatchers are too thick, they may not dry properly or could bend and warp over time.
Step 4: Letting It Dry
Patience is a virtue in crafting! Allow your glue suncatchers to dry completely. This might take anywhere from 24 to 48 hours depending on humidity and thickness. A good way to test is to gently touch the edge; if it feels tacky, it’s not ready yet!
What Could Go Wrong: If you find that your suncatcher hasn’t dried within a reasonable time frame, ensure you’ve set it up in a well-ventilated area with low humidity. If there are still issues, it might help to move them to a warmer spot.
Step 5: Removing the Suncatchers
Once everything has dried, it’s time for the big reveal! Carefully peel the suncatchers off the wax paper. If they are stubborn, you can use scissors to gently lift the edges. Be cautious not to tear the shape!
Step 6: Adding the Finishing Touches
If you want your suncatchers to hang, use a piece of string or twine to tie it around the top or use a little bit of glue to attach it. You can also add embellishments like glitter or beads at this point for a fun flair.
Displaying Your Masterpieces
Now comes the most rewarding part! Hang your glue suncatchers in windows where they will catch the sunlight beautifully. You can use suction cups, tape, or string depending on your preference.
Personal Anecdote: I still remember when I first hung my glue suncatchers in my kitchen window. As the sunlight streamed through, I felt like I had sprinkled little bits of happiness throughout my home. The colors were vibrant and joyful, and every visitor couldn’t help but compliment my work!
Creative Variations and Alternatives
One fact I love about glue suncatchers is their versatility!
- Layering Colors: Instead of just mixing colors, you can layer different colors of glue to create depth.
- Seasonal Themes: Adjust your colors per season—warm fall hues for autumn or cool blues for winter!
- Using Other Materials: If you don’t have food coloring, you can use watercolor paints or even natural colorants like beet juice for reds and greens or turmeric for yellows.
- Adhesive Tape Shapes: Create geometric designs with washi tape for cleaner edges!
Safety Precautions
While crafting glue suncatchers is generally safe, it’s important to make sure small children are supervised during the process to avoid any ingestion of materials. Always wash your hands after working with food coloring, as it can stain.
Final Thoughts
Creating glue suncatchers is more than just a project; it’s an opportunity to express creativity, unwind, and spread joy through art. Whether it's a rainy day, a craft session with kids, or a solo afternoon adventure, I hope this guide found you inspired to create some liquid rainbows of your own! Remember, there’s no right or wrong in crafting; the most important thing is to have fun exploring your creativity. Happy crafting! ✨