How to Make Glowing Jar Craft: A Step-by-Step Guide for Illuminating Your Creativity
As an avid crafter, I'm always on the lookout for unique projects that not only brighten up my home but also bring joy to those I share them with. One of my favorite creations is the mesmerizing Glowing Jar Craft. These jars emit a soft, enchanting glow that can elevate any setting, making them perfect for parties, home décor, or a calming night light. They’re wonderfully versatile; you can personalize them with different colors and sizes, and use them for various occasions, from festive gatherings to intimate evenings.
In this detailed guide, I’ll share my process for creating these charming glowing jars, ensuring you have all the tips and tricks to create your own glowing masterpiece. Whether you’re a crafting pro or a complete beginner, I’ll be right there with you every step of the way.
Why Are Glowing Jars Popular?
Glowing jars have surged in popularity due to their magical appearance and endless customization options. They add a whimsical touch to home décor and can create a cozy atmosphere for gatherings or quiet times at home. Kids love them for sleepovers, and they make for impressive gifts. Plus, who doesn’t enjoy a little glow in the dark? The best part is they’re incredibly easy and affordable to make!
What You’ll Need
Before we dive into the crafting process, let’s gather our materials. Here’s what you’ll need to get started:
Supplies:
- Glass Jar: A mason jar, pickle jar, or any clean, clear glass jar.
- Glow-in-the-dark Paint: Look for non-toxic acrylic paint, which will charge under light and glow in the dark.
- Paintbrush: Any size will work, but a flat brush is preferable for even coverage.
- Water (optional): To thin the paint if necessary.
- Glitter: Optional, for extra sparkle.
- String Lights: For a twinkling effect inside the jar (optional).
- Sealer: (optional) To protect the painted surface.
Safety Tips:
- If you’re working with glass, be careful as the edges may be sharp.
- Use paint in a well-ventilated area, and consider wearing gloves to protect your skin.
Step-by-Step Tutorial
Step 1: Prepare Your Jar
Why it matters: Clean and dry jars ensure the paint adheres properly.
Start by thoroughly washing your glass jar in warm soapy water to remove any residues or grime. Rinse it well and let it dry completely. This step is crucial as any leftover contaminants can affect the paint application.
Step 2: Painting the Jar
Why it matters: The amount of glow you achieve is dependent on how the paint is applied.
Shake your glow-in-the-dark paint well before using it. With your paintbrush, begin applying the paint to the inside of your jar. For a more intense glow, you might want to add multiple coats, allowing each layer to dry to the touch before applying the next. If the paint seems too thick, you can thin it with a drop of water.
Tip: If you’re looking for a watercolor-like effect, consider diluting your paint more significantly and using a broader brush.
What could go wrong: If the paint is applied too thickly in one go, it may not dry properly. If this happens, it could form clumps or run down the sides.
Fix: If you notice pooling, gently wipe away the excess with a paper towel and let the jar dry before attempting additional layers.
Step 3: Adding Sparkle
Why it matters: Glitter adds dimension and makes your glowing jar even more magical.
While the last layer of paint is still tacky, sprinkle some glitter inside the jar. This is completely optional, but I find it adds a lovely shimmer to the glowing effect. Just be careful not to add so much that it overshadows the glow.
Step 4: Drying the Jar
Why it matters: Patience is key to achieving the best results.
Once painted and sparkled, leave your jar upright in a safe, dry place. It may take a few hours to completely dry, so the more patience you have, the better your outcome will be!
Step 5: Optional Additions
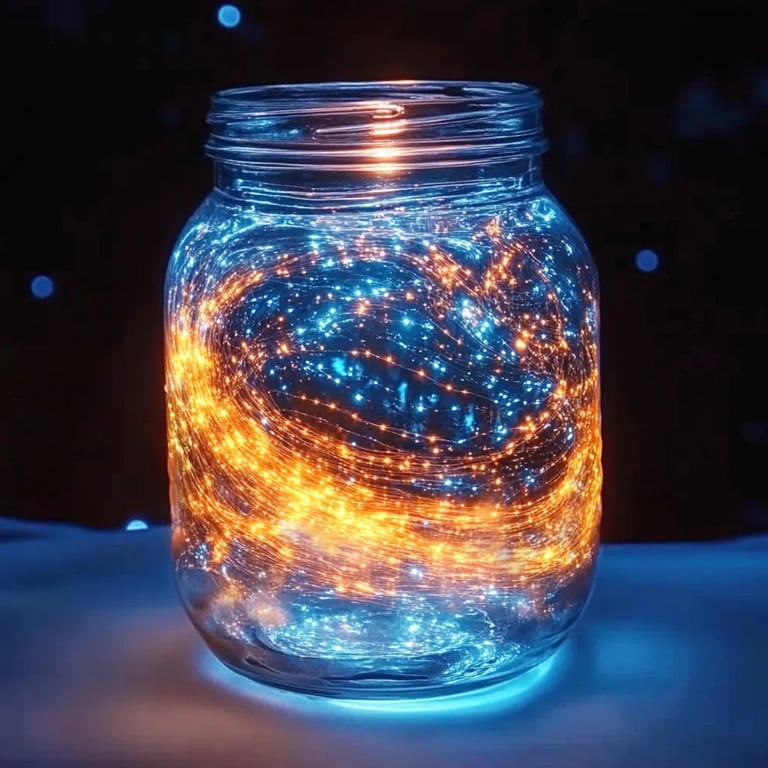
At this point, you can add a string of LED twinkling fairy lights inside the jar for an extra touch of whimsy. Just make sure the lights are battery-operated and have a small enough battery pack that it can fit through the jar opening without being cumbersome.
Step 6: Sealing the Deal (Optional)
Why it matters: A layer of sealer protects your glowing masterpiece from scratches and wear.
If you plan to use your glowing jar frequently or display it in high-traffic areas, consider sealing it with a clear spray sealer once everything is dry. This will help your design last longer.
Step 7: Charging and Enjoying Your Glowing Jar
Why it matters: Proper charging ensures the best glow.
To activate the glow, place your jar under a direct light source for at least 30 minutes. The brighter the light and the longer the exposure, the more vibrant your glow will be!
Creative Variations
While the basic version is beautiful, don’t hesitate to add your personal touch. Here are some creative variations you might want to try:
- Themed Jars: Use different colors or designs for themed parties like Halloween, Christmas, or children’s parties (think pastel colors for baby showers).
- Layered Colors: Create a layered look by applying different colors of paint in sections.
- Holiday Glow Jars: Paint specific symbols (like hearts for Valentine’s Day or pumpkins for Halloween) for seasonal fun.
Troubleshooting Common Issues
As with any craft, not everything goes perfectly on the first try. Here are a few things you might run into and how to handle them:
- If the glow isn’t very bright: Ensure you’ve charged the jar under a strong light source for enough time. Consider adding a second coat of paint to intensify the glow.
- If paint peels off: This may occur if you didn't clean the jar adequately. Always start with a clean canvas!
Final Thoughts
Creating a glowing jar is not just about the end product; it's a delightful journey that can transform an ordinary moment into something magical. Whether you’re decorating your own home, looking for personalized gifts, or creating ambiance for a special occasion, these jars will undoubtedly dazzle you and your guests.
So, gather your materials and let your inner artist shine! With a little creativity, patience, and my step-by-step guide, you’re sure to craft a glowing masterpiece that benefits both your space and spirit. Happy crafting!