How to Make Glowing Ghost Slime: A Spectacularly Spooky Craft
Welcome, fellow crafters! Today, I’m excited to share one of my all-time favorite projects: Glowing Ghost Slime. It’s a mesmerizing blend of fun and creativity perfect for Halloween parties, spooky decorations, or just a magical activity for a rainy day. If you've been looking to dive into the world of slime-making, you're in for a treat!
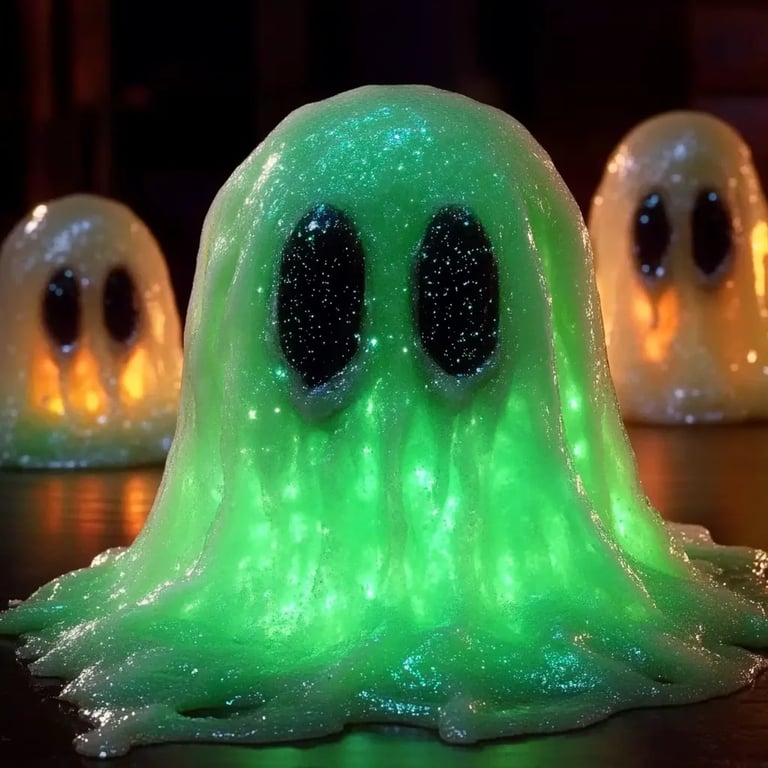
Glowing Ghost Slime is popular not just because of its ethereal appearance but also due to its tactile experience. Children and adults alike adore the squishy, sticky composition and the thrill of seeing it glow in the dark. Plus, with Halloween creeping around the corner, it's the ideal craft to delight your friends and family.
So, let’s get started! I’ll walk you through each step, sharing my personal tips, troubleshooting advice, and some creative variations to inspire your unique take on this glowing delight.
Materials You'll Need
Before I dive into the crafting process, let’s gather our supplies. Most of these materials are easy to find at your local store or online. Here’s what you'll need:
- White School Glue (PVA glue) – 1 cup
- Baking Soda – 1 teaspoon
- Contact Lens Solution (contains boric acid) – 2 tablespoons
- Glowing Powder (or Glow-in-the-dark paint) – 1-2 tablespoons (available at craft stores)
- Foam Ghost Cutouts or Plastic Eyes (optional, for decoration)
- Food Coloring (optional) – A few drops for color
- Mixing Bowl
- Mixing Spoon
- Airtight Container – To store your slime
Step-by-Step Tutorial
Step 1: Prepare Your Workspace
Creating slime can be a little messy, so I always lay down some newspaper or an old tablecloth. Not only does it protect your surfaces, but it also makes for an easy cleanup afterwards. Don’t forget to put on some old clothes or an apron!
Step 2: Mixing the Base
In your mixing bowl, pour 1 cup of white school glue. This will be the base of your slime.
Why this step matters: White school glue is essential because it gives the slime its stretchy and squishy texture.
Potential pitfalls: If you accidentally use a glue that isn’t PVA (like a glue stick or hot glue), your slime won't form correctly. Stick to the white school glue for best results.
Step 3: Add the Baking Soda
Now, add 1 teaspoon of baking soda into the glue. This ingredient helps the slime hold its shape and gives it a little more density.
Why this step matters: Baking soda acts as a thickening agent and helps in achieving the desired slime-like consistency.
Troubleshooting: If your slime is too runny after mixing in the baking soda, it likely needs more contact lens solution. Don’t worry; we’ll address this next!
Step 4: Mix in the Contact Lens Solution
Slowly add 2 tablespoons of contact lens solution to the glue and baking soda mixture, stirring continuously.
Why this step matters: The contact lens solution contains boric acid, which interacts with the glue to create a slime that holds together.
What could go wrong: If you don't stir well, you may find your slime is clumpy or still too sticky. It should start pulling away from the sides of the bowl. If it remains sticky, add more contact solution one tablespoon at a time.
Step 5: Add Your Glow Factor
Here’s the fun part! Add 1-2 tablespoons of glowing powder or glow-in-the-dark paint. If you're using powder, ensure it is mixed evenly throughout the slime.
Why this step matters: The glowing element is what gives your slime its ethereal touch, making it perfect for the theme!
Creative variation: Mix in a few drops of food coloring at this stage to give your slime some personality. For a classic Halloween vibe, I love using green or purple.
Step 6: Knead Your Slime
Here’s where the real fun begins! Once the mixture starts to solidify, take it out of the bowl and start kneading it together with your hands.
Why this step matters: Kneading allows you to incorporate any remaining glue and gives the slime the ultimate stretchy texture.
Safety warning: If it feels too sticky, add a tiny bit more contact solution to your hands and knead until it’s just right. Be gentle; you don't want to overdo the solution.
Step 7: Store Your Slime
When you’ve achieved that perfect slime feel, you can now store it! Place the slime in your airtight container to keep it fresh and ready for play.
Personal anecdote: I once left my slime out overnight, and while it lost its stretchiness, I was relieved to find that adding a touch of water and kneading it was enough to revive it!
Troubleshooting Common Issues
- Slime too sticky: Add more contact lens solution gradually.
- Slime too hard: If you overdid it and made the slime tough, add a little water and knead it well.
- Not glowing enough: If the glow isn't as vibrant as you’d like, try adding more glowing powder or paint.
Creative Variations
Here are a few fun spins to personalize your Glowing Ghost Slime:
- Ghostly Additions: Use small plastic eyes or foam ghost cutouts to create little ghost figures in your slime for added spookiness.
- Scented Slime: If you want to add an extra sensory element, consider adding a few drops of vanilla or cinnamon oil to the slime mixture.
- Bubbly Texture: Add a scoop of foam beads to make slime that’s both cute and fun to squish!
- Themed Slime: For a themed slime experience, mix in some plastic spiders or mini-fangs and make your ghost slime even creepier!
Final Thoughts
Congratulations, you’ve just created your very own Glowing Ghost Slime! It’s a simple, joyful craft that’s perfect for any age and guarantees a fun time, whether you’re using it for a Halloween party or as a captivating sensory experience for your kids.
The key to crafting is patience and creativity. Don’t be afraid to experiment with different colors, textures, and themes! Remember, the best part about crafting is that there are no precise rules—let your imagination run wild.
I hope you’re inspired to try your hand at making this eerie yet delightful slime. Happy crafting, and may your holidays be full of spooky fun!