How to Make Glowing Bubble Lamps: A Step-by-Step Guide
Hello fellow crafters! Today, I'm thrilled to walk you through a delightful DIY project that has become a staple in my home: Glowing Bubble Lamps. These enchanting lamps not only provide gentle, ambient light but also serve as captivating decor for any room. Whether you're hosting a cozy movie night, adding a soft glow to a child's bedroom, or seeking a unique gift idea, these bubble lamps are sure to impress. So let's dive into this fun, creative adventure together!
What Are Glowing Bubble Lamps?
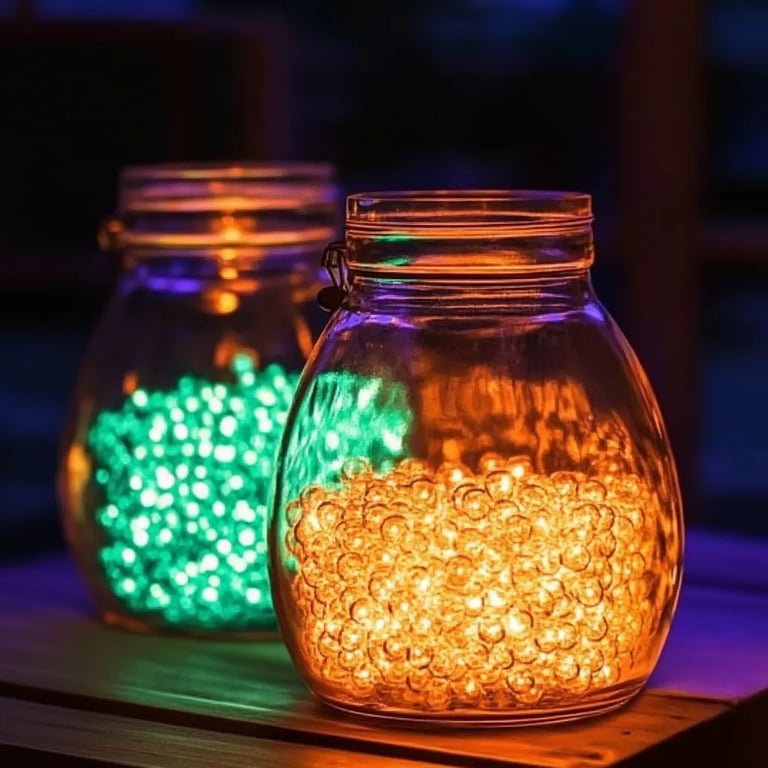
Glowing Bubble Lamps are quirky, luminous creations that use simple materials to create a mesmerizing effect. They consist of a container filled with a liquid medium (often water) mixed with light-enhancing elements and colorful bubbles created from various additives. This charming combination creates an illusion of floating bubbles illuminated from within, giving off a soft, dreamlike glow.
These lamps are particularly popular for their versatility—perfect for themed parties, cozy evenings, or as imaginative night lights for kids. They can be customized in countless ways, allowing your personality to shine through.
Materials You’ll Need
Before we jump into the crafting, let’s make sure you have all the materials ready. Here’s what you’ll need:
- Container: A glass jar, vase, or a clear plastic bottle
- Liquid Medium: Distilled water or a mix of water and clear corn syrup
- Light Source: Submersible LED light or a small LED lamp
- Colorant: Food coloring (liquid or gel works)
- Bubbles: Clear dish soap or a glycerin-water mix
- Glitter or Sequins: For a magical touch!
- Alternatives: You can use colored water beads or even small lengths of string lights for different effects
- Decorative Elements (optional): Objects like small figurines, beads, or natural elements like pebbles or shells
Step-by-Step Guide to Making Glowing Bubble Lamps
Step 1: Prepare Your Container
Why it Matters: The container will define the aesthetic of your lamp. A clear glass or plastic container allows the light to shine through, enhancing the glowing effect.
Instructions:
- Choose your container. A wide-mouth jar works best, as it allows ample space for bubbles to rise.
- Clean it thoroughly. Any residue could cloud your creation, impacting the final look.
Tip: To prevent the container from tipping over later, consider using a base like a small wooden board or decorative tray.
Step 2: Create Your Liquid Medium
Why it Matters: The right liquid consistency is key to achieving those beautiful, floating bubbles.
Instructions:
- Mix 1 part water with 1 part clear corn syrup or glycerin. This mixture not only adds viscosity, helping to slow down the rising bubbles, but also enhances the glow from your light source.
- If using only water, keep the volume of bubbles in mind—you want enough medium to fill the container but not too much to overflow when you add your light source.
Common Mistake: Using regular tap water can lead to cloudiness due to minerals; distilled water is the best choice.
Step 3: Add Color and Glitter
Why it Matters: This step gives your lamp personality and enhances the magical effect.
Instructions:
- Add a few drops of liquid or gel food coloring to your mixture. Adjust the number of drops based on your desired vibrancy.
- Sprinkle in some glitter or sequins. Not only does this add visual interest, but it also creates a sparkling effect as the bubbles rise.
Safety Warning: Though glitter looks beautiful, it can be messy. Be sure to contain the mess and consider using biodegradable glitter to keep things eco-friendly!
Step 4: Introduce the Bubbles
Why it Matters: The bubbles create movement within your lamp, contributing to that enchanting effect we’re aiming for.
Instructions:
- Carefully add a few pumps of clear dish soap into the liquid mixture. Stir gently using a small stick or a straw, allowing air to mix in without creating too many bubbles in advance.
- You can adjust the soap quantity until you see the desired bubbling effect.
What Could Go Wrong: If you see too many pre-formed bubbles while mixing, your bubbles might not float as expected. Stir gently and let it settle a bit before proceeding.
Step 5: Insert the Light Source
Why it Matters: The light source is crucial for that glowing effect.
Instructions:
- If using a submersible LED light, make sure it’s waterproof. Place it at the bottom of the container before adding your liquid mixture.
- If you’re using a small LED lamp, ensure it’s positioned securely around or above the container, but do not place it directly in the liquid.
Creative Variation: For a more whimsical touch, consider using colored LED lights to cast various hues into your lamp.
Step 6: Fill with Mixture and Seal
Why it Matters: Proper sealing ensures that your lamp is not only functional but safe and durable.
Instructions:
- Slowly pour your liquid mixture into the container until it’s filled to near the top. Leave enough space to prevent overflowing when bubbles rise.
- If you’re concerned about spillage or want to make it more aesthetic, you can seal the container with a lid or cork, but ensure it is removable for future adjustments.
Tip: To add more flair, decorate the edges of your container with twine, paint, or washi tape!
Step 7: Enjoy Your Glowing Bubble Lamp!
Once everything is in place, switch on your light source and step back to enjoy your creation! Adjust the materials in future lamps based on your experience to perfect your craft.
Final Thoughts and Tips
Creating Glowing Bubble Lamps is not just about following steps—it’s about infusing your personality into a unique artwork. Feel free to experiment with the colors, bubble sizes, and additional embellishments! Perhaps you want to use a beach theme with sand and seashells, or go for a holiday vibe with festive colors and shapes.
Safety Reminder: Always supervise the lamps around children, especially if using glass containers. After some light use, check for leaks or any debris that might cloud the liquid.
With my years of crafting experience, I encourage you to embrace the creative process, enjoy the spills and thrills along the way, and don’t hesitate to share your glowing masterpieces with others!
Happy crafting, and may your new Glowing Bubble Lamps illuminate your space in a whole new way!