How to Make Glowing Bounce Balls: A Comprehensive DIY Guide
Greetings, fellow crafters! Today, I’m excited to share a fun, creative project that has captured the hearts (and bouncing aspirations) of many: glowing bounce balls! These enchanting little spheres not only bounce high but also emit a mesmerizing glow when the lights go out. Whether it’s for a playful evening with kids or a quirky addition to your home décor, these balls are versatile and endlessly entertaining. So let’s dive into the colorful world of crafting glowing bounce balls, where I’ll guide you step-by-step through this innovative process.
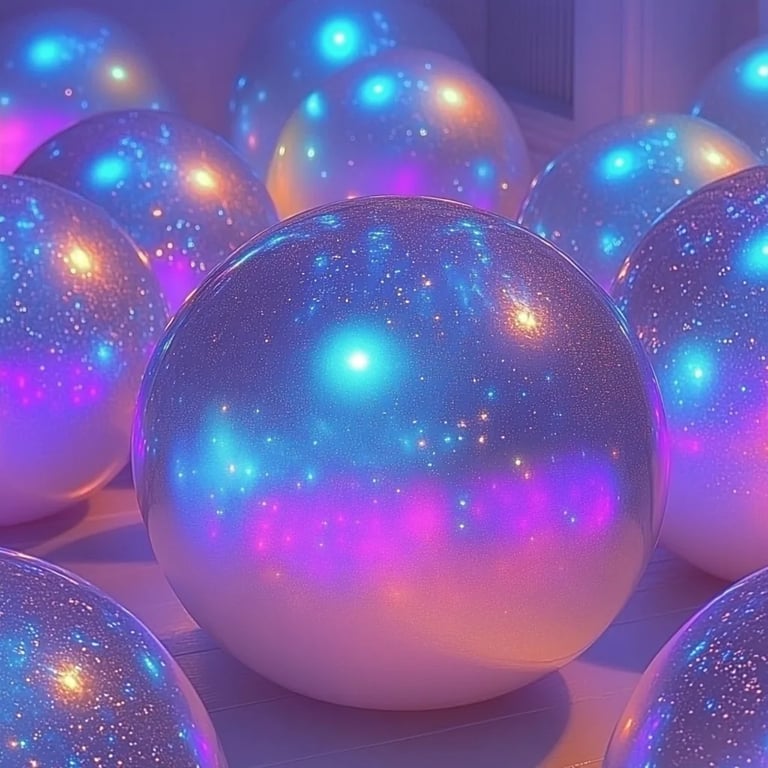
What Are Glowing Bounce Balls?
Glowing bounce balls are rubbery, colorful spheres that light up in the dark thanks to glow-in-the-dark additives. They become a thrilling addition to night games, perfect for parties, or just for some good old-fashioned fun outdoors. Typically made from simple ingredients, they’re customizable and allow you to experiment with colors and sizes—there’s truly no limit to your creativity!
Why Are Glowing Bounce Balls So Popular?
These little beauties have become popular for several reasons:
- Engaging Activity: Making them is a fun, hands-on activity for kids and adults alike—great for enhancing coordination and creativity.
- Budget-Friendly: Compared to store-bought options, making your own glow balls can save you money while allowing you to create personal designs.
- Interactive Play: They encourage outdoor activity, promoting physical exercise during games of catch or toss.
- Glow Factor: Who doesn’t love the magical effect of glowing items in the dark? It adds an element of surprise and fun!
What You’ll Need
Before we get started, gather the following easy-to-find materials:
- White school glue or PVA glue (1 cup)
- Boric acid (¼ cup) – This can often be found in the form of powdered laundry booster.
- Glow-in-the-dark powder (1-2 tablespoons) – You can find this at craft stores or online.
- Water (1 tablespoon)
- Food coloring (optional) – Choose any color you desire to create vibrant, colorful balls.
- Mixing bowl and spoons for stirring.
- Rubber gloves (optional but recommended for handling the ingredients safely).
- A baking sheet lined with parchment paper for drying the balls.
Now that we’re all set, let’s jump into the step-by-step process.
Step-by-Step Tutorial for Making Glowing Bounce Balls
Step 1: Mix the Ingredients
In your mixing bowl, combine the white school glue, boric acid, and water. It’s crucial to stir these together thoroughly until you achieve a uniform mixture. This step is vital because the glue will provide the ball’s structure, while the boric acid serves as a catalyst to create the bouncing effect.
Common Mistake: If you don’t mix adequately, the consistency might be off, leading to a gooey mess instead of a solid ball. If this happens, simply add a bit more boric acid, mixing until it reaches the desired texture.
Step 2: Add the Glow-in-the-Dark Powder
Now it’s time to add the glow-in-the-dark powder (and food coloring, if you wish). The amount of glow powder you add will determine how bright your ball glows in the dark, so feel free to experiment. Mix it in well, ensuring an even distribution throughout your mixture.
Tip: Always wear gloves while handling glow powder, as it can be messy. Clean as you go to keep your workspace tidy!
Step 3: Shape the Balls
Once everything is well-blended, take small amounts of the mixture and roll them into equal-sized balls. The ideal size is about an inch in diameter—big enough to bounce, but small enough for little hands to grasp.
Personal Anecdote: I remember my first attempt at making these; I got a bit overly ambitious and made them the size of softballs! While they bounced well, they were a bit cumbersome to play with, so start small for better results!
Step 4: Drying Time
Place your shaped balls on the lined baking sheet. Allow them to dry for at least 24 hours at room temperature. This step is essential to ensure they harden appropriately and achieve their bouncing potential.
Tip: If your climate is humid, they may take longer to dry. Patience is key!
Step 5: Testing Their Bounce
After a full day of drying, it’s time to give your glowing bounce balls a test run! Find an open space—maybe your backyard or a nearby field. Turn off the lights and watch as they glow! Give them a gentle toss and feel the satisfaction of your crafting efforts as they bounce!
Safety Warning: Ensure that the area is free of obstacles to avoid damage to your bounce balls (or anything nearby).
Creative Variations
Feel free to get inventive with your glowing bounce balls:
- Add Glitter: Mix in some biodegradable glitter during the initial mix for an extra sparkly effect.
- Layer Colors: Create layered effect balls by mixing different colors of batches to create unique designs.
- Seasonal Themes: Use specific colors for holidays—green and red for Christmas, orange and black for Halloween!
Troubleshooting Common Issues
If you run into any problems, here’s a quick troubleshooting guide:
- Too Sticky: If your balls are still sticky after drying, they need more boric acid. Mix a little more into the mixture and reshape.
- Too Hard or Brittle: If the balls are breaking easily, they may have too much boric acid. Repeating the process with a new batch of glue and water will help return the right consistency.
Final Thoughts
Making glowing bounce balls is not just a crafting project; it’s a delightful journey that ends with bright smiles and laughter. From playing catch to night games, these balls are sure to bring joy to your family and friends.
Crafting embodies the spirit of creativity and exploration, and I hope you take away inspiration from this guide. Remember, the key is to experiment, embrace mistakes, and most importantly—have fun! Please share your bouncing creations and any creative twists you come up with; I’d love to see your glowing masterpieces!
Happy crafting!