How to Make Glow-in-the-Dark Suncatchers: A Step-by-Step Guide
As a passionate craft enthusiast, I’m thrilled to share one of my favorite projects with you: creating glow-in-the-dark suncatchers. These magical decorations are not only a joy to make but also a charming addition to your home, especially when the sun sets and they start to glow!
What Are Glow-in-the-Dark Suncatchers?
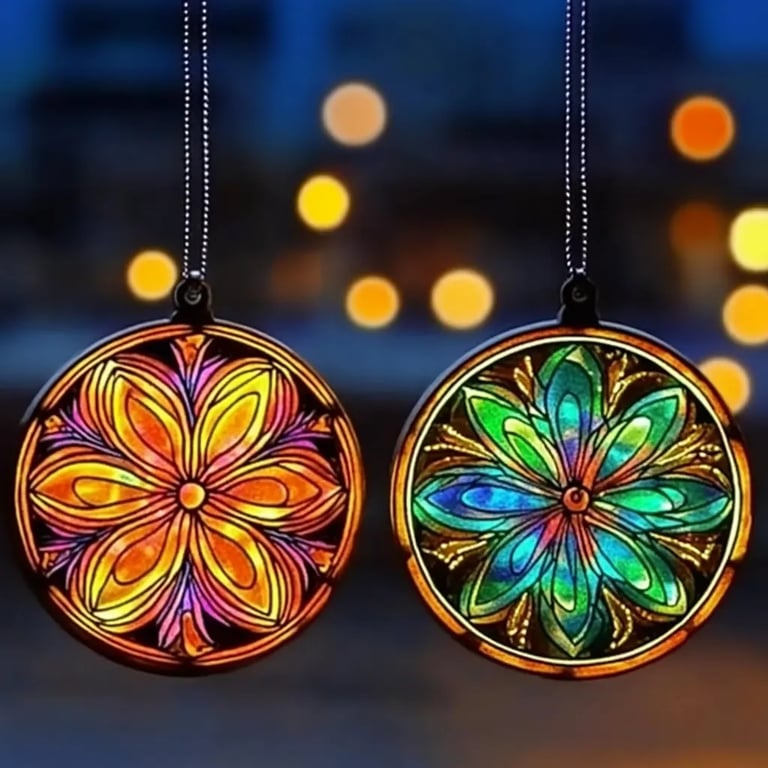
Glow-in-the-dark suncatchers are decorative pieces usually hung in windows or outdoors. During the day, they soak in sunlight, and as dusk settles, they emit a radiant glow. Their enchanting aesthetics make them perfect for any occasion—think whimsical kids' rooms, cozy porches, or even as unique gifts. Plus, they invite creativity and can be customized in endless ways!
In this article, I’m going to take you through the entire process of crafting your own glow-in-the-dark suncatcher. I’ll share my tips, potential pitfalls, and creative variations to ensure your project is a success.
Materials Needed
- Clear Plastic Sheet or Transparency Film: Acts as the canvas for your suncatcher.
- Glow-in-the-Dark Paint or Powder: This is the magic ingredient that gives your suncatcher its glow.
- Acrylic Paints: For adding colors and designs.
- Paintbrushes: Different sizes for detailed and broader strokes.
- Scissors: For cutting your suncatcher into your desired shape.
- Permanent Markers (optional): For outlining designs or adding details.
- String or Suction Cups: For hanging your beautiful creation.
- Clear Craft Sealant (optional): To protect your suncatcher from wear and tear.
- Paper Towels and Water: For cleanup.
Safety Tip:
When working with paints and powders, ensure you are in a well-ventilated area. If you’re using powders, wearing a mask can help avoid inhalation.
Step-by-Step Instructions
Step 1: Prepare Your Workspace
Before diving into crafting, it’s vital to set up your workspace. Lay down some newspaper to catch any paint splatters and gather your materials. A clean, organized setting will make the process smoother.
Step 2: Choose Your Design
I love starting with a simple sketch! Think of shapes or themes—maybe stars, hearts, or even abstract designs. If you’re feeling adventurous, you can create an intricate mandala or a nature scene.
Step 3: Cut Your Plastic Sheet
Using scissors, cut your clear plastic sheet into the desired shape. Suncatchers can be circular, square, or any fantasy shape that sparks your creativity. Aim for a size of about 6–12 inches, so it’s easy to paint and hang.
Tip: If you want precise edges, consider using a craft knife instead of scissors.
Step 4: Base Layer with Glow-in-the-Dark Paint
This is where the magic begins! If you’re using glow-in-the-dark paint, apply it in an even layer across your plastic sheet. I usually do this right away as it tends to dry fairly quickly. Let this layer dry thoroughly, as this will be the foundation of your glow effect.
Potential Pitfall: If applied too thickly, glow-in-the-dark paint may not glow brightly. Aim for a thin, even coat.
Fix: If it's too thick, lightly sand it down once dry and apply another thin layer.
Step 5: Add Color with Acrylic Paints
Once the glow layer is dry, it’s time to add color! Using acrylic paints, fill in your design with vibrant shades. I recommend layering lighter colors first and adding darker shades afterward to create depth.
Personal Insight: I love blending colors! Try swirling two colors together for a mesmerizing effect, especially with natural shapes like flowers or leaves.
Step 6: Outline Your Design (Optional)
If you want your design to pop, you can outline it with permanent markers or a dark acrylic paint. This step can transform a simplistic design into something striking.
Step 7: Seal It (Optional)
To ensure your suncatcher lasts, especially if you’re hanging it outside, consider applying a clear craft sealant once the paint is completely dry. This adds a protective layer against moisture and fading.
Step 8: Hang Your Suncatcher
Attach string to your suncatcher or use suction cups to hang it in your window. Position it where sunlight can hit it during the day—there’s nothing quite like the satisfaction of seeing your masterpiece glow at night!
Creative Variations
- Layering Techniques: Create multiple layers of designs by using different sheets of plastic for a 3D effect.
- Use Different Colors: Experiment with various glow-in-the-dark colors or even fluorescent paints for a colorful display.
- Seasonal Themes: Create multiple suncatchers for different seasons—snowflakes for winter, flowers for spring, and so on.
Troubleshooting Tips
- Paint Not Glowing Brightly: Make sure you’re using a good-quality glow paint, and check if it has been charged adequately with light.
- Cracking Paint: If the paint cracks once dry, it may be due to too thick a layer. Lightly sand it down and repaint with thinner layers.
- Color Bleeding: If colors bleed into each other, ensure wet paint doesn’t mix or consider painting each section, allowing it to dry before touching adjacent areas.
Final Thoughts
Creating glow-in-the-dark suncatchers is an exhilarating craft project that brings warmth and light to any space! I’ve had family and friends marvel at mine, making them perfect gifts too.
Remember, crafting is about exploration and enjoyment—don’t stress if your first suncatcher doesn’t turn out exactly as you envisioned. Embrace the process, learn from any mishaps, and let your creativity shine!
Happy crafting, and may your suncatchers glow beautifully all night long!