How to Make Glow in the Dark Rice: A Crafter’s Guide
Hello, fellow crafters! I’m thrilled to share one of my favorite projects with you today—making glow in the dark rice! This whimsical and enchanting craft has become increasingly popular, and it’s easy to see why. Not only does it add a unique touch to party decorations, sensory bins, and those magical moments in children’s play, but it also provides a fun and engaging way to explore creativity. Whether you're preparing for a birthday party, embarking on a sensory project for little ones, or just wanting to add a sprinkle of glow to your DIY decor, making glow in the dark rice is a fantastic activity for all ages.
In this detailed guide, I will walk you through the process of creating your very own glow in the dark rice. You’ll discover not only how to make it but also why each step is essential, what mistakes to avoid, and even some creative variations to inspire your project. So, let's dive into this colorful, glowing world!
What You Will Need
Before we jump into the steps, let’s gather our materials. You’ll need:
- Uncooked Rice (White or Brown): This will be the base of your glowing masterpiece.
- Non-Toxic Glow in the Dark Paint or Powder: Look for brands that are safe and suitable for crafts. If you're using powder, I recommend something like luminescent pigment.
- Ziploc Bags or Containers: For mixing and storing your dyed rice.
- Plastic Gloves: Protect your hands; crafting can get messy!
- Baking Sheet or Aluminum Foil: For drying your rice after mixing.
- Dish Soap (Optional): If you are using liquid paint, this can help with easier cleanup.
Why This Craft is Worth It
In my years of crafting, I’ve found that making glow in the dark rice is not just about creating a product; it’s an experience! It’s perfect for sleepovers, outdoor parties, or simply as a delightful sensory material for kids. Moreover, this project allows you to experiment with colors and finishes. You can create unique combinations that appeal to your personal style, whether it's for décor, play, or thoughtful gifts. Plus, watching the rice glow in the dark is truly magical!
Step-by-Step Tutorial: Making Glow in the Dark Rice
Step 1: Choose Your Glowing Method
Why It Matters:
Your choice of paint or powder will determine the intensity and duration of the glow.
- For Paint: Make sure it’s evenly mixed and non-toxic. For best results, choose a paint that offers a bright glow and can be distributed actively—look for "glow in the dark" labels.
- For Powder: Luminescent powders can be mixed with clear glue or or even a little water.
Tip: If you’re unsure about which product to use, read reviews or try a small sample before committing to a large project.
Step 2: Prepare the Rice
In a suitable container or a large Ziploc bag, pour about 2 cups of uncooked rice. If you want to make a larger batch, this recipe can easily be scaled up!
What Could Go Wrong:
Using too much rice without proper ratios can sometimes lead to uneven coloring.
Step 3: Add the Glowing Agent
For Liquid Paint:
- Add a few drops of your glow in the dark paint directly into the bag of rice.
- If using a lot of liquid, consider adding a drop of dish soap to help it mix well.
For Powder:
- Sprinkle a tablespoon or two of luminescent pigment onto the rice.
- Seal the bag, and shake it well until all the rice grains are coated evenly.
Personal Tip: Start with less and assess how bright the glow turns out before adding more. It’s easier to add than to take away!
Step 4: Drying the Rice
Pour the coated rice onto a baking sheet lined with aluminum foil (makes for easy cleanup). Spread it out evenly to ensure that it dries properly.
Why This Step Matters:
Drying is crucial for optimal glow. If the rice retains moisture, it won’t activate the glow properly.
Step 5: Cure in the Light
Allow the rice to sit in a well-lit area for at least 3-4 hours or even in direct sunlight if possible. This step helps the glow in the dark material charge.
Potential Pitfalls:
If you skip this step or don’t leave it long enough, your rice won’t glow at night.
Step 6: Store Your Glow in the Dark Rice
Once it’s thoroughly dry, store the rice in an airtight container until you are ready to use it.
Safety Warning:
If you used non-edible products, make sure to avoid using this rice for food decoration or sensory activities involving very small children who might put things in their mouths.
Creative Variations
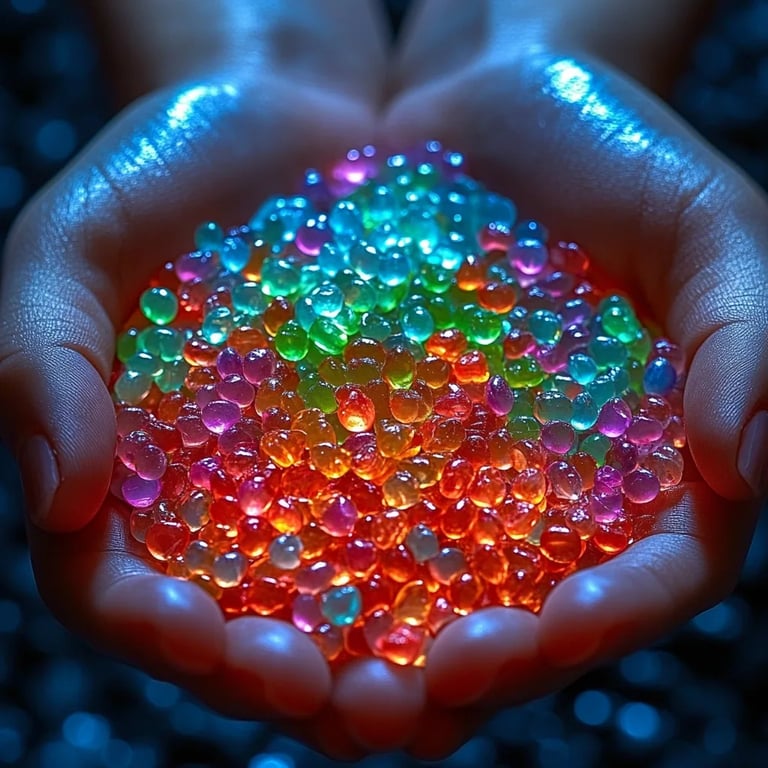
- Colorful Rice: Add different colors of glow in the dark paint or powder. You can create a rainbow effect!
- Scented Rice: If you’re using it for sensory play, consider adding essential oils with your paint or powder for an enhanced experience.
- Glow Patterns: Use stencils to create patterns in the rice before it dries by placing them on the rice and adding varying colors of glow paint.
Conclusion: Embrace the Glow!
Now that you’ve made your glow in the dark rice, let me tell you—this project can become your secret ingredient for numerous fun evening activities! You can use it in sensory bins, as decorative accents in vases, or as part of your next outdoor adventure under the stars.
Remember, crafting is meant to be fun and an invitation to explore creativity. Don’t be afraid to experiment with colors and textures, and most importantly, enjoy the process. As you embark on this glowing journey, I hope you find it as joyful and rewarding as I have. Happy crafting! 🌟
Feel free to share your experiences or any questions in the comments below; I’d love to hear about your glowing creations!