How to Make Glow-in-the-Dark Bubbles: A Fun and Enchanting Craft Guide
Have you ever blown bubbles and dreamt about a mesmerizing light show at night? I certainly did! That’s why I dove deep into the magical world of glow-in-the-dark bubbles. These enchanting bubbles can transform an ordinary evening into a whimsical, star-lit adventure—be it during a summer backyard gathering, a birthday party, or a cozy family night. As a seasoned crafter, I’m excited to share with you my favorite process for making these delightful glowing spheres so you can create your own ethereal experience.
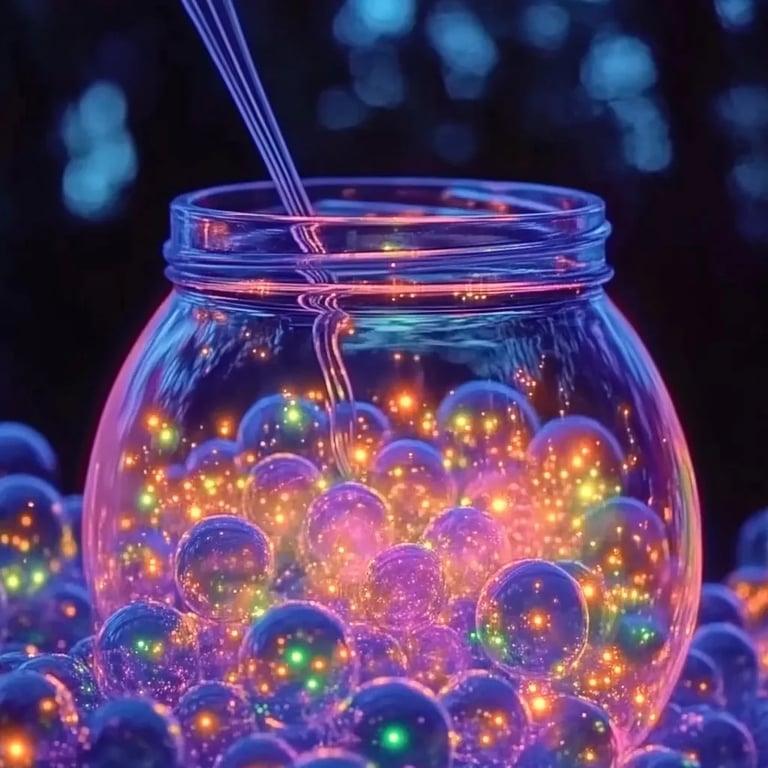
The Allure of Glow-in-the-Dark Bubbles
Glow-in-the-dark bubbles have skyrocketed in popularity for several reasons. Firstly, they’re visually captivating, bringing a touch of magic to any occasion, especially for kids. Secondly, they’re a fantastic way to introduce science and experimentation into play, offering a hands-on learning experience. Lastly, they’re incredibly fun to create! With just a few ingredients, you can unleash your creativity and establish timeless memories with loved ones.
What You'll Need to Get Started
Before we dive into the crafting process, let’s gather our materials. This will not only prepare you for a smoother experience but also help you understand the purpose of each component:
- Bubble Solution: You can either purchase store-bought bubble refill or make your own with water, dish soap, and glycerin. If you opt for homemade bubbles, here's my recipe:
- 1 cup water
- 2 tablespoons dish soap
- 1 tablespoon glycerin (to enhance the bubble’s longevity)
- Glow-in-the-Dark Pigment: You can find this at craft stores or online. Make sure to choose a safe, non-toxic option. Alternatively, you can use glow-in-the-dark paint.
- A Mixing Bowl: For combining all the ingredients.
- Whisk or Spoon: To blend everything seamlessly.
- Bubble Blower Wand: You can use traditional wands or even create your own by bending a wire into interesting shapes.
- A Container: To store your bubble solution when you’re not crafting.
Step-by-Step Tutorial: Creating Your Glow-in-the-Dark Bubbles
Ready to get started? Let’s turn ordinary bubbles into a glowing spectacle!
Step 1: Prepare the Bubble Solution
The foundation of our project is the bubble solution. If you're going the homemade route, combine the ingredients in a mixing bowl:
- Why it Matters: Dish soap breaks the surface tension of the water, allowing bubbles to form, while glycerin makes those bubbles sturdier and longer-lasting.
- Tip: Whenever measuring your ingredients, be sure to do it accurately. Too much or too little will affect the results.
Once mixed, check the texture. The solution should feel somewhat viscous but not sticky. If it feels too thin, add a touch more glycerin.
Step 2: Add Glow-in-the-Dark Pigment
Here comes the fun part! Sprinkle in the glow-in-the-dark pigment or pour a small amount of the paint into your bubble solution and mix thoroughly.
- Why it Matters: By incorporating the pigment, you ensure that your bubbles will catch the light and glow later.
- Potential Issues: If the solution is too thick or too thin, it may not print the pigment correctly or may not create bubbles at all. Feel free to adjust by adding more water or glycerin.
Step 3: Test and Adjust
Before heading outdoors, it’s vital to test your mixture. Dip your wand into the solution and blow some bubbles.
- What Could Go Wrong: If bubbles pop immediately or fail to form, your mixture may need adjustment. Just add a little more glycerin or soap until you get the consistency right.
Step 4: Create a Dark Environment
To see the glow effect, you need a dark space. An evening outdoors or a dim room works perfectly. Consider using a UV light to “charge” the bubbles before blowing them.
- Tip: If you're in the backyard, turn on some lights to save energy then switch them off when bubbles are ready to be released.
Step 5: Blow Bubbles!
Now, the moment of truth! Dip your wand, lift it to your lips, and let the bubbles float away into the night sky.
- Why it’s Important: Different wand sizes create various bubble sizes. Large wands yield fewer but bigger bubbles, whereas small ones produce many tiny spots! Experiment to see which you prefer.
Safety Considerations
Although the ingredients used in our recipe are generally safe, it’s always good to keep safety in mind:
- Supervision: Always supervise children during this activity.
- Non-Toxic Options: Choose non-toxic paint or pigment, especially if children are involved.
- Surface Protection: Apply a drop cloth under where you’ll be blowing bubbles to avoid slipping if you happen to spill any solution.
Alternative Methods and Ingredient Substitutions
If you’re pioneering into glow-in-the-dark crafting, consider these variations:
- Using Different Solutions: Substitute dish soap with organic or eco-friendly alternatives for a more natural approach.
- Different Pigment Colors: Try colored glowing pigments for a rainbow effect!
Personal Anecdotes
I remember the first time I made these with my young niece. At dusk, we filled the yard with glowing bubbles. Her delighted squeals as she tried to catch them were unforgettable. We ended up not just creating bubbles but also laughter-filled memories, giggles echoing in the evening air. It went beyond the crafting; it was about us, wrapped in joy together.
Creative Variations
Want to take your glow-in-the-dark bubble experience even further? Here are a few fun ideas:
- Glow Party: Create different bubble solutions in a variety of colors and have a glow party! Combine the solutions to create multi-colors.
- Chalk and Glow: Make a chalk outline on the ground where you blow your bubbles, so when the bubbles reflect the glow, it creates a beautiful scene.
- Bubble Art: Experiment with blowing bubbles onto paper or canvas for a unique art project.
Conclusion
Now that you’re armed with the knowledge and passion to create your own glow-in-the-dark bubbles, go forth and let your imagination take flight. Whether you’re hosting a party, crafting a fun evening, or inventing new ideas, these bubbles will surely bring joy and whimsy to the experience. Don't hesitate to tweak the recipe, share your creations with friends, and let the world know about your sparkling adventures.
Happy crafting, and may your nights be filled with wonder!