How to Make Glitter Tube Bracelets: A Comprehensive Guide
Hello crafty friends! I’m excited to share a delightful project that can spark your creativity and brighten any outfit: Glitter Tube Bracelets! These fabulous accessories are made from simple materials and pack a whole lot of charm and personality. Whether you're dressing up for a special occasion, wanting to stand out at a casual gathering, or simply unleashing your inner artist, these bracelets are a fun and stunning way to express yourself.
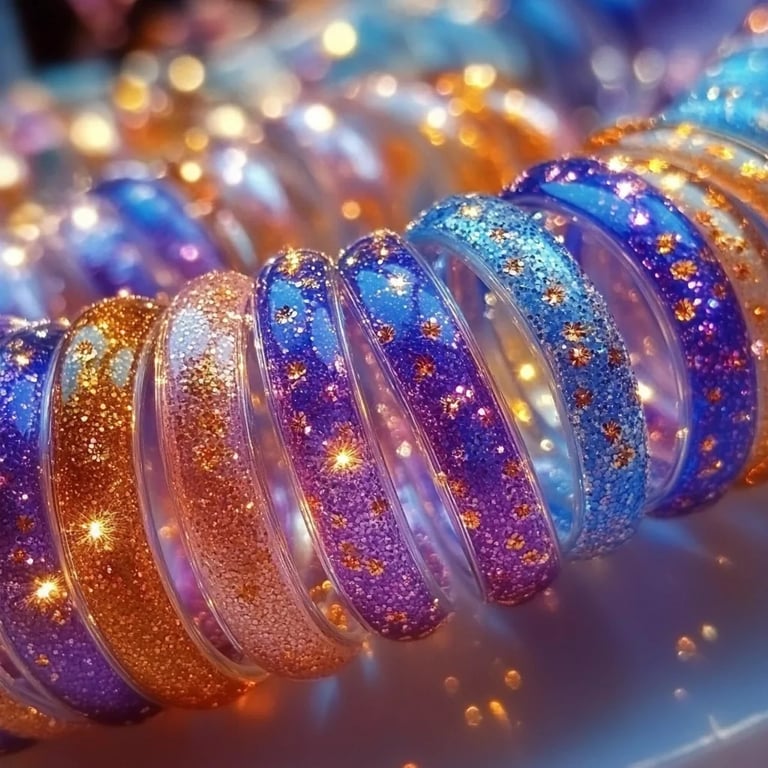
What are Glitter Tube Bracelets?
Glitter tube bracelets are essentially beads or tubes covered in glitter, creating a sparkling, eye-catching effect. Their popularity has soared because they're not just pretty; they are also highly customizable. You can choose your color palette, glitter types, sizes, and even add charms for extra flair. They’re perfect for a summer festival, birthday parties, or that next Zoom call where you want to stand out.
As an experienced crafter, I've made countless creations, but there's something about these bracelets that always brings me joy. Plus, they make fantastic gifts! Let’s dive into my step-by-step guide so you can create your very own.
Materials Needed
Before we get started, let’s gather everything you’ll need. It’s all pretty accessible:
Basic Materials
- Plastic or Wooden Tubes: You can find these at craft stores or online (look for the hollow type).
- Fine Glitter: Choose a variety for mixing and matching colors.
- Mod Podge or Craft Glue: This will adhere the glitter to the tubes.
- Clear Sealer: To protect the glitter and ensure it lasts.
- Elastic Cord: This is what will hold your bracelet together.
- Scissors: For cutting the cord to the desired length.
Optional Add-Ons
- Charms and Beads: For personal flair.
- Paints: To create a base color before adding glitter.
- Foam Paintbrush or Sponge: For applying glue (this is optional but helpful for a more even coat).
Step-by-Step Tutorial
Here’s how I make my glitter tube bracelets:
Step 1: Preparing Your Tubes
- Why It Matters: Properly preparing your tubes ensures that the glitter adheres well and doesn't flake off later.
- What to Do: If you're using wooden tubes, sand them lightly to create a rough surface that will help the glue bond better. For plastic tubes, a quick wipe down with a damp cloth will do.
Step 2: Applying Glue
- Why It Matters: The glue is the foundation of your glitter application.
- What to Do: Using your foam brush or sponge, apply a generous coat of Mod Podge or glue to the entire outer surface of the tube. Be sure to get into any grooves or uneven areas.
- Tip: Don’t worry about making it perfect—glitter will cover minor imperfections.
Step 3: Adding the Glitter
- Why It Matters: Glitter gives the tubes their show-stopping sparkle!
- What to Do: While the glue is still wet, roll the tube in your chosen glitter or sprinkle it liberally over the tube until fully covered. Tap off any excess glitter.
- Tip: Mix different colors of glitter in a container beforehand for a marble effect.
Step 4: Sealing the Glitter
- Why It Matters: You want your beautiful colors to last, and sealing helps prevent shedding.
- What to Do: Once the glitter has completely dried (this usually takes a few hours), apply a thin layer of clear sealer over the glitter. Let it dry completely.
- Tip: If you notice any bald spots after sealing, simply apply a little more glue and glitter to those areas.
Step 5: Cutting and Stringing
- Why It Matters: Measurement is key for the right fit, so the bracelet isn’t too tight or loose.
- What to Do: Measure your wrist and cut a piece of elastic cord that’s about 2-3 inches longer than your measured length (this allows for tying knots).
- Next, thread the glitter tubes onto the cord. You can alternate colors, add charms, beads, or even create patterns.
Step 6: Tying Off
- Why It Matters: A secure knot ensures your bracelet stays intact.
- What to Do: Once you’ve reached the desired length, tie a sturdy double knot to secure the bracelet. You can add a tiny dab of glue to the knot for extra security (just let it dry before wearing!).
Step 7: Admire and Wear!
Now it’s time to show off your creation! Wear your glitter tube bracelet, or gift it to someone special.
Tips & Troubleshooting
Common Issues and How to Fix Them
- Glitter Shedding: If you notice the glitter continues to shed after sealing, it might be worth applying a second coat of sealer.
- Too Tight or Loose Fit: Adjust the length of your cord based on your wrist size; always err on the side of caution by starting longer.
Safety Warnings
- Glitter in Eyes: Always be cautious when handling glitter as it can be a choking hazard or irritant. Make sure to work in a well-ventilated area, and cover your workspace to make cleanup easier.
Personal Anecdotes and Creative Variations
I remember the first time I made these glitter tube bracelets for my niece's birthday party. We spent the day making them together, each creating unique color combinations. The joy I saw in her eyes as she proudly wore her creations was priceless! I even started a tradition of making them whenever we host family get-togethers.
You can also expand on this basic concept by using different types of tubes (like test tubes for a more scientific look), adding sequins, or painting the tubes in patterns before applying glitter.
Closing Thoughts
Making Glitter Tube Bracelets is not just a craft; it's a creative journey that allows you to express your individuality. Every time I sit down to make them, I find new inspirations and delight in the vibrant colors.
Whether you’re an experienced crafter or just starting, I hope this guide helps you on your creative quest. Don’t forget to share your creations; I’d love to see the unique pieces you whip up! Happy crafting!