**How to Make Glitter Gel Air Fresheners: A Step-by-Step Guide**
Hello fellow crafters! Today, I’m thrilled to share with you one of my absolute favorite DIY projects—creating your own glitter gel air fresheners. If you’ve been searching for a way to infuse delightful fragrances into your space while adding a touch of sparkle, look no further! These colorful gel air fresheners not only smell wonderful but also serve as charming decorative pieces that brighten up your home.
Why Glitter Gel Air Fresheners?
Glitter gel air fresheners are a fantastic way to enjoy a personalized fragrance without the artificiality often found in store-bought versions. They are popular because:
- Customization: You can choose your scents, colors, and even the shapes of your air fresheners.
- Fun and Creative: They’re perfect for any occasion, whether you’re hosting a party, celebrating a holiday, or just want to spruce up your living space.
- Safe and Eco-Friendly: Unlike many commercial air fresheners that contain harmful chemicals, making your own allows you to use natural ingredients.
Imagine walking into your favorite room and being greeted by a delightful scent that you created. Let me guide you through every step of the process!
Materials Needed
Before we dive into the tutorial, here’s what you’ll need:
- Gelatin: 2 packets of unflavored gelatin (this is the base for your gel)
- Water: 1 cup of water (half for dissolving gelatin, half for mixing later)
- Salt: 1 tablespoon (used as a preservative)
- Essential oils: About 15-30 drops (choose your favorite scent)
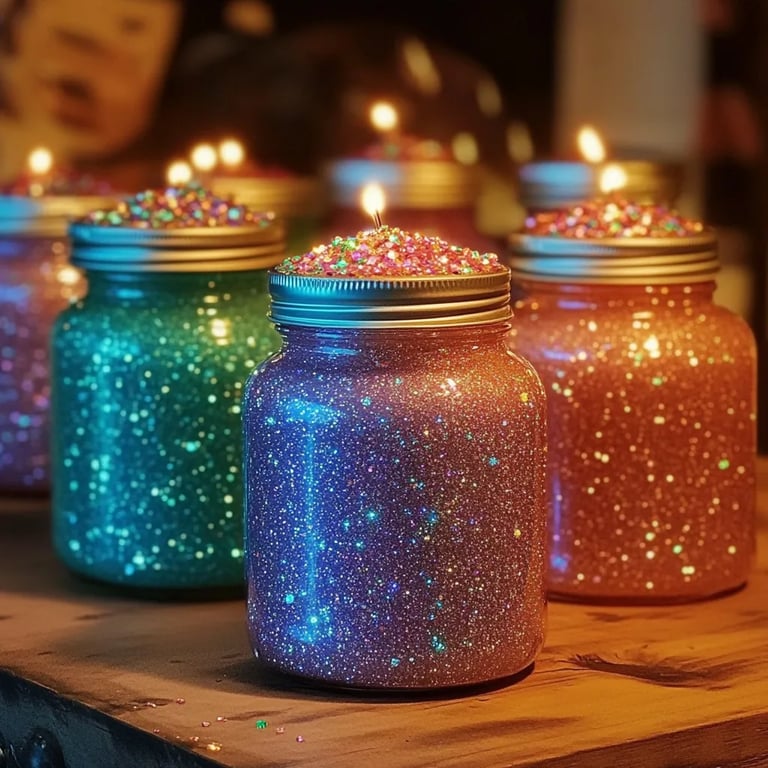
- Glitter: Cosmetic-grade or biodegradable for a touch of sparkle
- Food coloring: Optional, for adding color to your gel
- Molds: Silicone molds or any container you like (like small jars or cookie cutters)
- Stirring stick: A wooden stick or spoon works well
- Pot for heating: A saucepan for your water
- Mixing bowl
Step-by-Step Tutorial
Step 1: Prepare the Gelatin
Start by pouring ½ cup of cold water into your mixing bowl. Sprinkle the two packets of unflavored gelatin over the water. Let it sit for about 5 minutes. This step is crucial as it allows the gelatin to bloom, which means it will absorb the water and thicken properly. If you skip this part, your gel may end up lumpy, and nobody wants that!
Step 2: Heat the Water
In a saucepan, bring ½ cup of water to a gentle simmer. Avoid boiling it—boiling can ruin the gelatin texture. Once heated, carefully pour the hot water into the bowl with your bloomed gelatin.
Tip: Stir continuously until the gelatin is completely dissolved. About 5-10 minutes of stirring should do the trick. If you see any particles, don’t panic; just keep stirring. If it’s stubborn, you may return it to low heat for a moment—just don’t let it boil.
Step 3: Mix in the Additional Ingredients
Once your gelatin is fully dissolved, it’s time to add your salt, essential oils, and any food coloring you desire. The salt not only acts as a preservative, but it also helps enhance the scent.
Anecdote: I remember my first time adding essential oils—it was a game-changer! I went with lavender and eucalyptus, and the house smelled like a spa for days. The beauty of this step is the ability to play around with scents. Mix citrus with mint for a refreshing combo, or vanilla and cinnamon for a warm, cozy feel.
Step 4: Add the Glitter
Now for the fun part—adding glitter! Pour in a generous amount, depending on how sparkly you want your gel to be. Mix well to ensure even distribution.
Safety Warning: Always choose cosmetic-grade glitter, as regular glitter can contain harmful substances. Alternatively, consider using biodegradable glitter for a more eco-friendly option.
Step 5: Pour into Molds
Once everything is well mixed, it’s time to pour the mixture into your chosen molds. If you’re using smaller containers, be cautious not to overfill them, as they will expand slightly upon cooling.
What Could Go Wrong: If you find that your gel seems too watery when cooled, you may have not used enough gelatin or let it dissolve properly. If that happens, you can always try again with a little more gelatin next time.
Step 6: Let the Gel Set
Allow your molds to sit at room temperature for about 4-6 hours, or until completely firm. If you’re in a hurry, you can place them in the fridge for about an hour, but don’t rush the process too much!
Step 7: Removing and Using
Once your air fresheners are set, gently pop them out of the molds. If they’re sticking, try placing them in the freezer for a few minutes; this usually helps.
You can now place your glitter gel air fresheners in any room, your car, or even give them as gifts! Just remember to refresh them with a few drops of essential oil every week or so, as the scent will fade over time.
Creative Variations and Tips
- Layering Colors: You can create layered effects by letting the first layer set slightly before pouring in another color. This makes for stunning visual designs!
- Scents for Different Occasions: Think about seasonal scents—peppermint for winter or floral for spring!
- Shape It Up: Get innovative with different molds! Use cookie cutters for fun shapes, or make themed ones for holidays.
Conclusion
Making glitter gel air fresheners has been such a delightful experience for me, and I can’t wait for you to try this project! Not only do you get to enjoy a lovely scent in your home, but you also gain some crafty satisfaction from creating something magical.
So, gather your materials, put on some music (or a podcast—my favorite crafting companion), and let your creativity shine! Remember, crafting is as much about the process as it is about the final product. Don't be afraid to experiment and make it your own. Happy crafting!
Feel free to share your creations, ask questions, or leave comments below—I’d love to hear about your experiences or any tips you may have. Until next time!