##How to Make Fluffy Green Slime: A Comprehensive Step-by-Step Guide
Hello, my fellow crafters and slime enthusiasts! Today, I’m excited to share with you the magical, squishy world of creating fluffy green slime. This delightful concoction has won the hearts of kids and adults alike, and for a good reason—it's visually stunning, incredibly fun to play with, and can be made right from the comfort of your home using simple ingredients. Whether you're crafting for a school project, a party, or just to satisfy your inner child, this fluffy green slime is sure to bring a smile to your face.
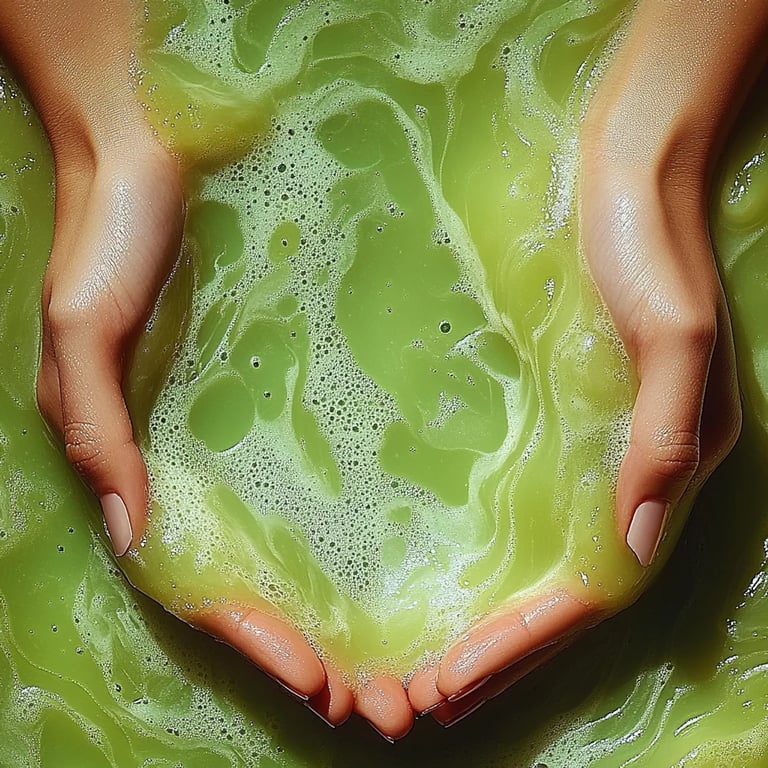
What is Fluffy Green Slime?
Fluffy slime is an exciting twist on traditional slime. This version is lighter and airier, thanks to the addition of shaving cream, which gives it that desirable fluffy texture. The vibrant green color not only makes it aesthetically pleasing but also adds a whimsical touch to your sensory play. It’s perfect for parties, rainy day activities, or just as a therapeutic sensory experience. Plus, the best part? It’s super easy to personalize with various colors and scents!
Why is Fluffy Green Slime So Popular?
Fluffy slime has surged in popularity due to its unique texture and versatility. It’s not just great for kids; adults have also embraced slime-making as a form of stress relief and a creative outlet. Additionally, social media platforms like Instagram and TikTok have exploded with slime-making videos, showcasing endless variations and creations. Whether it’s for sensory play, DIY gifts, or just a creative outlet, fluffy green slime has something to offer everyone.
Materials Needed
Before we dive into the detailed steps, let’s gather our ingredients. Here’s everything you’ll need to make your very own fluffy green slime:
- 1 cup of white school glue (like Elmer's)
- 1 cup of shaving cream (for the fluffy texture)
- 1 teaspoon of baking soda (to help the slime firm up)
- 1-2 tablespoons of contact lens solution (this activates the slime)
- Green food coloring (or any color of your choice)
- Plastic mixing bowl and spoon
- Measuring cups and spoons
- Optional: scented oils or glitter (for extra fun)
Step-by-Step Tutorial
Step 1: Prepare Your Workspace
Before you begin, set up a clean, flat work surface to mix your slime. I recommend covering the table with newspapers or an old tablecloth to make cleanup easier. Gather all your materials in one spot to ensure a smooth crafting process.
Step 2: Mix the Glue and Shaving Cream
In your plastic mixing bowl, pour 1 cup of white school glue. This is the base of your slime and will give it that stretchy quality. Next, add 1 cup of shaving cream. Make sure you use a foam shaving cream, as gel-like ones won’t provide the same fluffy texture.
Why this step matters: The glue gives structure to your slime, while the shaving cream introduces air, which creates that fluffy consistency we adore. Stir the mixture with your spoon until it's well blended and fluffy; this usually takes about 1-2 minutes.
Tip: If you want to add scents or glitters at this stage, go ahead! Just a few drops of essential oil will make your slime smell delightful.
Step 3: Add Baking Soda
Once your glue and shaving cream are mixed, it’s time to add 1 teaspoon of baking soda. Stir this in completely. The baking soda acts as a firming agent that will help your slime hold its shape.
What could go wrong: If you don’t mix the baking soda in thoroughly, you could end up with uneven slime that doesn’t activate properly. Make sure to scrape the sides and bottom of the bowl as you mix.
Step 4: Color Your Slime
Now comes the fun part—adding color! Drop in green food coloring until you achieve your desired shade. I usually start with 5-6 drops and mix, then add more if necessary. Keep in mind that the color may lighten slightly as the slime is mixed.
Personal Anecdote: I remember the first time I made this slime with my children. We excitedly experimented with colors, and it turned into a vibrant tie-dye mess of greens and blues. We still laugh about that chaotic day!
Step 5: Activate Your Slime
To turn your mixture into slime, it’s time to add the contact lens solution. Start with 1 tablespoon, drizzle it into the mix while you stir continuously. You’ll notice the slime starting to pull away from the sides of the bowl.
Why this step matters: The ingredients need to react to create that stretchy, pliable texture we’re aiming for. If you find the slime too sticky, add another tablespoon of the contact lens solution.
Safety Warning: Ensure your contact lens solution contains boric acid, as this is the activating ingredient. Always keep such materials out of reach of young children and supervise them during crafting.
Step 6: Knead the Slime
After it begins to take on a slime-like consistency, switch to using your hands. Knead the slime for a few minutes. This helps to incorporate air and will make your slime even fluffier.
What could go wrong: If the slime is too sticky, knead in a little more contact lens solution, but do this a drizzle at a time—it’s easy to add too much and turn your fluffy slime into a rubbery mess.
Step 7: Store Your Slime
Once your fluffy green slime feels just right, place it in an airtight container. It should last for about a week if you store it properly, but I recommend keeping it in the refrigerator to prolong its life and maintain the fluffiness.
Creative Variations
Once you've mastered the basic fluffy green slime, you can explore various creative variations:
- Scented Slime: Infuse with essential oils like lavender or eucalyptus for a calming effect.
- Glittery Slime: Add a tablespoon of fine glitter for a shimmering effect.
- Themed Slime: Change the color and add fun shapes or confetti for birthdays or holidays.
Conclusion
Making fluffy green slime is not only a fun activity but also an opportunity to engage your creativity! Through this step-by-step guide, I hope you feel empowered to take on this crafting endeavor and customize it to suit your personal style. It’s a fantastic way to bond with friends or family, enjoy a fun weekend activity, or unwind after a long day.
If you have any questions while making your slime or if something goes sideways, remember that messing up is part of the learning experience! Don’t hesitate to reach out for guidance. Happy slime-making, and may your fluffy green creations bring you joy and endless fun!