How to Make Fizzy Rainbow Rocks: A Step-by-Step Guide
Hello fellow crafters! Today, I'm thrilled to share one of my absolute favorite science experiments that doubles as an artsy activity: Fizzy Rainbow Rocks! This fun activity not only brings a splash of color to your day but also allows you to explore the delightful interaction between baking soda and vinegar. Perfect for birthday parties, science fairs, or simply a rainy afternoon at home, Fizzy Rainbow Rocks are versatile and engaging for kids and adults alike.
What Are Fizzy Rainbow Rocks?
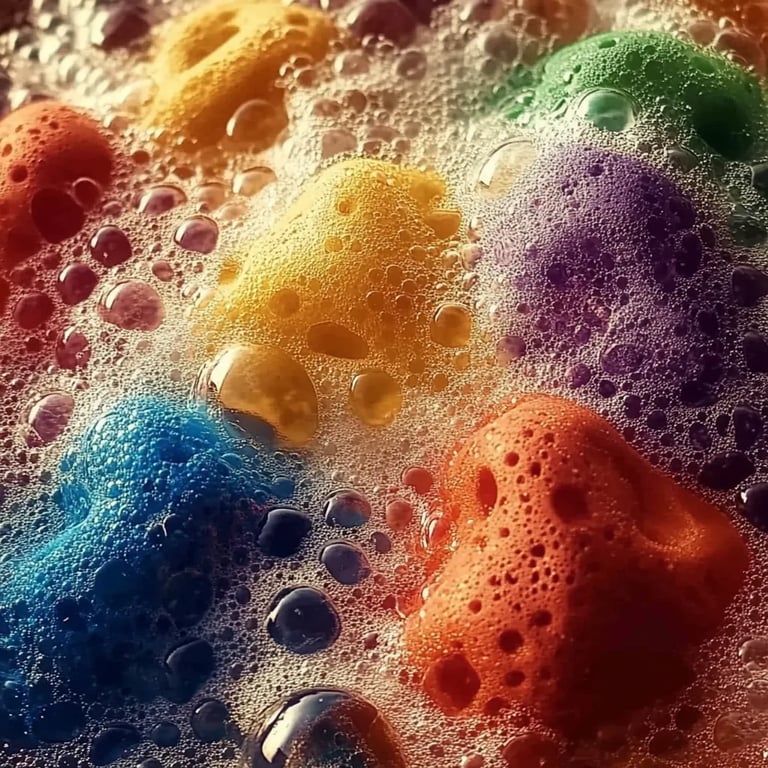
Fizzy Rainbow Rocks are colorful creations that fizz and bubble when they come into contact with a liquid, thanks to the reaction between baking soda (a base) and vinegar (an acid). The reaction produces carbon dioxide gas, creating that delightful fizzing effect. You can decorate these rocks however you like, adding your own personal touch to each piece. The very best part? They make for a stunning display piece or a super fun science experiment, giving you the chance to play with colors, textures, and reactions!
One reason why they have gained popularity is their dual purpose: they’re both art and science, which makes them incredibly engaging for children and adults. Whether you’re incorporating this into a home-school curriculum, hosting a party, or simply seeking a creative outlet, Fizzy Rainbow Rocks serve many purposes.
Materials Needed
Before we dive into the fun part, let’s gather our materials. You’ll need:
- Baking soda (1 cup)
- Liquid watercolors or food coloring (a variety of colors)
- Vinegar (1-2 cups)
- Muffin tin or ice cube tray (to shape your rocks)
- Mixing bowl
- Spoon or spatula (for mixing)
- Tray or baking sheet (to catch any overflow)
- Gloves and safety goggles (optional, but recommended for safety)
- Spray bottle (optional) (for a more controlled application of vinegar)
Step-by-Step Tutorial
Step 1: Mixing the Base
- Combine the Baking Soda and Watercolors: In a mixing bowl, add 1 cup of baking soda. Start with a few drops of liquid watercolors or food coloring. The amount will depend on how vibrant you want your rocks to be.
Why This Matters: Mixing the baking soda with the color at the beginning provides a uniform color throughout the rocks. You can create a rainbow effect by using separate bowls for each color.
- Add Water: Gradually add a couple of tablespoons of water to the powdered mixture. The goal is to create a thick paste that holds its shape but is still moldable.
Tip: If you add too much water, don’t panic! You can always balance it by adding a little more baking soda until you reach the right consistency.
Step 2: Shaping the Rocks
- Mold the Mixture: Divide your colored baking soda mixture into the muffin tin or ice cube trays. Press firmly into the molds to ensure they hold shape. You can create as many colors and shapes as you like!
Why This Matters: Packing the mixture tightly helps maintain its structure when removed from the molds. If they crumble when you pop them out, don’t worry; just re-pack them tightly or add a bit more water.
- Let Them Dry: Allow your molds to dry for at least 24 hours. A warm, dry place is ideal, but if you are in a more humid environment, you might need up to 48 hours.
Tip: You can speed up the drying process with a fan. Just make sure it’s not too strong, as that can cause uneven drying.
Step 3: Creating the Fizzy Effect
- Pop Them Out: Once they are fully dry and feel hard to the touch, gently pop them out from the molds. Place them on a tray for easy cleanup.
What Could Go Wrong?: If they break apart, you can still use the powder! Just mix it with vinegar in a small bowl for a colorful fizz experience.
- Add Vinegar: When you’re ready for the fizzy fun, simply pour vinegar over your beautiful rocks. If you’re feeling extra creative, use a spray bottle for more control.
Creative Variation: Add a drop of dish soap to the vinegar for extra bubbles, or mix in glitter for some sparkling fun!
Safety Warnings
While the materials used in this project are generally safe, it’s always a good idea to wear gloves and goggles, especially when working with younger kids. Baking soda and vinegar reactions can be messy!
Additional Tips & Alternative Methods
- Make Smaller or Larger Rocks: Depending on your molds—whether they’re ice cube trays or silicone molds—you can create different sizes of rocks. Smaller rocks may fizz out faster, while larger ones take a bit longer.
- Flavored and Scented Variations: If you want, add a drop or two of essential oils to the mixture for a lovely scent when using vinegar, or mix in flavored drink mix powder for an aromatic experience.
- Environmental Consideration: If you’re concerned about coloring agents, natural alternatives like beet juice or turmeric can provide beautiful hues that are also good for the planet.
Personal Anecdotes
I remember the first time I introduced this experiment to my niece. We planned a little "science day" at my home, and she was so excited to help with the mixing. We ended up with a rainbow of colors—her giggles were contagious as we waited for the fizzing reaction. It encouraged her curiosity about science and the creative process, and I treasure those moments immensely.
Conclusion
Creating Fizzy Rainbow Rocks is not just a craft—it's a wonderful way to explore creativity, science, and the joy of hands-on learning. With a few simple materials and a little bit of patience, you can create something beautiful and fun. Whether it’s a special occasion, educational experience, or just a way to spark creativity, I hope you enjoy making these as much as I have. Happy crafting, fellow creators! Don’t forget to share your colorful creations. I’d love to see your fizzy rocks in all their rainbow glory!