How to Make Fizzy Chalk Paint: A Complete DIY Guide
Hello fellow crafters! Today, I'm thrilled to share my tried-and-true method for creating a fun and vibrant crafting material that delights both kids and adults alike: Fizzy Chalk Paint! As an experienced crafter, I have explored countless art supplies and recipes, but there’s something uniquely joyful about the fizzing reaction and bright colors of this paint. It's perfect for those sunny afternoons when you want your kids to explore creativity outdoors or for adults who want to channel their artistic side in a playful way.
What Is Fizzy Chalk Paint?
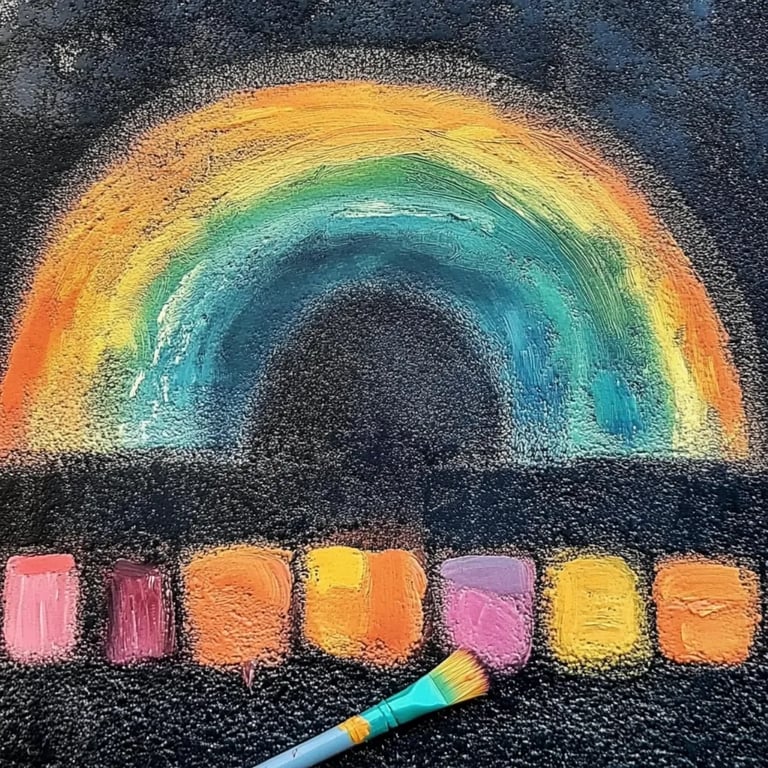
Fizzy Chalk Paint is a bubbly, fizzy concoction made primarily from baking soda, vinegar, and cornstarch that when mixed, creates an effervescent reaction. It’s not just any chalk paint; it bubbles and fizzes as you apply it, making the painting experience even more interactive and engaging. You can use it for sidewalk art, on paper, or even for some fun projects on canvas, and since it dries like traditional chalk paint, it's easy to wash off with water, leaving no permanent mess.
Why Is It So Popular?
Fizzy Chalk Paint has become a go-to activity for many families because it blends the fun of painting with the unique experience of chemistry in action. Whether you’re hosting a birthday party, a craft day with friends, or a relaxing art session by yourself, this fizzy paint offers something for everyone—an opportunity for creativity, discovery, and joy!
When and How Can You Use Fizzy Chalk Paint?
- Spring and Summer Days: Perfect for outdoor activities when the weather is nice.
- Birthday Parties: A great way to engage kids in a creative group activity.
- Educational Purposes: Use it to introduce children to science concepts like reactions and color mixing.
- Seasonal Decorations: Create temporary art for holidays, festivals, and special occasions on sidewalks.
Crafting My Own Fizzy Chalk Paint: Step-by-Step Tutorial
Now, let’s dive into making this delightful painting material! Below, you’ll find a comprehensive and step-by-step tutorial that is easy to follow and requires just a few accessible materials.
Materials You’ll Need
- Baking Soda: 1 cup (the star ingredient for the fizz)
- Cornstarch: 1 cup (adds thickness and makes it paint-like)
- Vinegar: 1 cup (the acid that reacts with baking soda)
- Water: 1 cup (adds to fluidity, adjusting consistency)
- Food Coloring: (as many colors as you desire!)
- Mixing Bowls: 3-4 (for different colors)
- Spoon or Whisk: (for mixing)
- Muffin Tin or Ice Cube Tray: (to hold your paint)
- Brushes or Squeeze Bottles: (for application)
- Protective Sheet: (newspaper or a plastic table cover)
- Apron or Old Clothes: (for safety—this can get messy!)
Step-by-Step Process
Step 1: Assemble Your Materials
Before diving in, gather all your materials in one place. If you’re working with kids, involve them in this step—it adds to the excitement! Ensure your workspace is covered with a protective sheet to make cleanup easier.
Step 2: Mixing the Dry Ingredients
In a mixing bowl, combine 1 cup of baking soda and 1 cup of cornstarch. Stir them together well until the mixture is uniform in texture. Why is this step important? Alike ingredients blend more effectively to ensure smooth paint consistency, minimizing clumps later.
Tip: If you see clumps in your cornstarch, you may want to sifter beforehand to avoid unevenness.
Step 3: Gradually Add Water
Once your dry ingredients are well mixed, add 1 cup of water slowly. Use a whisk or a spoon to combine the ingredients thoroughly. The mixture should become more liquid and chalky.
What could go wrong? If the mixture is too thick, it will be hard to paint with, and if too thin, it won’t hold a shape. The goal is a thick, pourable consistency, similar to pancake batter.
Step 4: Prepare for Fizzing
In a separate bowl, pour 1 cup of vinegar. This is where the fun happens! When you’re ready to paint, you will mix this vinegar with the dye batch you’re working with to create the fizzing effect.
Step 5: Add Color
Now, the fun part—coloring! Divide your paint mixture into multiple bowls based on how many colors you want. Add a few drops of food coloring to each bowl and mix thoroughly until you achieve your desired shade.
Step 6: Get Ready to Fizz!
When you’re ready to paint, take your colored mixture and pour it into muffin tins or ice cube trays. Pre-filling them allows multiple colors to be available for use at once.
Step 7: Painting Time!
Using brushes or squeeze bottles, apply the color onto a surface of your choice. This might be your sidewalk, a large sheet of paper, or a canvas. When you paint, simply pour the vinegar over the colored mixture to activate the fizz!
A Personal Anecdote: I once had a craft afternoon with some friends, and the giggles we shared watching the fizzing colors pop and blend together were priceless!
Troubleshooting Tips
- Too Much Fizz?: If the reaction is too overwhelming, it might mean too much vinegar is being applied at once. Just dab with a tissue to control the fizzing.
- Colors Mixing: If you want to create customized shades on the surface, use separate application tools (like different brushes) to keep colors distinct.
Safety Warnings
- Keep it Non-Toxic: Ensure that all ingredients are non-toxic and safe for the intended users, especially if children are involved.
- Clothing Protection: Wear old clothes or an apron as food coloring can stain.
- Supervision is Key: If children are participating, supervise their activities throughout the process.
Alternative Methods and Ingredient Substitutions
- Baking Powder Instead of Baking Soda: Baking powder can also create a fizz, but you will miss the dramatic effect that baking soda provides.
- Natural Dyes: Instead of food coloring, use beet juice, turmeric, or spinach for safer, edible paints.
- Stale Vinegar: If your vinegar has gone stale, the fizz effect may be less intense. Fresh vinegar is best for this project.
Creative Variations
- Add Glitter: For an extra creative twist, mix glitter into your chalk paint for a sparkly effect.
- Henna-Inspired Designs: Use squeeze bottles to create intricate designs, resembling henna art.
- Blend Colors: Experiment with blending colors on paper, allowing them to fizz together for unexpected results.
Final Thoughts
Creating Fizzy Chalk Paint is a delightful blend of arts and sciences that invigorates creativity and brings smiles. I hope this guide has empowered you to make and enjoy your own fizzy concoctions. Embrace the messiness and fun in the process, and remember—there are no mistakes in crafting, just opportunities for new creations!
Happy crafting, and I can't wait to hear about your colorful adventures with Fizzy Chalk Paint! Share your experiences, variations, or any challenges you face; I’m always here to help you through it!