How to Make Fizzing Slime: A Step-by-Step Guide from an Experienced Crafter
Hello, fellow crafters! Today, I'm thrilled to share one of my all-time favorite projects: making fizzing slime. This mesmerizing concoction is not just a tactile delight; it offers an incredible sensory experience as the bubbles froth and fizz during play. Fizzing slime has become immensely popular, particularly among kids, because it combines the best aspects of slime (that stretchy, squishy texture) with the excitement of a fizzy reaction. Whether you’re looking for a fun weekend project with your little ones or a unique science demonstration for a classroom setting, this guide has you covered.
Why Choose Fizzing Slime?
Fizzing slime is perfect for all ages. It’s a fantastic way to spark creativity, learn about science, and let your imagination run wild! You can use it during playdates, birthday parties, or even just a regular afternoon at home. The best part? It encourages hands-on exploration and scientific curiosity.
Prepare yourself for a fun and educational experience that requires simple materials and a bit of patience. Let’s dive into the steps!
Materials You’ll Need
To craft your fizzing slime, gather the following materials:
- Glue: Clear or white school glue works well. This is the primary binding agent for the slime.
- Baking Soda: Acts as a thickening agent to make your slime stretchier.
- Contact Lens Solution: This includes boric acid, which helps to activate the slime. If you're sensitive to boron or looking for a non-boric acid solution, make sure to read labels carefully.
- Vinegar: For the fizzing reaction! Note that this will also affect the texture of the slime.
- Baking Soda/Vinegar Ratio: Adjust these amounts to control the level of fizz.
- Food Coloring (optional): Perfect for adding a colorful twist to your slime.
- Mixing Bowl: Choose a bowl large enough to allow some room for mixing.
- Spoon: For stirring things up!
- Measuring Cups: Accurate measurements lead to better results.
- Plastic Container: To store your slime when you are done playing!
Step-by-Step Tutorial for Fizzing Slime
Step 1: Combine Glue and Baking Soda
In your mixing bowl, pour in about ½ cup of glue. Add 1 teaspoon of baking soda and stir it thoroughly until well combined. This step is crucial because baking soda not only thickens the slime but also contributes to its stretchiness.
What Could Go Wrong: If you don’t use enough baking soda, your slime might turn out too runny.
Tip to Fix It: If your slime is too runny, gradually add more baking soda, mixing until you reach the desired consistency.
Step 2: Add Food Coloring
This part is where personal creativity shines! Add a few drops of food coloring into your glue and baking soda mixture. The more drops you add, the more vibrant your slime will be.
Why This Matters: A colorful slime is visually appealing and adds to the overall experience, making it more fun.
Step 3: Introduce the Contact Lens Solution
Next, add 1-2 tablespoons of contact lens solution to your mixture. Stir vigorously until the mixture begins to pull away from the sides of the bowl. This is where the slime starts to take shape!
What Could Go Wrong: Using too much contact lens solution can make your slime too stiff.
Tip to Fix It: If you find your slime too stiff, add a few drops of water and knead the slime with your hands until it reaches a pliable consistency.
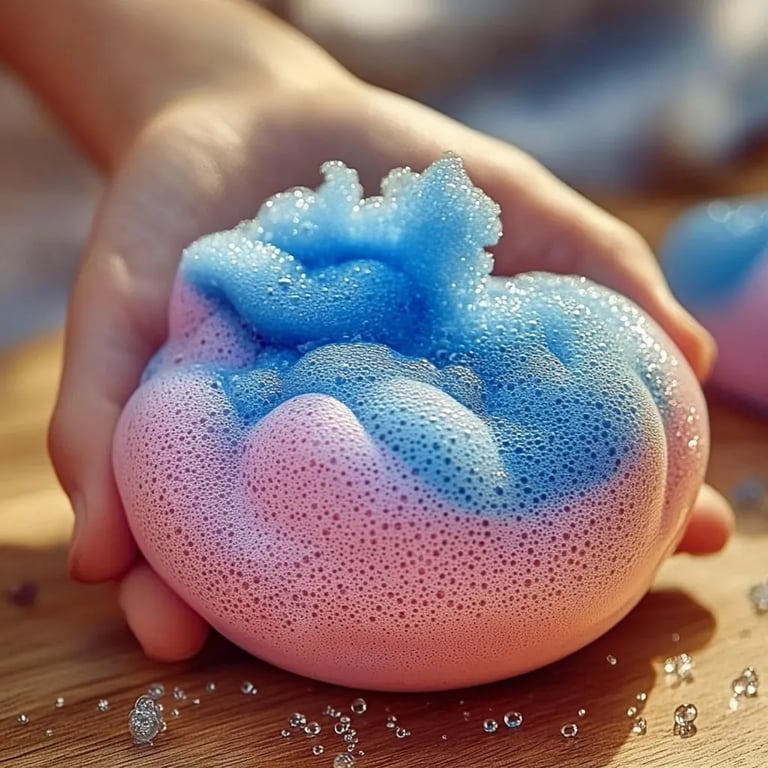
Step 4: The Magical Fizz!
Here’s the fun part! In a separate container, mix 1-2 tablespoons of vinegar with a bit more baking soda (about 1 teaspoon). Watch as it fizzes up! Once it calms down, gather your slime in your hands and drop it into the fizzing mixture.
Why This Matters: The reaction between vinegar and baking soda creates carbon dioxide gas, producing that satisfying fizzing effect!
Creative Tip: You can use this step as a mini science lesson—explain the chemical reaction happening right in front of you!
Step 5: Storing Your Fizzing Slime
When finished playing, store your slime in a plastic container with a lid to keep it fresh for longer. If it dries out, you can usually revive it with a bit of water and kneading.
Troubleshooting Common Issues
- Slime Won’t Activate: If your slime doesn’t form, ensure you have enough contact lens solution and that it includes boric acid.
- Too Sticky: If your slime sticks to your hands or surfaces, you may need to add more contact lens solution or baking soda.
- Fizzling is Weak: If your fizzing reaction is lacking, you can add more vinegar to your mix. Just be careful not to add too much, as it may affect the slime’s texture.
Alternative Ingredients and Variations
- Make it Glittery: Adding glitter will give your slime a magical sparkle! Mix in a teaspoon before the activating step.
- Scent It: Consider adding a few drops of essential oils for a fragrant twist; lemon or mint can be refreshing!
- Color Changing: You can use thermochromic paint if you want your slime to change colors with temperature!
Safety Concerns
While crafting is fun, safety is paramount. Always supervise children, especially when using vinegar and baking soda. Ensure everyone washes their hands thoroughly after handling the materials, particularly if they have any skin sensitivities.
Final Thoughts
Creating fizzing slime can be a delightful and educational experience. It offers a hands-on way for kids (and adults!) to understand basic chemistry principles while engaging in sensory play. My hope is that this step-by-step guide empowers you to take on this fun project with confidence.
Remember, crafting is all about exploration and creativity—there's no right or wrong way to make slime! So gather your materials, set aside some time, and dive into the world of fizzing slime. Happy crafting!