How to Make Fizzing Ice Cubes: A Step-by-Step Guide for Crafty Fun
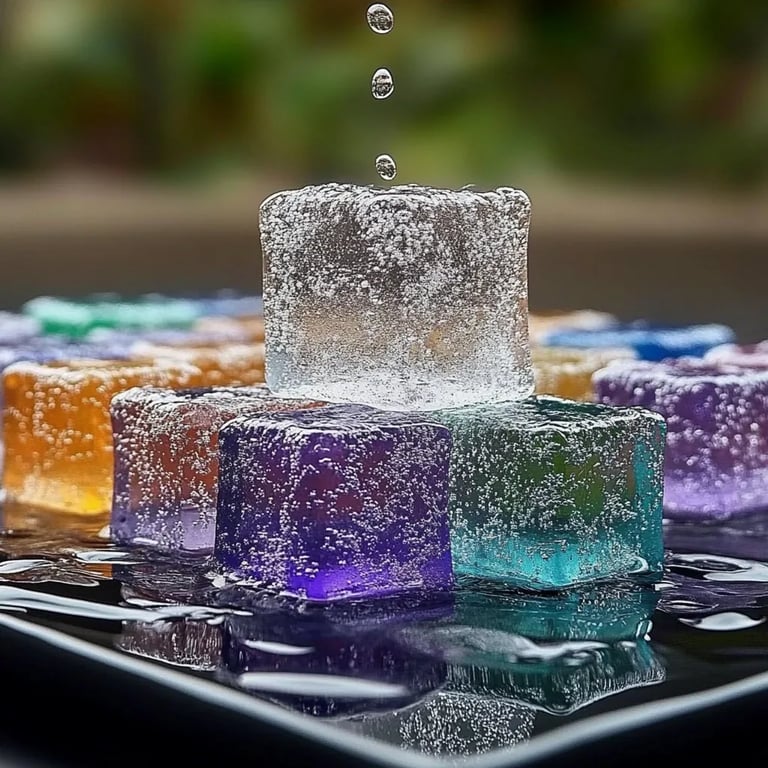
Hello, fellow crafters! Today, I’m thrilled to share with you one of my favorite DIY projects: making fizzing ice cubes. These delightful creations are not only visually stunning but also add an element of surprise and fun to any drink. Imagine throwing a few of these ice cubes into lemonade or punch during a summer gathering, and watching as they fizz and pop, releasing a delightful aroma and flavor. The best part? They're incredibly easy to make and are perfect for parties, kids’ events, or simply to impress your guests.
In recent years, fizzing ice cubes have gained popularity for their whimsical, interactive quality. They are perfect for kids’ parties (and let’s be honest, adults too!) and can elevate a simple drink into something extraordinary. So, grab your materials, and let’s get started on this fizzy adventure!
Materials You’ll Need
Before we dive into the steps, let’s make sure you have everything we need. You likely have some of these items at home already!
- Ice Cube Tray – Silicone trays work best for easy removal.
- Water – This will be the primary ingredient for your cubes.
- Baking Soda – This is what will create our fizzing reaction.
- Vinegar – The secret ingredient that, when combined with baking soda, initiates the fizzing.
- Food Coloring (optional) – For a vibrant, eye-catching look.
- Essential Oils or Flavor Extracts (optional) – These will give your cubes an extra layer of flavor.
- Mixing Bowl and Spoon – For mixing the ingredients.
Step-by-Step Tutorial: Crafting Fizzing Ice Cubes
Step 1: Prepare Your Mixture
First, start by mixing your dry ingredients. In a mixing bowl, combine two parts baking soda to one part water.
- Why this matters: The baking soda should be the primary ingredient because it reacts with vinegar to create the fizz.
*Personal Tip*: I like to start with ½ cup of baking soda and add about ¼ cup of water. You’ll want a thick, paste-like consistency. If it feels too dry, add more water a teaspoon at a time until the mixture holds its shape.
Step 2: Add Color and Flavor
If you want to jazz your fizzing ice cubes up, now’s the time to incorporate your food coloring and flavor extracts.
- Why this step is essential: The food coloring will not only make your ice cubes visually appealing but also fun for kids and guests. Flavor extracts add a subtle taste that can complement the drinks you’re serving.
*Tip*: Just a few drops of food coloring can go a long way. Mix well so the color is evenly distributed throughout the baking soda mixture.
Step 3: Fill the Ice Cube Tray
Using a spoon or your hands (I usually prefer using my hands for more control), fill your ice cube tray with the mixture, compacting it down as you go.
- Why compacting is important: Compacting ensures the cubes hold together well during the freezing process, preventing crumbling when you pop them out.
Step 4: Freeze
Once your tray is filled, carefully place it in the freezer for at least 4 hours. I recommend doing this overnight for best results.
- Potential Pitfall: If your cubes don’t freeze solid, they may fall apart when removed. So be patient!
Step 5: Unmold Your Cubes
When they are fully frozen, gently twist or pull on the silicone ice tray to remove them.
- Why this matters: Silicone trays allow for easy release, unlike hard plastic. If you don’t have silicone, just run a little warm water over the outside of the tray.
Step 6: The Fizzing Action!
Place the fizzing ice cubes in your drink of choice. Pour vinegar over the ice cubes just before serving.
- Safety Warning: Use a glass or container that can handle the fizzing reaction. It can be a fun experiment, but avoid any vessels that can easily spill.
Troubleshooting Tips
- Cubed too soft? If your cubes don’t hold their shape, try adding more baking soda to your mixture.
- Too crumbly? If they break apart when you try to remove them, try freezing them for a longer period, or ensure you've compacted them well.
Creative Variations
Once you’ve mastered the basic recipe, there are endless variations you can try:
- Herbal Fizzing Cubes: Use herbal tea instead of water and add fresh herbs for an aromatic twist.
- Citrus Cubes: Juice fresh lemons or limes and use that as your liquid base for a refreshing citrus fizz.
- Layered Cubes: Create visually stunning, multi-layer ice cubes by alternating layers of different colors or flavors.
Final Thoughts
Making fizzing ice cubes is not only a fantastic way to impress your guests, but it’s also a simple and enjoyable crafting experience. With just a few basic ingredients and a little creativity, you can transform your drinks into a bubbly spectacle that brings everyone together.
I hope you find as much joy in making these fizzing ice cubes as I have! Don’t hesitate to experiment with your flavors and colors, and remember: crafting is all about having fun and allowing your creativity to flow. Happy crafting!