How to Make Fireworks in a Jar: A Sparkling Sensation for All Occasions
Hello, crafty friends! Today, I'm excited to share one of my favorite DIY projects: making Fireworks in a Jar. If you haven’t seen these vibrant, swirling wonders yet, let me tell you, they’re absolutely mesmerizing! This fun project is not only visually stunning but also incredibly easy to make. Whether it’s for a party decoration, a captivating centerpiece, or simply an enjoyable afternoon activity, these Fireworks in a Jar are sure to impress anyone who lays eyes on them.
Why Fireworks in a Jar?
Fireworks in a Jar have grown in popularity due to their enchanting allure and simplicity. They combine art and science, making them a perfect project for both kids and adults. You can use them to brighten up celebrations, such as birthdays and the Fourth of July, or simply as a creative way to relieve stress. They’re also a fantastic educational tool to explain concepts like density and liquid layering to children in a fun and engaging manner.
Now, let’s dive into how to create this captivating display – I promise, you’ll be amazed at how simple it is once you know the steps!
Materials You Will Need
Before you begin, gather the following materials:
- A clear jar ( mason jars work well!)
- Water
- Vegetable oil (or another light oil, such as canola)
- Food coloring (the more colors, the better!)
- A fork or whisk
- Optional: Glitter for some extra sparkle
Step-by-Step Guide to Making Fireworks in a Jar
Step 1: Prepare Your Workspace
Finding a clean, flat workspace is essential. Lay down newspapers or an old tablecloth to catch any spills. Crafting can be messy, but that’s part of the fun, right?
Step 2: Fill the Jar with Water
Start by filling your jar about two-thirds full with water. This acts as the “canvas” for your fireworks display. Why does this step matter? Water's density will help us create the beautiful swirling effect with our oil-based food coloring. If you fill it up too much, your masterpiece might overflow once you add oil!
Step 3: Add Oil
Next, pour a generous amount of vegetable oil into the jar—around two tablespoons should do the trick. Here’s why: Oil is less dense than water, which is key to the whole process. Remember to set aside some of the oil for mixing in color later.
Step 4: Mix Food Coloring
Now, let’s create those stunning colors! In a separate small bowl, add a few drops of your chosen food coloring into some of the remaining oil. A good rule of thumb is one to two drops for a vibrant effect. Troubleshooting tip: If you find the colors aren’t vibrant enough, don’t hesitate to add more food coloring. Mix it well with a fork or whisk until you see tiny colored bubbles floating around the oil.
Step 5: Create the Fireworks Effect
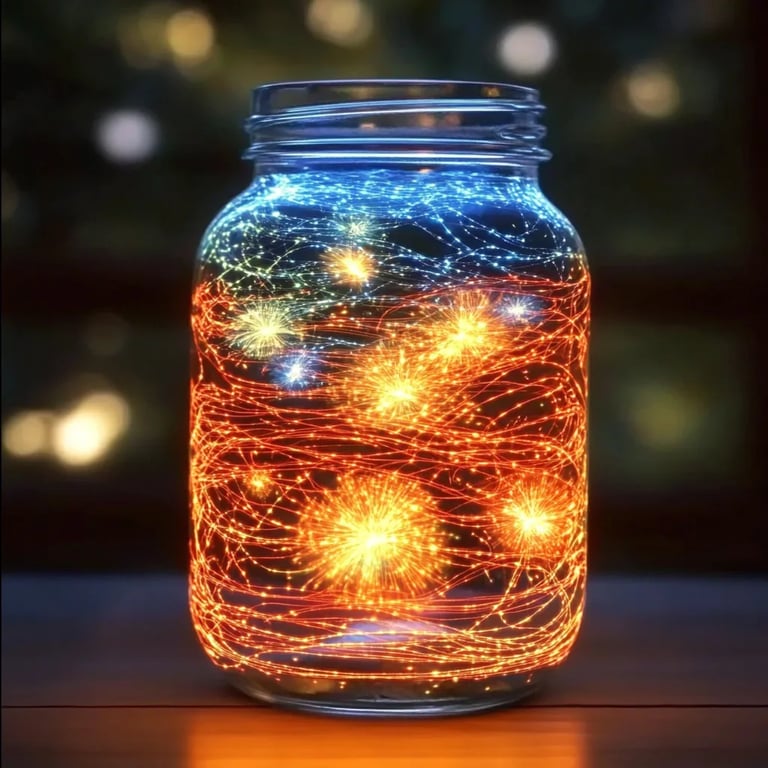
Carefully drizzle the colored oil into the water-filled jar. As you do this, watch the magic happen! The oil droplets will sink through the water, creating colorful bursts reminiscent of fireworks. It’s a mesmerizing sight, and it brings back memories of my own childhood, watching fireworks sparkle in the night sky.
Step 6: Optional Glitter
For those looking to take this project to the next level, add some glitter into your jar! This not only enhances the festive feel but also adds a touch of elegance. It’s like capturing the sparkling stars amidst a fireworks display.
Step 7: The Final Touches
At this point, you can leave your Fireworks in a Jar as is, or you might want to gently swirl the jar for a more blended look. Just be careful not to shake it too vigorously; otherwise, you might mix the oil and water too much, and we’re aiming for that beautiful layered effect!
Safety Tips and Warnings
- Keep it out of reach of small children: Although this project is safe overall, the small parts (like glitter) can pose a choking hazard.
- Avoid ingestion: This project is not meant for consumption; keep these jars as decorative pieces.
- Mind the spills: Oil can be a slippery substance, so be careful and clean any spills promptly.
Alternative Methods and Ingredient Substitutions
Do you want to mix up your creations? Here are a few alternative methods:
- Use Honey instead of Oil: If you're looking for a natural alternative, honey can create a beautiful effect, though it can be heavier.
- Try Different Liquid Bases: You can experiment using tonic water or sparkling water for a bubbly twist.
- Use Different Jars: Try different shapes and sizes for unique displays. A wide mouth jar can showcase your colorful explosions better!
Personal Anecdotes
I still remember the joy I felt the first time I tried this project with my niece. We watched in awe as our brightly colored oil droplets danced through the water. It became a cherished memory, and we ended up making several jars to decorate her room!
Creative Variations
Once you’ve mastered the basics, the possibilities are endless! Here are a few creative variations you can try:
- Seasonal Themes: Use red, green, and white for Christmas; pastels for Easter; or autumn colors for Fall.
- Add LED Lights: Place a string of battery-operated fairy lights beneath your jar for an enchanting glow in the evening.
- DIY Labels: Personalize your jars with fun labels or stickers, turning them into gifts for your friends and family.
Conclusion
Making Fireworks in a Jar is not just an adorable craft to brighten up your home; it’s a wonderful way to spend time with loved ones, create beautiful memories, and discover the basic principles of science in action! I hope this guide inspires you to grab your supplies and start crafting. Remember, the beauty of crafting lies in the journey, so don't be afraid to experiment and make this project your own. Happy crafting, and let your creativity spark brilliant fireworks!