#How to Make Edible Aquarium Fluff: A Step-by-Step Guide from an Experienced Crafter
As a seasoned crafter who loves to sprinkle a bit of whimsy into life's special moments, I've truly enjoyed discovering the art of making Edible Aquarium Fluff. This charming treat has gained popularity over recent years and for good reason! A delightful concoction that resembles tropical aquatic life, Edible Aquarium Fluff is perfect for ocean-themed birthday parties, summer picnics, or even an imaginative dessert for a casual family dinner.
In this guide, I will walk you through the entire process of making Edible Aquarium Fluff, sharing my personal tips, potential pitfalls, and creative variations along the way. So, grab your apron, and let’s dive into this fun crafting adventure!
What is Edible Aquarium Fluff?
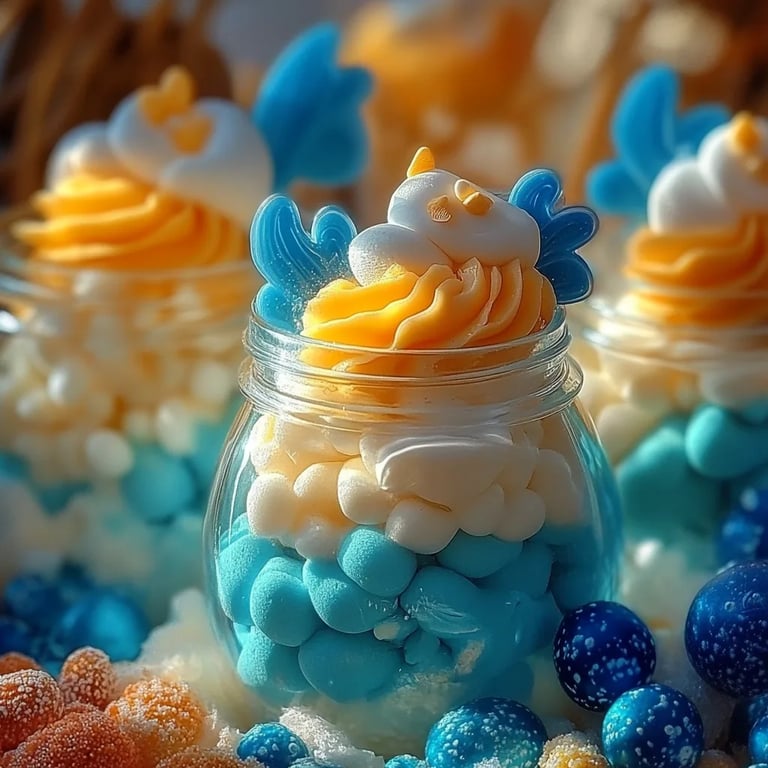
Edible Aquarium Fluff is essentially a light and airy dessert that mimics the look of a colorful aquarium, complete with candy fish, edible seaweed, and shimmering edible glitter or sprinkles that evoke the ocean's sparkle. The base usually consists of whipped cream or whipped topping, combined with flavored gelatin to create an aquatic hue, along with various candies to decorate it. It's not just visually stimulating but also a delicious treat for kids and adults alike!
Now, why is it so popular? Well, this dessert tends to serve as a fantastic conversation starter and photo opportunity at events – perfect for creating lasting memories. Plus, it’s a fun cooking project that lets kids get creative with flavors and decorations.
Materials You’ll Need
Here’s a simple list of materials to create your own Edible Aquarium Fluff:
- 1 cup of heavy whipping cream (or non-dairy whipped topping for a vegan option)
- 1 cup of flavored gelatin powder (blue raspberry or lime work great for an ocean effect)
- 2-3 cups of water (you’ll separate it between the gelatin and fluff)
- Assorted candies: gummy fish, candy rocks, edible seaweed (made with fruit leather or green candy), and edible glitter
- Mixing bowls and whisk or electric mixer
- Clear cups or bowls for serving
- Spatula for folding ingredients
- Optional decorations: crushed graham crackers (to resemble sand), small plastic sea creatures for an extra touch
Step-by-Step Tutorial
Step 1: Prepare the Gelatin
- Bloom the Gelatin:
- Boil 1 cup of water and pour it into a mixing bowl.
- Sprinkle 2-3 tablespoons of your chosen gelatin flavor over the water and stir until it’s fully dissolved.
- Allow it to cool for about 10-15 minutes. This is crucial as adding hot gelatin to your whipped mixture can affect the fluffiness.
Tip: Be careful not to let it set if it's a hot day; you might need to pop it into the fridge briefly to maintain a liquid state.
Step 2: Whip the Cream
- Whip the Cream:
- In a separate mixing bowl, pour in your heavy whipping cream.
- Use an electric mixer on medium speed, and whip until soft peaks form.
- Slightly sweeten with powdered sugar, vanilla extract, or a splash of your favorite flavoring for added depth.
Why It Matters: Whipped cream forms the base of your fluff, so achieving the right texture is essential. Over-beating can lead to butter, while under-beating will result in a liquid base.
Common Mistake: If your cream doesn’t whip up properly, make sure your bowl and beaters are cold. You could also try adding a teaspoon of cornstarch to stabilize it.
Step 3: Combine Gelatin and Whipped Cream
- Fold Together:
- Once your whipped cream has reached soft peaks and your gelatin has cooled, gently fold the gelatin into the whipped cream using a spatula.
- Be gentle to maintain the fluffiness, stopping when you see a uniform color.
Pro Tip: If you accidentally over-mix, it can become too loose. If this happens, chill the combined mixture in the refrigerator for about 20-30 minutes before proceeding to the next step.
Step 4: Assemble the Edible Aquarium Fluff
- Layering:
- Using clear cups or jars, begin by adding a layer of your aquarium fluff mixture.
- Spoon in a layer of your crushed graham crackers for ‘sand’.
- Add another layer of fluff, followed by gumballs, gummy fish, and any other candies you desire.
- Top with a sprinkle of edible glitter and perhaps a slice of fruit leather as seaweed.
Note: Layering not only ensures a beautiful visual effect but also allows flavors to meld nicely.
Step 5: Chill and Serve
- Let It Chill:
- Cover the cups with plastic wrap and place them in the refrigerator for at least 2-3 hours to set. This wait is crucial; it ensures that every layer melds together and the fluff achieves a perfect consistency.
Final Touches: You can place small plastic sea creatures on top just before serving for an extra wow factor!
Troubleshooting Common Issues
- Fluffing Problems: If the fluff doesn’t hold up or appears watery, check your cream – it could be over-whipped or the gelatin might not have been folded correctly.
- Setting Issues: If the layers don’t set, ensure the gelatin mixture is adequately cooled before combining, and chill sufficiently.
Personal Anecdotes
I remember the first time I made Edible Aquarium Fluff for my daughter’s birthday. The look on her face when I presented her with these whimsical sea-inspired treats was priceless! We had a wonderful time customizing each cup with different candies, and it turned into a fun family activity.
Creative Variations
Feel free to get adventurous with flavors and decorations. Here are a few ideas:
- Flavor combinations: Mix different flavored gelatins to create vibrant effects.
- Healthier twist: Substitute whip cream with yogurt or coconut cream for a lighter, tangy taste.
- More aquatic life: Use chocolate-covered pretzels for ‘crabby’ creatures, or tiny chocolate seashells for decoration.
Safety Warnings
- For those with food allergies, ensure you check labels on all candies and use alternative ingredients as necessary.
- Always supervise children during assembly, especially with small candies that could pose a choking hazard.
Conclusion
Making Edible Aquarium Fluff is not just a fun crafting project; it’s a way to create sweet memories. With a few simple ingredients and steps, you can whip up this unique treat that delights both the eyes and the taste buds. I hope this guide has inspired you to dive into this creative endeavor! Enjoy crafting your own Edible Aquarium Fluff, and don’t forget to share your creations with loved ones. Happy crafting!