How to Make Easy Shaving Foam Paint: Your Creative Guide to Fun and Vibrant Art
As a passionate crafter and DIY enthusiast, I'm always on the lookout for unique materials that can fuel my creativity, especially when it comes to sharing these fun projects with kids and fellow artsy friends. Today, I’m thrilled to share one of my favorites: Easy Shaving Foam Paint. This incredibly versatile and playful medium has become a staple in my crafting arsenal, and I can't wait for you to experience the joy of creating with it.
What is Shaving Foam Paint?
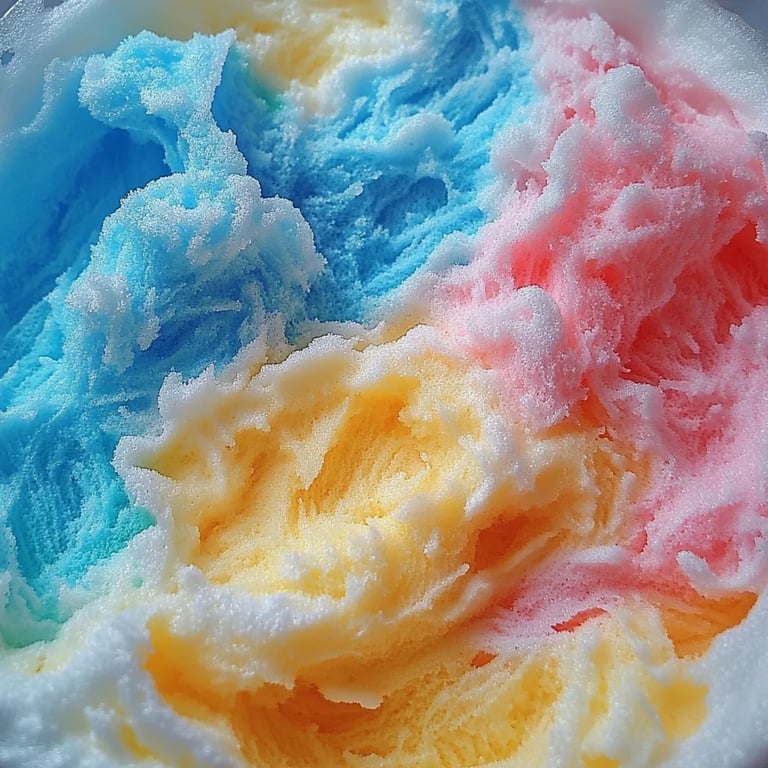
Shaving foam paint is a unique texture and vibrant medium that’s mainly composed of, you guessed it—shaving foam! When mixed with food coloring or liquid watercolors, it creates a fluffy, bubbly substance that can be used for painting, marbling, and so much more. It's particularly popular for kids’ crafts and sensory activities because it’s not only fun to make but also provides an engaging tactile experience that they adore.
I often use shaving foam paint in various contexts—from creating marbled artwork to unique party decorations. It’s perfect for kids’ birthday parties, classroom activities, or even just a cozy rainy day at home. Whether you’re a parent, teacher, or fellow crafter, I hope this guide inspires you to try this fun medium!
Why Shaving Foam Paint Is So Popular
- Textures and Techniques: The light, airy texture of shaving foam allows for impressive design techniques, such as marbling and layering.
- Safe for Kids: With non-toxic shaving foam and washable food coloring, it's a safe choice for children.
- Affordability: The ingredients are inexpensive and easy to find, making it accessible for everyone.
- Endless Creativity: You can create a variety of colors and patterns, revealing endless possibilities for artistic expression.
Materials You Will Need
Before diving into the creative process, it’s essential to gather all the materials you’ll need. Here’s what you’ll require:
- Shaving Foam: Use regular shaving foam (not gel) to get the right consistency.
- Food Coloring or Liquid Watercolors: The more vibrant, the better! Choose your favorite colors for a dazzling effect.
- Cardstock or Thick Paper: This serves as your canvas. Regular printer paper might warp, so go for something sturdier.
- Mixing Tools: You can use a spoon, spatula, or even a whisk for mixing.
- Disposable Baking Sheet or Tray: To contain the mess (because let’s be honest, it can get a bit messy).
- Plastic Gloves (optional): If you want to keep your hands clean while mixing.
- Spoon and Palette Knife: For intricate designs and applying the foam to paper.
- Water: For cleaning up or adjusting consistency when necessary.
Step-by-Step Tutorial: Making Your Easy Shaving Foam Paint
Now that we have everything ready, let’s dive into the step-by-step process!
Step 1: Prepare Your Workspace
Why This Matters: Crafting can get messy, especially with vibrant colors. By protecting your surfaces, you can focus solely on the creative process without worrying about cleanup.
Proceed: Lay out newspapers or an old tablecloth on your working surface. Set up your baking sheet or tray as your primary workspace for mixing and marbling.
Step 2: Dispense the Shaving Foam
Why This Matters: Getting the right amount of foam lays the foundation for your paint’s texture.
Proceed: Shake the can of shaving foam and dispense a generous handful onto the baking sheet. A good starting point is about one or two cupfuls.
Tip: Use regular, unscented foam if sensitive to scents or allergies. It works just as well!
Step 3: Add Color
Why This Matters: Adding colors will give your shaving foam paint its vivid charm.
Proceed: Using a few drops of food coloring, lightly place them onto the shaving foam. Don’t be afraid to use an array of colors—this is where your creativity shines!
What Could Go Wrong: Too much color can overwhelm the foam, making it hard to create clear designs later.
Fix It: If you find that the foam is too saturated, simply add more shaving foam to balance it out.
Step 4: Mix Gently
Why This Matters: Mixing introduces the colors without losing the lightness of the foam.
Proceed: Using your mixing tool, gently fold the colors into the foam. Avoid vigorous stirring; instead, use a gentle motion to create beautiful swirls.
Tip: Play with different mixing tools such as spatulas or even your fingers (if you’re feeling adventurous)!
Step 5: Paint Away!
Why This Matters: This is where your artistic side can truly flourish!
Proceed: Use a spoon, palette knife, or even your fingers to apply the shaving foam paint onto your cardstock. Go wild with swirls, designs, or abstract patterns. You can even try marbling by dropping bits of colored foam onto the paper and then swirling them together.
Creative Variation: Try layering by allowing each layer to dry slightly before adding more. This creates a dimensional look!
Step 6: Drying Process
Why This Matters: Proper drying will ensure your creation holds its shape and color.
Proceed: Leave your artwork to dry flat in a cool place. Depending on your climate, this could take anywhere from an hour to overnight.
Tip: If you’re eager to see the result, use a fan or hairdryer on a low setting to speed up drying!
Additional Tips and Safety Warnings
- Allergies and Sensitivities: Check for any skin sensitivities to shaving foam or food coloring, especially when working with children.
- Dispose Responsibly: When cleaning up, dispose of any excess foam responsibly. While it's non-toxic, it’s good practice to keep our environment neat.
- Explore Ingredients: Instead of food coloring, you can experiment with non-toxic acrylic paint for different color depth but be sure to test on small batches first as it changes the texture.
- Stay Creative: Don’t settle for just cardstock. Experiment with different surfaces between fabrics, wood slices, or even rocks for unique keepsakes!
Conclusion: Unleashing Your Creativity!
I hope this guide on making Easy Shaving Foam Paint inspires you to grab some friends or your little ones and kickstart your crafting adventure! Not only is it an exciting project to undertake, but the best part is the sense of accomplishment when you see the whimsical creations you brought to life.
Remember, crafting is a journey, so don’t strive for perfection. Embrace the quirky designs and enjoy the process. With a little patience, practice, and creativity, you can produce stunning pieces of art that you can cherish—or even gift. Now, unleash your inner artist and have fun! Happy crafting!