How to Make Easy Shaving Foam Paint: A Crafter's Guide
Hello fellow crafters! If you've been looking to add a unique twist to your creative endeavors, then you've come to the right place. Today, I’m excited to share my favorite crafting recipe: Easy Shaving Foam Paint. It’s not only simple to make but wonderfully versatile, allowing you to unleash your inner artist with vibrant, textured designs. As a seasoned crafter, I've experimented with various techniques, and I can assure you—this one’s a winner!
What is Easy Shaving Foam Paint?
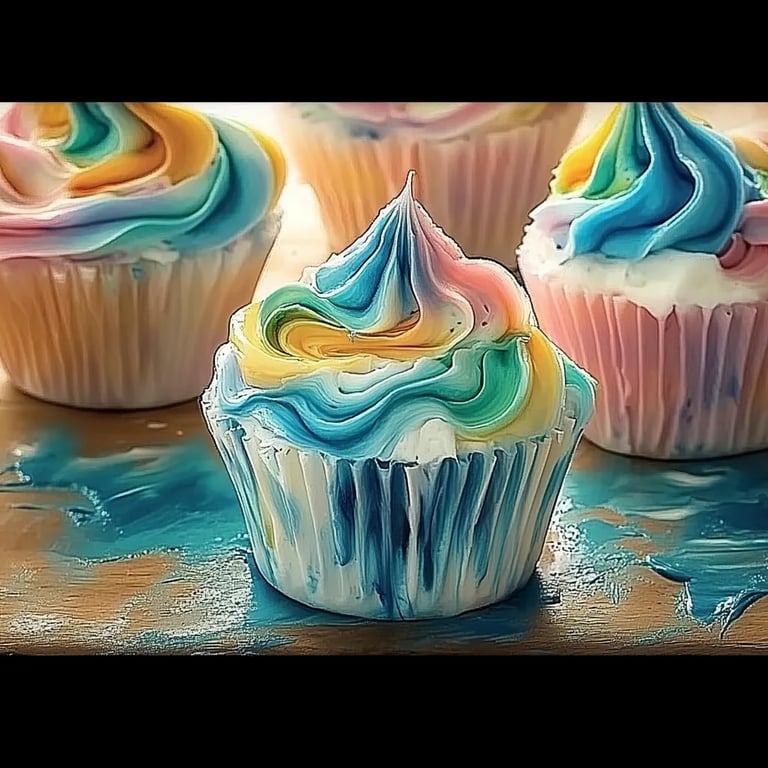
Easy Shaving Foam Paint is a playful alternative to traditional paints. It combines the fluffy texture of shaving foam with vibrant food coloring or liquid watercolors, resulting in a delightful medium perfect for young artists and adults alike. Why is it so popular? Well, it brings out the joy in painting. The tactile experience of mixing foam and color can be a sensory delight, making it great for kids' crafts, sensory play, and even adult relaxation projects. It’s an excellent choice when you want to create unique cards, decorations, or even just enjoy some creative time with friends and family.
When and How Can You Use It?
You can use this easy shaving foam paint anytime creativity strikes! Here are some occasions where it shines particularly bright:
- Kids’ Craft Day: When hosting a crafty playdate, this is sure to keep the little ones entertained.
- Holiday Decorations: Customize ornaments or create festive greeting cards.
- Sensory Play for Toddlers: The texture of shaving foam is fascinating for young children exploring their senses.
- Mindfulness and Relaxation: Engage in a meditative painting session—trust me, it can be incredibly therapeutic.
What You'll Need
Before we get into the nitty-gritty, let’s gather our materials. I promise it’s all easy to find!
Materials:
- Shaving Foam: Look for plain, unscented, and gel-free shaving foam. Brands that come in a pressurized can work best for this project.
- Liquid Watercolors or Food Coloring: Both work well, but liquid watercolors give a more vibrant tone.
- White Paper or Cardstock: We’ll be creating our masterpieces on this.
- Plastic Mixing Bowl and Spoon: For mixing your foam and colors.
- Disposable Gloves: Optional, but keep your hands clean, especially for the kiddos.
- Spray Bottle with Water: In case you need to adjust the consistency.
- Plastic Sheets or Old Newspaper: Protect your work surfaces.
Step-by-Step Tutorial
Step 1: Preparing Your Workspace
First things first—set the stage for your creative journey. Find a clear, flat surface to work on and lay down your plastic sheets or newspaper. This helps in keeping your space tidy, which is crucial when dealing with foam!
Step 2: Mixing the Foam and Color
Now for the fun part! Squeeze a generous amount of shaving foam into your mixing bowl (about 1 cup should do). Then, add 2-3 drops of your liquid watercolor or food coloring. Remember, less is more when it comes to the initial color—you can always adjust later.
*Why this step matters:* The ratio of foam to color influences the texture and opacity of your paint. If you add too much color, it might not hold that fluffy consistency!
Step 3: Blend it Up!
Using your spoon, gently mix the foam and color together. Avoid over-mixing; you want to keep as much air in the foam as possible for that fun, fluffy feel.
*A common mishap:* If you accidentally deflate the foam, no worries! You can add a touch more shaving cream to bring back that airy texture.
Step 4: Testing Consistency
Here’s where the spray bottle comes in handy. If your paint feels too thick, lightly spritz some water into the bowl and mix until you reach your desired consistency. You want it thick enough to spread but smooth enough to move easily.
Step 5: Painting Time!
Once your foam paint is ready, grab your chosen paper or cardstock and start creating! You can use brushes, spatulas, or even your fingers for a more tactile experience. The paint can be swirled, layered, or patted—let your creativity flow!
Step 6: Drying the Artwork
After painting, place your artwork in a flat, cool area to dry. Depending on the humidity, it may take a few hours to dry completely.
*Safety Note:* While shaving foam is generally safe, avoid letting younger children ingest it, and remind them to wash their hands afterward.
Tips and Insights
- Experiment with Texture: You can use different tools for different effects! A sponge creates a unique pattern, while brushes give a more traditional look.
- Color Blending: To create fun marbling effects, try adding a few colors to the foam separately without mixing completely. Just gently swirl them together!
- Storage: Unfortunately, this paint won't keep well for long. I recommend using it fresh, but if you have leftover, store it in an airtight container in a cool, dry place for up to a day.
- Clean Up: When you finish, just wash the paint tools and surfaces with warm soapy water. The foam should come off easily!
Alternative Methods
If you’re out of shaving foam, you can substitute with whipped cream for a similar texture, though it will be messier. For a more stable base, try using a mixture of white glue and shaving cream (1:1 ratio) for a thicker, paint-like consistency.
Creative Variations
- Glittery Shaving Foam Paint: Add a sprinkle of glitter to the mix for a whimsical touch.
- Scented Paint: If you don’t mind scents, a few drops of essential oils (like peppermint or lavender) can add a lovely aroma to your painting experience.
—
Creating Easy Shaving Foam Paint is a remarkably satisfying project that can bring hours of creative joy. From toddlers exploring textures to adults finding a moment of peace in their busy lives, this paint is a simple yet effective tool for artistic expression. I hope you feel inspired to try it out, and may your crafting adventures be as fluffy and colorful as the projects you create! Happy crafting!