How to Make DIY Tissue Paper Lanterns: A Step-by-Step Guide
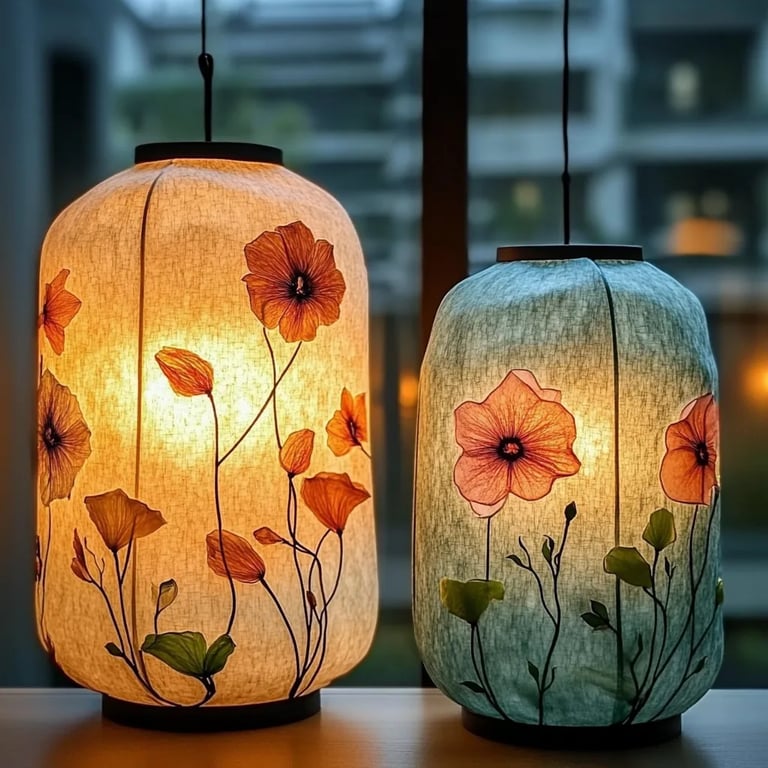
Hello fellow crafters! I’m thrilled to share with you one of my absolute favorite projects—DIY tissue paper lanterns. These beautiful, colorful creations are not just a visual treat; they also bring a sense of warmth and ambiance to any space, making them perfect for parties, holiday celebrations, or simply to add a splash of color to your home. Whether you're decorating for a birthday bash or looking for a cozy evening setup, these lanterns can light up the moment in the most enticing way.
In this guide, I’ll walk you through the process step-by-step, share personal tips from my crafting journey, and sprinkle in some extra ideas for inspiration. Let’s dive into the vibrant world of tissue paper lanterns!
Why Choose Tissue Paper Lanterns?
Tissue paper lanterns are incredibly popular for several reasons. First and foremost, their softness and translucence allow light to pass through beautifully, creating a calming glow. Second, they are inexpensive and easy to make, making them a favorite among both novice and experienced crafters. Plus, the color options are endless! You can match the lanterns to any theme or mood.
You can use these lanterns for a range of occasions:
- Outdoor summer parties: Transform your backyard into a magical oasis.
- Indoor décor: Brighten up your living room for the fall or winter months.
- Celebrations: Use them for birthday parties, bridal showers, or baby showers.
- Festivities: They can make excellent decorations for holidays like Diwali, Chinese New Year, or even Halloween.
Materials You’ll Need
Before we get started, gather these materials. Trust me; having everything at hand makes the process much smoother!
- Tissue Paper (various colors)
- I love choosing a color palette that goes together harmoniously.
- Balloon (the size depends on how large you want your lantern to be)
- I typically go for small to medium balloons for a good balance of size and decor.
- PVA Glue or Mod Podge
- This will be our adhesive for shaping the lantern.
- Water
- To mix with the glue for a smoother application.
- Paintbrush
- A cheap synthetic brush works perfectly.
- Scissors
- For trimming your tissue paper.
- Bowl or container (to mix glue and water)
- String or LED tea lights
- For hanging or illuminating your lantern.
Step-by-Step Guide
Step 1: Inflate the Balloon
Start by inflating your balloon to your desired size. If this is your first time, I recommend going with a standard small balloon. Make sure to tie it securely—my advice is to double knot it to prevent any unexpected deflation during the crafting process.
Tip: Be mindful not to over-inflate; we need room for the tissue paper and glue mixture to form properly on the balloon.
Step 2: Prepare Your Workspace
Cover your work surface with newspaper or an old plastic tablecloth to catch any spills. Things can get a bit messy, but that’s part of the fun!
Safety Warning: Keep your crafting area well-ventilated, especially if you’re using stronger adhesives like Mod Podge.
Step 3: Cut Your Tissue Paper
Now, take your tissue paper and cut it into various shapes—here’s where you can really let your creativity shine. I like to cut them into squares or rectangles of about 4×4 inches, but don’t feel confined to that. Experiment with different sizes!
Why It Matters: The varying sizes help create a more interesting, layered look on the lantern.
Step 4: Mix the Glue and Water
In a bowl, combine equal parts PVA glue (or Mod Podge) and water. Mix thoroughly until your solution is smooth. This mixture will serve as your adhesive, allowing the tissue paper to properly adhere to the balloon without tearing.
Pro Tip: If you find the mixture too runny, add a touch more glue. If it’s too thick, add a little more water until you achieve the desired consistency.
Step 5: Apply the Tissue Paper
Dip your paintbrush into the glue mixture and start brushing the balloon’s surface. Place a piece of tissue paper onto the balloon and seal it with more glue. Don’t worry about perfection; about overlapping the papers, as it adds to the lantern's charm!
What Could Go Wrong: If you tear the tissue paper, don’t panic! Simply apply another piece over it or use a smaller piece to cover the tear.
Step 6: Layer It Up
Continue applying tissue paper until at least two-thirds of the balloon is covered. I usually advise at least three layers to create a sturdier and more vibrant lantern. Make sure to vary the colors for added interest.
Creative Variation: Try creating a pattern with your tissue paper colors—omitting certain colors in certain areas can create a stunning effect!
Step 7: Let It Dry
Once you’re satisfied with your design, leave your lantern to dry completely for several hours, or overnight if possible. This step is crucial! If it’s still damp, it could lead to a messy situation.
Step 8: Pop the Balloon
Once dry, it’s time for one of the most satisfying moments—popping the balloon. Use a pin or scissors and gently poke it. As the balloon deflates, it will pull away from the tissue paper, thus revealing your beautiful lantern.
Tip: Be careful while popping; keep your hands away from the tissue paper to avoid damaging your masterpiece.
Step 9: Add Your Light Source
This step can vary based on your usage. You can introduce a string light, an LED tea light, or simply hang them in a well-lit room. If using a candle or real flame, I recommend using only LED lights, as tissue paper is flammable.
Step 10: Display Your Lanterns
Now comes the best part—showing off your creations! Use string to hang them up, or line them on a table to create a glowing centerpiece.
Additional Tips and Tricks
- Safety Precaution: Always opt for battery-operated lights for safety, especially if you’re using them for long periods or at events where kids are present.
- Storage: If you’re making these lanterns for seasonal celebrations, store them in a cool, dry place to preserve their shape and color.
Final Thoughts
Crafting DIY tissue paper lanterns can be such an enriching experience. Not only do you get to unleash your creativity, but there’s also the joy of sharing them with friends and family. I hope my tips and insights have encouraged you to give it a try. Remember, creativity has no bounds!
Don’t forget to let me know how your lanterns turned out, and share your own variations! Happy crafting! 🌟