How to Make DIY Scarecrow Jars: A Step-by-Step Guide
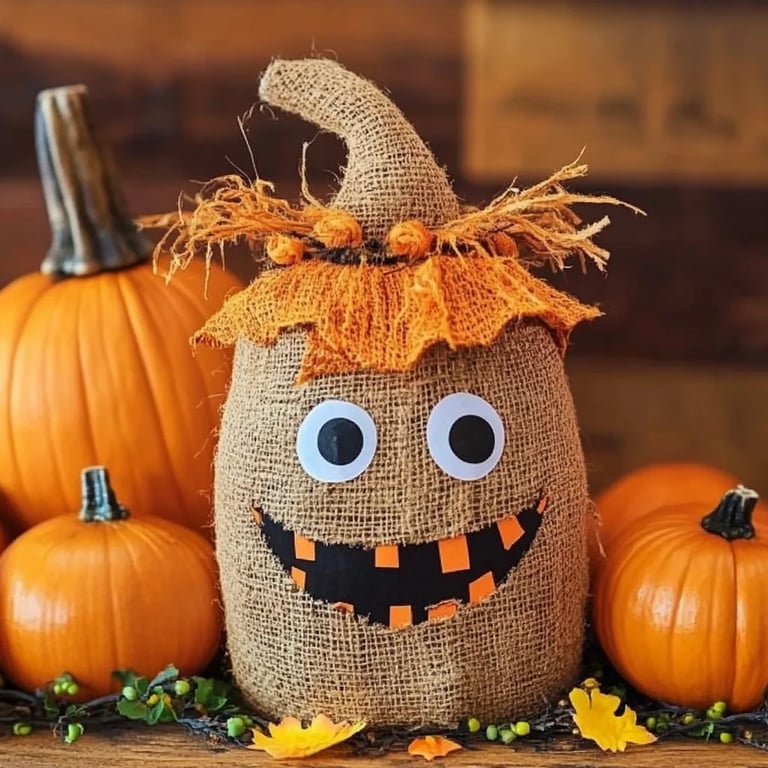
It’s that time of year again—leaves turning shades of amber, pumpkins appearing on doorsteps, and a crispness in the air that whispers of fall adventures. One of my absolute favorite ways to embrace the season is by crafting the whimsical DIY Scarecrow Jars. These charming little creations not only add a touch of rustic autumn flair to my home, but they also make for delightful gifts to share with friends, family, or anyone in need of a little cheer. Today, I’m excited to guide you through the process of making your own scarecrow jars, complete with tips, anecdotes, and insights gained from years of crafting experience.
Why Scarecrow Jars?
Scarecrow jars are popular for their unique blend of cuteness and creativity. They can serve multiple roles: as decorative elements for your autumn celebrations, as fun candy jars for Halloween, or even as imaginative candle holders to light up your evenings. The best part is that they’re incredibly easy to customize based on your personal style or decor theme! Whether you're a seasoned crafter or a beginner, you'll find joy in creating these charming autumn friends. Plus, you’ll have a fantastic conversation starter for your gatherings.
Materials You Will Need
Before we dive into crafting our scarecrow jars, let me list out everything you’ll need. This DIY project is remarkable for how accessible it is—many of these materials you might already have at home.
Essential Supplies:
- Glass or Plastic Jars: Mason jars are ideal, but any jar with a lid will do!
- Acrylic Paints: Yellow, brown, orange, and black are traditional colors for scarecrows.
- Paintbrushes: A mix of sizes, including a fine-tipped one for detailing.
- Twine or Burlap: Perfect for that rustic touch—depending on your preference.
- Fabric Scraps: Old flannel or gingham fabric is delightful for the scarecrow hat and accents.
- Googly Eyes: These bring your scarecrow to life!
- Hot Glue Gun/Glue Sticks: For secure adhesion (safety tip: be careful with the glue gun; it heats up quickly!).
- Scissors: To cut your materials down to size.
- Markers: For detailing or adding a personal touch.
- Optional: Dried corn kernels or hay for stuffing and additional decoration.
Step-by-Step Tutorial
Now that we have our materials prepared, let’s jump into the crafting process!
Step 1: Prepare the Jars
First, I like to start with the jars. If your jars have labels, remove them and carefully wash and dry them. This prepping step is crucial: any residue could interfere with the paint adhering to the jar.
*Tip*: If you have sticky residue left over from labels, soak the jar in warm water for a few minutes, and it should peel off easily!
Step 2: Paint the Base
Once your jars are clean, it’s time to add some color! Using acrylic paint, I typically choose a cheerful beige or light yellow as the base color for my scarecrow. Using a medium-sized brush, I apply an even coat all around.
*Why this step matters*: A good base coat makes your scarecrow look vibrant and helps subsequent layers stick better. If the paint appears streaky, don’t panic—just wait for it to dry completely and add a second coat.
Step 3: Create the Face
While the base coat dries, let’s move on to the fun part—the face! Choose a fine-tipped brush to paint eyes, a triangular nose, and a smiling mouth. A classic scarecrow has a friendly expression, so have fun with it!
Sometimes, I find it helpful to sketch lightly with a pencil before I paint. If I make a mistake, a little bit of water can help me clean it up before it sets.
*Pro tip*: If you’re not confident in your painting skills, stick on some googly eyes after the jar is painted. They add a playful touch and are super easy to apply with hot glue.
Step 4: Make the Hat
Now for the scarecrow hat—a crucial element for that classic look! Cut a rectangle of fabric (about 6 inches long and about 4 inches wide should work) and fold it into a triangle. Attach it to the top of your jar with a hot glue gun, wrapping it snugly around.
If you’d like a whimsical touch, fray the edges of the fabric or use a zig-zag pattern on a sewing machine to create texture. You can also sprinkle some dried corn or hay around the base of the jar for added flair.
*What could go wrong?*: If your hat seems flimsy, another layer of fabric can add weight. Just make sure to balance the look so it doesn’t cover the face too much!
Step 5: Adding Details
Now we can tie everything together! Use twine or burlap to create a charming necktie around the jar. This creates an adorable “scarf” effect and holds the hat in place. You can also glue small buttons or additional fabric scraps to embellish your scarecrow further.
If you want to add personal flair, write a favorite fall saying or your family name on the jar with a permanent marker, or paint it with your leftover paint.
Step 6: Fill Your Jar
For a functional aspect, consider filling your scarecrow jar with goodies! Candy corn, autumn potpourri, or even small pumpkins can be great fillers. If you plan to use it as a candle holder, don’t forget to insert a LED tea light for a safe glow.
*Final Tip*: Always fill it according to the purpose. For decorative pieces, lighter fillings often work better, allowing the whole design to shine through.
Creative Variations
Feeling adventurous? Here are some creative variations to try:
- Theme Personalized Jars: Try different colors or patterns that match your home's decor for a personalized touch.
- Seasonal Changes: Switch out their contents seasonally—strawberries for spring, leafy greens for summer, and festive ornaments for the winter months.
- Miniature Versions: Use smaller jars or even clear plastic cups to create mini scarecrow centerpieces or gifts!
Troubleshooting Common Issues
- Paint Peeling: If your paint doesn’t stick well, it’s a telltale sign to try a different surface prep or a different brand of acrylic paint.
- Slipping Fabric: If your hat keeps slipping off, consider using a stronger adhesive or a bit of tape underneath to secure it.
- Mismatched Colors: If a color combination feels off, integrate some neutral or contrasting colors to balance the design.
Safety Warnings
Using a hot glue gun can lead to burns, so always be cautious. Ensure you’re working on a non-flammable surface and keep children close by but at a safe distance. Also, if using real candles, never leave them unattended.
Final Thoughts
Creating DIY scarecrow jars has been a beloved tradition for me, and I cherish the time spent crafting them even more than the final product. Remember, crafting should always be about exploring your creativity and having fun. Don’t hesitate to experiment and adapt the design to fit your unique style.
As you make these charming autumn accents, I’d love to hear how they turn out or any ideas you come up with during your crafting journey. Happy crafting, and may your fall season be filled with warmth and whimsy!