How to Make DIY Play Dough at Home: A Crafting Adventure
As an avid crafter and a parent, one of my joys is creating captivating and imaginative activities that can spark creativity in children. One such activity is play dough. We all remember the therapeutic squish and delightful creativity that molding and shaping play dough brings. It’s not just a classic pastime—it’s a powerful tool for fine motor skill development, sensory exploration, and imaginative play. Whether you're concocting vibrant colors for a themed party or simply spending cozy afternoons indoors, making your own play dough can be a rewarding experience.
Why DIY Play Dough?
Store-bought play dough has its charm, but making it at home grants you complete control over the ingredients, colors, and textures. You can customize your play dough to fit different moods or themes, and you know exactly what goes into it. The process of making play dough can also be a delightful bonding experience with family, filled with laughter and engagement. I’ve made this with my kids countless times, and each batch comes with its unique twist and lots of memories.
When and How to Use Play Dough
Play dough is incredibly versatile. Children can use it during playdates, birthday parties, or solo creative activities. It’s great for sensory bins, encouraging imaginative role-play, or simply as a calming tool while they explore texture. The possibilities are truly endless—the only limit is the imagination!
The Ultimate DIY Play Dough Recipe
Now, let’s roll up our sleeves and dive into this hands-on project! Here’s a step-by-step tutorial on making your own play dough. I’m going to share my favorite tried-and-true recipe, along with personal anecdotes, troubleshooting tips, and a few fun variations!
What You’ll Need:
- 1 cup flour: The main ingredient that gives the dough its structure.
- 1/4 cup salt: No play dough can be complete without salt, which acts as a preservative and gives that classic gritty texture.
- 2 tsp cream of tartar: This helps achieve a softer, more elastic dough. (You can also substitute it with lemon juice or vinegar in a pinch.)
- 1 cup water: The binding agent that brings everything together.
- 1 tbsp vegetable oil: This adds richness and flexibility to the dough, making it easier to knead.
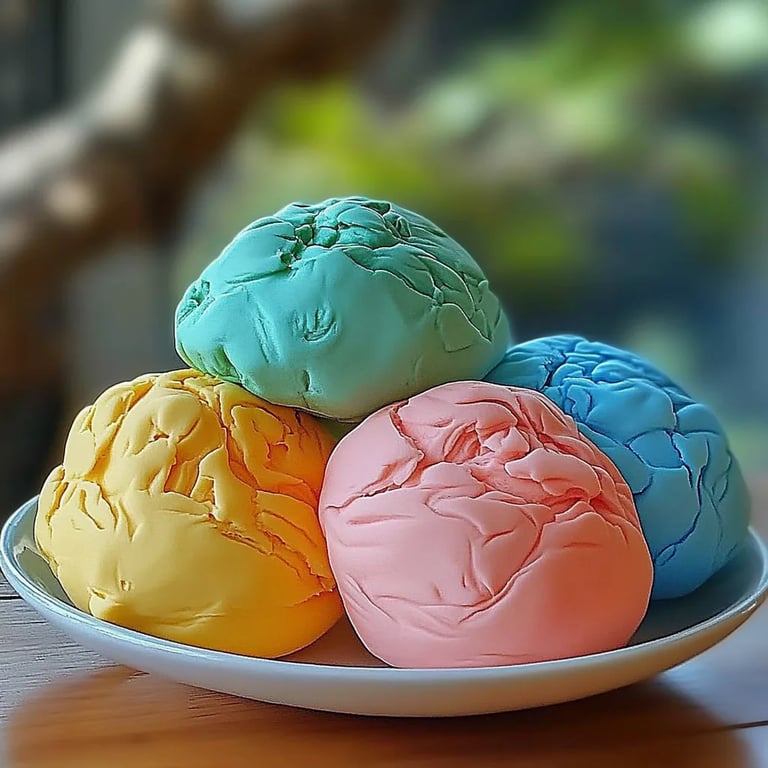
- Food coloring (optional): Use this to bring life to your play dough! You can easily make it in any color you wish.
- Essential oils (optional): A few drops can add a lovely scent to your play dough, providing an additional sensory experience.
Step-by-Step Instructions:
- Mixing the Dry Ingredients: In a large mixing bowl, whisk together the flour, salt, and cream of tartar. I love starting this way because it gets the kids involved right from the beginning. They can help measure and mix, which always brings excitement to the kitchen.
*Tip:* Be sure to break up any lumps in the flour. A smooth mix at this stage will yield a smoother dough.
- Combining the Wet Ingredients: In another bowl or a medium saucepan, combine the water, vegetable oil, and a few drops of food coloring. Here’s where the fun starts! Let the kids choose their colors, and if they’re feeling adventurous, mix different colors to create unique shades.
- Incorporating the Mixtures: Gradually add the wet ingredients to the dry ingredients, stirring continuously. I use a wooden spoon at this stage, as it gives me a nice grip while I mix. Make sure everything is evenly combined—this is a crucial step to ensure the final product is uniform in texture.
- Cooking the Mixture: Place the saucepan over medium heat. Stir constantly as the mixture begins to thicken. It will go from a batter to a dough-like consistency. This step is where you need to keep a careful eye because it can cook quickly—if you don’t stir, it might burn at the bottom.
*What could go wrong?* If your dough isn't forming, you might need to cook it a bit longer. If it appears too dry, add a teaspoon of water at a time until you achieve the right consistency.
- Kneading the Dough: Once the mixture ball forms and pulls away from the sides of the pan, remove it from the heat. Let it cool for a few minutes, then knead it on a clean surface until it’s smooth. Kneading is essential—it helps develop the gluten in the flour, creating a softer texture for the play dough.
- Storing the Play Dough: Once you’re satisfied with your dough, let it cool completely before storing. Keep it in an airtight container to maintain moisture. I tend to use ziplock bags or plastic containers for this purpose, and it can even last for several weeks!
Troubleshooting Tips
- If your dough is sticky: Dust a bit of flour onto your work surface and knead more flour into the dough gradually.
- If your dough is too dry: Adding water, a teaspoon at a time, should help. Knead it well after each addition until you reach the desired texture.
Fun Variations to Try
Now that you've got the basics down, why not get creative? Here are some fun variations I love to explore with my kids:
- Scented Play Dough: Add essential oils like lavender or peppermint during the wet mixing stage for a delightful scent.
- Glittery Play Dough: Add glitter for a fabulous sparkle. Kids adore it!
- Nature-Inspired Play Dough: Consider incorporating dried herbs, like lavender or chamomile, into the dough for a subtle aroma and a beautiful texture.
- Themed Colors: Depending on the season or a special occasion, create colors that suit—perhaps orange and black for Halloween or pastel shades for spring!
Final Thoughts
Creating homemade play dough is not just a craft; it’s a way to bond, develop skills, and spark creativity in children—and grown-ups too! I encourage you to experiment with this recipe and have fun with the variations. With the simplicity of the ingredients and the joy it brings, making DIY play dough can turn into a cherished family tradition.
So, gather your materials, invite your little ones to help, and dive into the delightful world of crafting the perfect play dough. You’ll create not just a product but joyful memories to share together! Happy crafting!