How to Make DIY Moon Sand: A Step-by-Step Guide for Crafting Enthusiasts
As an avid crafter and a parent who loves engaging in sensory play with kids, I am excited to share my passion for creating DIY Moon Sand. You may have heard of it—it’s the super satisfying, moldable sand that brings the beach to your living room! It has a unique texture that’s reminiscent of both sand and dough, and it allows for endless creative possibilities. From construction-themed play to relaxing squishes, Moon Sand is perfect for playdates, rainy days indoors, or even as a calming stress-relief tool for adults!
In this guide, I’ll walk you through the entire process of making your own DIY Moon Sand. Not only will I give you a step-by-step tutorial with easy-to-find ingredients, but I’ll also share some personal stories, troubleshooting tips, and alternative methods. Let’s get started on this fun crafting journey!
What is Moon Sand and Why is it So Popular?
Moon Sand (also known as kinetic sand) gained popularity for its unique tactile experience, which attracts both children and adults alike. It sticks to itself but not to surfaces, allowing for easy cleanup (a significant win for parents). It can be used in various ways: from sensory bins in early childhood education to stress relief in adult crafting sessions. Plus, it’s non-toxic and often made with common household ingredients—what’s not to love?
Materials You’ll Need
Before we dive into the process, let’s gather the materials. Here’s what you’ll need:
- All-purpose flour: 8 cups
- Vegetable oil: 1 cup
- Water: 1 cup
- Food coloring (optional): for colorful Moon Sand
- Plastic bin or large bowl: for mixing
- Whisk or spoon: for stirring the mixture
Why These Ingredients Matter
Using all-purpose flour gives Moon Sand its grainy texture, while the vegetable oil makes it moldable and soft. If you want to add colors, food coloring is a great option without mixing in anything harmful for kids.
Step-by-Step Guide to Making Moon Sand
Step 1: Prepare Your Workspace
Start by setting up your workspace, ideally somewhere that can withstand a bit of mess. Lay down plastic sheets or an old tablecloth for easy cleanup afterwards. Having everything organized will make the process smoother and the experience more enjoyable.
Step 2: Combine Flour and Oil
In your mixing bin or large bowl, add 8 cups of all-purpose flour and 1 cup of vegetable oil. Using a whisk or spoon, mix them together until the flour is fully coated with the oil. The key here is to ensure that you don’t miss any dry patches because this affects the texture.
Tip: When I first started making Moon Sand, I remembered skipping over some areas while mixing. As a result, those dry clumps remained, making it harder to mold. Take the time to mix thoroughly!
Step 3: Add Water Slowly
With the flour and oil mixture well combined, it’s time to add water. Start by slowly adding 1 cup of water to the mix. Here’s where you can also introduce food coloring if you desire a vibrant batch of Moon Sand. For light colors, add a few drops and mix thoroughly.
As you add the water, continue stirring until the sand reaches a consistent moldable texture. You want it to fold together easily but not be too wet and sticky.
Step 4: Test the Texture
Once mixed, take a small handful of the Moon Sand and squeeze it. It should hold together but crumble easily when you release it. If it’s too dry and crumbly, add a tiny bit more water, about a tablespoon at a time. If it’s too wet, add a bit more flour.
Potential Issues & Solutions
- If it’s too dry: Remember to add water sparingly. It’s easier to add moisture than to take it away.
- If it’s too wet: For both instances of being too dry or too wet, patience is key! Gradually add your ingredients until you achieve the desired consistency.
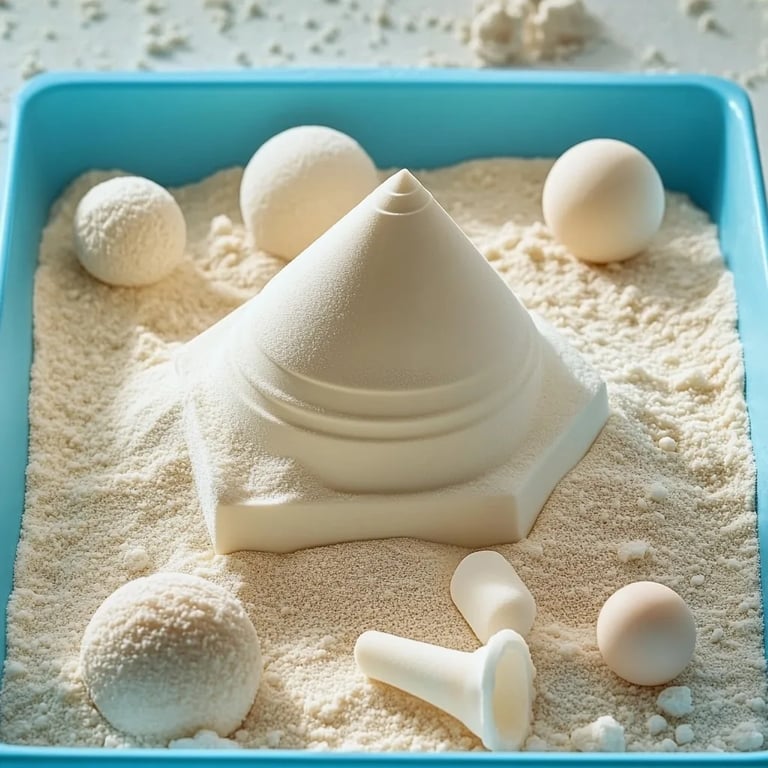
Step 5: Enjoy Your Moon Sand
Once you’re satisfied with the texture, it’s playtime! I love to set up a small table with molds, measuring cups, and tools like plastic shovels for my kids. You can also encourage creativity by creating small themes for the sand play, like building castles or creating miniature worlds.
Cleanup
When you’re all done playing, you can easily gather any leftover Moon Sand and store it in an airtight container. It can last for weeks if stored properly!
Creative Variations and Ideas
Here are some fun variations and ideas you can experiment with:
- Scented Moon Sand: Add a few drops of essential oils to the mix for a delightful aroma. Lavender or lemon is great for a calming effect.
- Sparkly Moon Sand: Consider mixing in some glitter or colored sand for a bit of sparkle.
- Sensory Bins: Create themed sensory bins with small toys or objects that match the texture of the Moon Sand (like shells or toy animals).
Safety Warnings
While Moon Sand is non-toxic and safe for children, always supervise young kids during playtime. Be cautious about any small parts that could pose a choking hazard.
Tips from My Crafting Journey
- Use organic flour: If you’re concerned about chemicals, look for organic flour options.
- Adjust ratios: Don’t hesitate to tweak the flour and oil ratios based on personal preference and the environment (humidity can play a role in texture).
- Consider allergies: If you’re crafting for others, be aware of any potential allergies to the ingredients used.
In conclusion, making DIY Moon Sand can be a wonderful bonding activity and a gateway into imaginative play. Embrace the process, and don’t be afraid to get messy—crafting is all about enjoying the experience! I hope this guide inspires you to create your own batch and explore the endless possibilities of sensory play. Happy crafting!