How to Make DIY Moon Sand: A Crafting Adventure for All Ages
Hello fellow crafters! I'm excited to share one of my favorite DIY creations with you today: Moon Sand. If you haven’t heard of it yet, Moon Sand is a fun, moldable sand that’s perfect for sensory play. It resembles wet sand but never dries out, allowing for endless creative possibilities. It’s popular for playrooms, classrooms, and even as a therapeutic tool for adults. It’s a fantastic way to promote fine motor skills in kids while igniting their imagination. Now, who doesn’t want a little bit of that in their lives?
I’ve been making Moon Sand for my kids (and, let’s be honest, for myself too) for years now. What I love about this project is how simple and versatile it is. With just a few common ingredients, you can whip up a batch and keep the creative juices flowing! So, let’s dive in and make some Moon Sand together.
What You'll Need: Materials and Preparations
Before we get started, let’s gather all the materials you’ll need to create your own Moon Sand. Don’t worry; you likely already have some of these at home:
Ingredients:
- Flour – 8 cups (you can use all-purpose flour, but you could also experiment with whole wheat or gluten-free flour if you prefer!)
- Vegetable Oil – 1 cup (or any type of oil, such as coconut oil or baby oil for a pleasant scent)
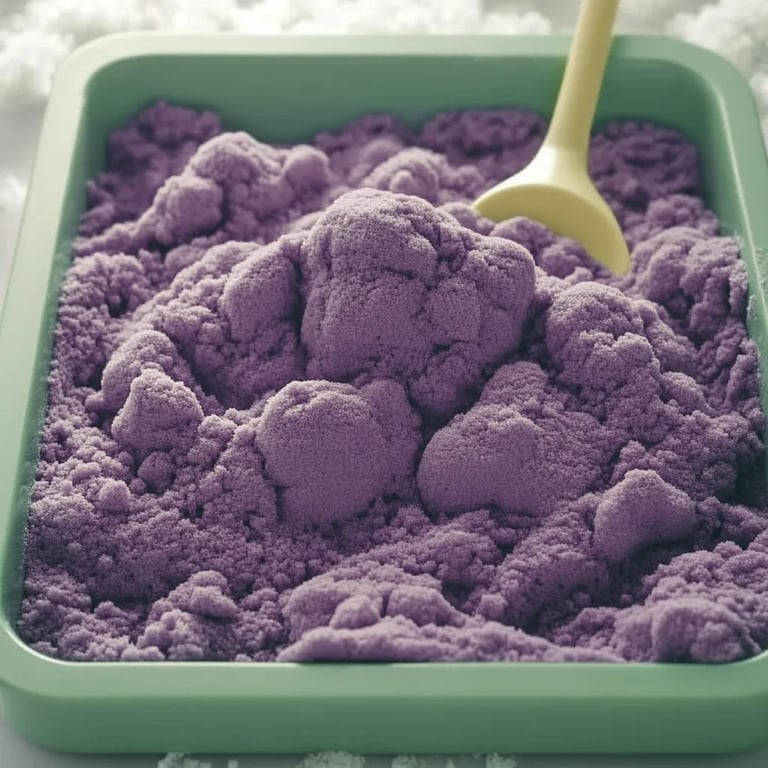
- Optional Colorants – Food coloring or non-toxic paint (to customize your Moon Sand)
- Optional Essential Oils – Lavender or lemon (for a delightful aroma)
Equipment:
- A large mixing bowl
- A spoon or spatula for stirring
- An airtight container for storage
Step-by-Step Guide to Making Moon Sand
Step 1: Measure the Flour
Why it matters: Accurate measurements are crucial for achieving the right texture of your Moon Sand. Too much flour can make it crumbly, while too little can lead it to be too oily.
In a large mixing bowl, measure out 8 cups of flour. Make sure to level the flour off at the top of the measuring cup for precise results.
What can go wrong? If you accidentally add too much flour, don’t fret! Just add a little more oil, a tablespoon at a time, until the desired consistency is achieved.
Step 2: Add the Oil
The role of oil: The oil works as a binding agent and gives the Moon Sand its unique, moldable texture. It’s what sets this product apart from regular sand.
Pour 1 cup of vegetable oil into the bowl with the flour. Using a spoon or spatula, start mixing the two ingredients together. It will initially seem like the oil won't combine well, but keep stirring!
Pro tip: If you want to experiment with scents or colors in your Moon Sand, now's the time! Adding a few drops of food coloring or essential oils at this stage is the perfect opportunity.
Step 3: Mix Until Combined
What to look for: Continue to mix until all the flour is coated with oil and the mixture takes on a soft, crumbly texture. It should hold together when pressed in your hand but still sift easily through your fingers.
Common problems: If the mixture doesn’t hold together, add a tablespoon of oil at a time until you reach the right consistency.
Step 4: Test the Texture
Perform a squeeze test: Grab a handful of your Moon Sand and squeeze it tightly. When you open your hand, the sand should hold its shape.
Step 5: Store Your Moon Sand
Storage is key: The last step is storing your Moon Sand in an airtight container. This will keep it fresh and moldable for future playtime. I love to use mason jars or plastic bins, and labeling them makes it even easier!
Creative Variations
Once you’ve mastered the basic Moon Sand, the possibilities are endless! Here are a few ideas to spark your creativity:
- Add Glitter: Mix in some eco-friendly glitter for a sparkly touch.
- Themed Colors: Create different batches in specific colors for holidays or events (think red and green for Christmas or pastels for Easter).
- Scented Sand: Experiment with various scents to create calming or energizing vibes.
Safety Warnings
While Moon Sand is generally safe for play, here are a few things to keep in mind:
- Supervise Young Children: Always supervise children during play to prevent ingestion of non-edible materials.
- Check Allergies: If using alternative oils or colorants, always check for any allergies.
Troubleshooting Tips
- Too Wet? If your Moon Sand feels too sticky or greasy, sprinkle in a little more flour until you achieve a better texture.
- Too Dry? If it crumbles too easily, add small amounts of oil until you reach the perfect consistency.
Personal Anecdotes
I remember the first time I made Moon Sand with my kids. The excitement on their faces as we mixed the ingredients together was priceless! We shaped castles, dug trenches, and even organized a mini moon sand beach party in our living room. The joy of sensory play is irreplaceable; we spent hours crafting and exploring.
Conclusion
Making DIY Moon Sand is a fantastic project that blends fun, creativity, and hands-on learning. So, gather your ingredients, follow these steps, and let your imagination run wild. Whether you use it for a fun family activity or as a solo project to unwind, Moon Sand offers endless opportunities for creativity and play.
As you embark on this Moon Sand-making journey, remember to share your creations and experiences with others. Feel free to comment below on your favorite variations or any tips you’ve discovered! Happy crafting!