How to Make DIY Milk Jug Ghosts: A Comprehensive Guide
As the fall season rolls in, bringing with it the vibrant hues of changing leaves and a crispness in the air, I find myself filled with excitement for all things Halloween. One of my favorite crafts during this time of year is creating DIY Milk Jug Ghosts. These whimsical decorations not only add a spooky vibe to your outdoor decor but are also eco-friendly and incredibly easy to make. Plus, they light up beautifully, creating an enchanting effect at night that children and adults alike can't help but love.
In this comprehensive guide, I'll share my tried-and-true techniques for making these delightful ghostly figures. Whether you're planning to scare the neighborhood kids or just want to add some playful charm to your porch, my step-by-step instructions will take you from start to finish. So grab your materials and let's get crafting!
Why Milk Jug Ghosts?
Milk jug ghosts have surged in popularity thanks to their simplicity and versatility. They’re perfect for a wide range of occasions, from Halloween trick-or-treat decorations to fall-themed parties. These ghosts can be designed to look cute or creepy, depending on your personal style. Plus, they recycle old milk jugs, helping to reduce waste and promote sustainability in your crafting.
Materials You'll Need
Before we dive into the instructions, let's gather everything you’ll need. The best part is, most of these materials are likely already available in your home or can be easily purchased at your local craft store.
Essentials:
- Empty plastic milk jugs: (1-gallon or 2-gallon jugs work best)
- Black permanent markers or paint: for facial features
- Battery-operated tea light candles: for added ambiance
- White cheesecloth or white plastic trash bags: for draping over the jugs
- Scissors: for cutting cheesecloth or bags
- Foam brush or paintbrush (optional): for a more professional finish
- String or fishing line (optional): if you want to suspend your ghosts
Optional Extras:
- Glitter: for a touch of sparkle
- Burlap or other textured fabric (optional): for a more rustic look
- Lights: for advanced versions with more visibility at night
Step-by-Step Instructions
Step 1: Prepare the Milk Jugs
First, ensure your milk jugs are clean. Rinse them with warm, soapy water and let them dry completely. This not only eliminates any lingering milk smell but also allows for better adhesion of your paint or markers later on.
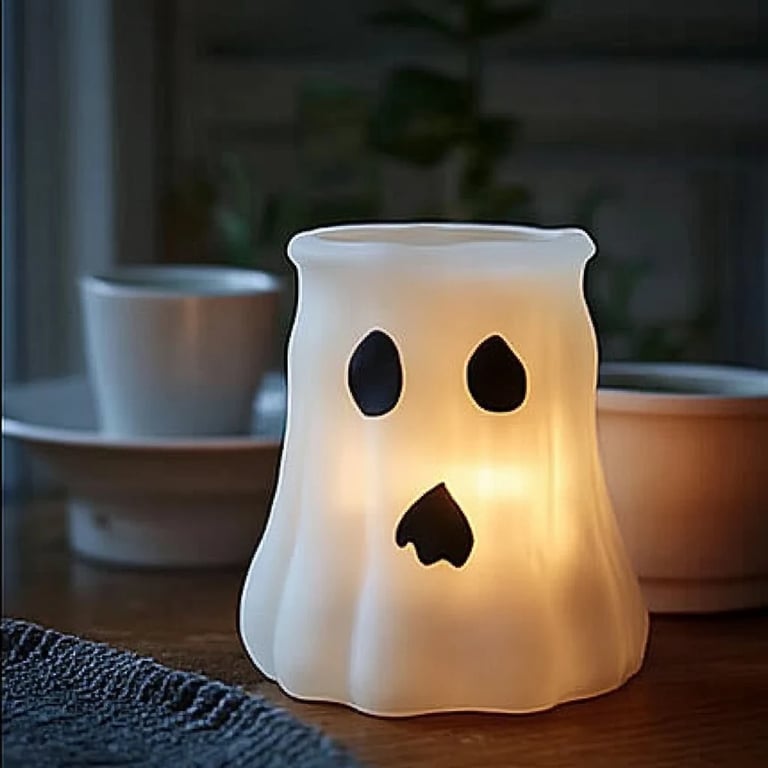
Step 2: Create Ghost Faces
Using your black permanent markers or paint, start decorating the jugs with spooky or whimsical faces. I like to create a mix of expressions—some friendly and some a bit eerie. Feel free to get creative!
- Tip: If you make a mistake, don’t panic! Just use a bit of rubbing alcohol on a cotton ball to remove the ink and start again.
Step 3: Dress Them Up
Now it's time to drape your cheesecloth or plastic over the jugs. Cut the cheesecloth or trash bag to a size that will completely cover the jug, leaving enough to drape down around the base.
- Insider's Tip: If you use cheesecloth, its flowy texture makes the ghost look more ethereal. You might also want to consider adding a bit of glitter to the cheesecloth to catch the light beautifully at night.
Step 4: Secure the Materials
Secure the top of the cheesecloth or bag to the neck of the jug using string, twine, or even a rubber band. The goal is to ensure the fabric stays in place but still looks loose and ghostly.
Step 5: Add Lighting
For the finishing touch, place a battery-operated tea light candle inside the jug. This gives the ghost a great glow when lit and makes it easier to safely display your creation, especially if you have small children around.
Step 6: Display Your Ghosts
Now that your ghosts are complete, you can place them outdoors on your porch, in your yard, or even inside the house. If you want to suspend them, use fishing line to hang them from trees or hooks to create a ghostly floating effect.
Safety Warnings
- Be cautious with sharp objects: When cutting your materials or creating faces, take your time. Kids should be supervised while crafting.
- Lighting Safety: Use battery-operated candles instead of real ones to prevent fire hazards.
Common Pitfalls and Solutions
- Bad Marker Smears: If your marker runs or smudges, consider switching to paint or letting the marker dry completely before moving it.
- Cheesecloth Rips: If you tear your cheesecloth while adjusting it, simply cut a new piece and try again. A little bit of layering can fix minor issues and add to the spirit of spooky charm!
Personal Anecdotes
I remember the first time I made milk jug ghosts with my daughter. We spent an entire afternoon decorating them, laughing at the silly faces we created. Years later, those same ghosts became a staple in our family tradition. We now have a whole "ghost family" with varying expressions, which has created lasting memories in our home. It’s amazing how a simple DIY project can weave into the fabric of family life.
Creative Variations
- Colorful Ghosts: Instead of white, paint the jugs in various pastel shades.
- Ghost Families: Create a range of ghost sizes using different jug sizes and decorating them with unique facial features.
- Themed Ghosts: Try turning your ghost jugs into characters from popular Halloween lore, like Casper, the friendly ghost, or even classic horror figures.
Final Thoughts
Making DIY milk jug ghosts is a fantastic way to get into the Halloween spirit while engaging in a fun family activity. Whether you’re crafting solo or with loved ones, let your imagination run wild! And if you share your creations on social media, don’t forget to tag me—I love to see how others put their unique spins on this easy craft.
Grab those milk jugs, and let’s create some ghostly magic of our own! Happy crafting!