##How to Make DIY Kinetic Sand: A Comprehensive Guide
Hello, fellow crafters! If you’re like me and enjoy hands-on projects that blend creativity with sensory fun, then you’re in the right place. Today, I’m going to share my complete guide on how to make DIY kinetic sand—that oh-so-satisfying, moldable material that feels like a dream in your hands!
Kinetic sand has skyrocketed in popularity in recent years due to its unique texture and mesmerizing playability. This magical substance is perfect for children and adults alike, offering an engaging outlet for creativity and relaxation. Whether you’re using it for sensory play with kids, stress relief, or just plain fun, the pleasure of working with kinetic sand is universally appealing.
What is Kinetic Sand?
Kinetic sand is essentially fine sand that has been coated with a polymer, which gives it that delightful, non-drying, moldable quality. It holds its shape beautifully, allowing for astonishing creations. The tactile experience of kinetic sand—how it flows, molds, and sticks together—makes it therapeutic and enjoyable for many. I love using it during my downtime, and I often recommend it as a versatile craft supply for parents, educators, and fellow hobbyists.
When and How to Use Kinetic Sand
This sand is perfect for:
- Sensory Play: Great for young children exploring textures.
- Stress Relief: A wonderful medium for adults looking for a calming activity.
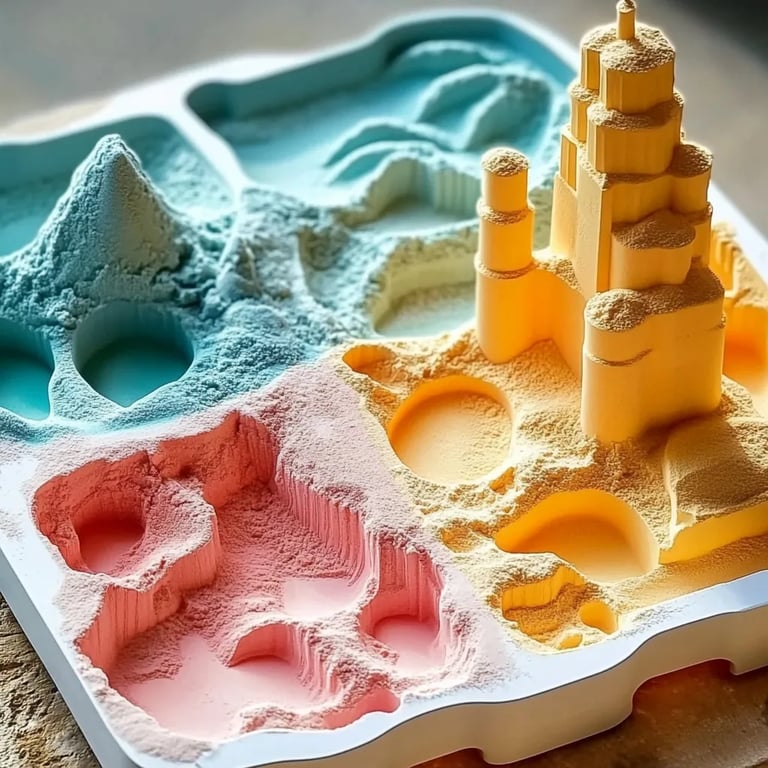
- Creative Projects: Mold mini sculptures, characters, or even functional objects.
Now that you're excited about kinetic sand, let’s dive into the process of making your own!
DIY Kinetic Sand Recipe
Materials You’ll Need:
- Sand – 1 cup (Choose fine sand; play sand from a craft or home store works well.)
- Cornstarch – ½ cup (This helps achieve that soft texture.)
- Water – ½ cup (Add it gradually to avoid excess moisture.)
- Dish Soap/Veggie Oil – 1 tablespoon (Optional, but it adds a pleasant scent and enhances the texture.)
- Food Coloring – (Optional, for a colorful twist!)
Step-by-Step Tutorial
Let’s break this down step by step!
Step 1: Gather Your Sand
First things first, you’ll want to ensure that you have clean, fine sand. If you can’t find sand specifically for crafts, natural beach or playground sand can work. Just remember to sift it through a fine mesh sieve to remove any larger grains or debris that might affect the texture later on.
*Why this matters:* Clean sand provides the right consistency for effective molding and play.
Step 2: Mix the Dry Ingredients
In a large mixing bowl, combine your 1 cup of sand and ½ cup of cornstarch. Stir well until it's evenly combined.
*Tip: If your sand is damp, spread it out in a thin layer on a baking tray and let it dry for a few hours before mixing.*
Step 3: Add Water Gradually
In a separate smaller bowl, measure out ½ cup of water and add the dish soap or veggie oil if desired. Mix them together briefly, then slowly pour this mixture into your dry ingredients.
*Why this matters:* Adding water gradually prevents the mixture from becoming too wet or clumpy. Aim for a consistency where the sand can clump together without being sticky.
Step 4: Stir and Knead
Using your hands, start kneading the mixture. It might seem crumbly at first, but keep mixing! You're looking for a texture that feels smooth, is easy to mold, and holds its shape.
*What could go wrong:* If the sand feels too dry and doesn’t clump, add more water—just a tablespoon at a time. Conversely, if it feels too wet, you can sprinkle in a bit more sand or cornstarch to balance it out.
Step 5: Color Your Kinetic Sand (Optional)
If you want some colorful kinetic sand, now’s the time to add your food coloring! Just a few drops will do. Mix well, and if you don't achieve the desired color, add a little more.
*Tip: Wear gloves if you’re worried about staining your hands!*
Step 6: The Final Touches
Once you’ve reached the perfect consistency and color, it’s time to play! Store any leftover kinetic sand in an airtight container to keep it fresh for longer.
Personal Anecdotes and Creative Variations
As someone who loves experimenting in the crafting realm, I’ve dabbled with different variations! The basic recipe is great, but I’ve added essential oils for an aromatic experience, or glitter for a sparkle effect. Another fun method is to use colored sand instead of food coloring. It adds visual interest and is another way to personalize your sand.
Helpful Tips for Success
- Cleanliness: Make sure you’re working on a clean, flat surface—kinetic sand can be messy!
- Supervise Children: If the sand is for kids, keep an eye on little ones to avoid any eating of the sand.
- Storage: Always store kinetic sand in an airtight container to keep it from drying out. If it does dry, you can usually restore it with a bit of water and kneading.
Safety Warnings
- While the ingredients are generally safe, cornstarch can be an allergen for some, so be aware of allergies.
- Should any sand get into the eyes, rinse thoroughly with water.
Conclusion
Making DIY kinetic sand is an incredibly rewarding process that combines essential crafting skills with playfulness. Whether you’re seeking a fun activity for kids, a therapeutic pastime for yourself, or a creative outlet for your imagination, this homemade kinetic sand recipe is a surefire way to bring joy to your crafting table.
As you embark on your kinetic sand-making journey, remember to embrace the process. Each batch can vary slightly, and that’s part of the fun! I hope my guide inspires you to create and explore. If you have any questions or stories to share about your own creations, feel free to drop a comment below. Happy crafting!