How to Make DIY Glitter Tube Bracelets: A Step-by-Step Guide to Sparkling Creativity
Hello, fellow crafting enthusiasts! Today, I'm thrilled to share one of my absolute favorite projects: creating DIY glitter tube bracelets. These eye-catching accessories are not only fun to wear but also allow you to express your unique personality through colors and designs. They've become increasingly popular for parties, festivals, and everyday wear, effortlessly adding a touch of sparkle to any outfit.
What’s more, these lovely bracelets are incredibly simple to make, using budget-friendly materials that you likely already have at home. Whether you’re looking to jazz up your wardrobe, create handmade gifts for friends and family, or enjoy some fun crafting time with children, DIY glitter tube bracelets are a perfect choice. Let’s dive into the process!
What You'll Need
Here’s a list of materials you’ll need to create your very own shimmering bracelets:
Materials:
- Plastic tubes (beads or hollow tubes made from clear, flexible plastic – you can find these at craft stores or on online marketplaces)
- Glitter (the more, the merrier! Choose your favorite colors or mix different shades)
- Embroidery floss or stretching cord (this will serve as the base for your bracelet)
- Scissors
- Tape (to secure the ends while working)
- Beads or charms (optional, for added decoration)
- Clear-drying glue (for extra security if necessary)
Tools:
- Tweezers (helpful for maneuvering glitter inside small tubes)
- Measuring tape (to determine the right length for your bracelet)
Step-by-Step Tutorial
Let’s get started! Here’s a comprehensive guide to making your glitter tube bracelets.
Step 1: Prepare Your Work Area
Before you dive in, it’s essential to set up your crafting space. Find a comfortable area, cover your workspace with newspaper or a plastic sheet to catch any runaway glitter, and gather your materials. Creating a clutter-free environment will help you concentrate on the fun part—making your bracelets!
Why This Matters:
A tidy workspace not only keeps you organized but also minimizes mess. Trust me; glitter can go everywhere if you’re not careful!
Step 2: Cut the Cord or Embroidery Floss
Decide on how long you want your bracelet to be and cut a length of cord or embroidery floss accordingly. I usually measure about 6 to 8 inches longer than my wrist size to allow for tying knots.
Tip:
It’s better to have extra length than not enough! You can always trim the excess later.
Step 3: Fill the Tubes with Glitter
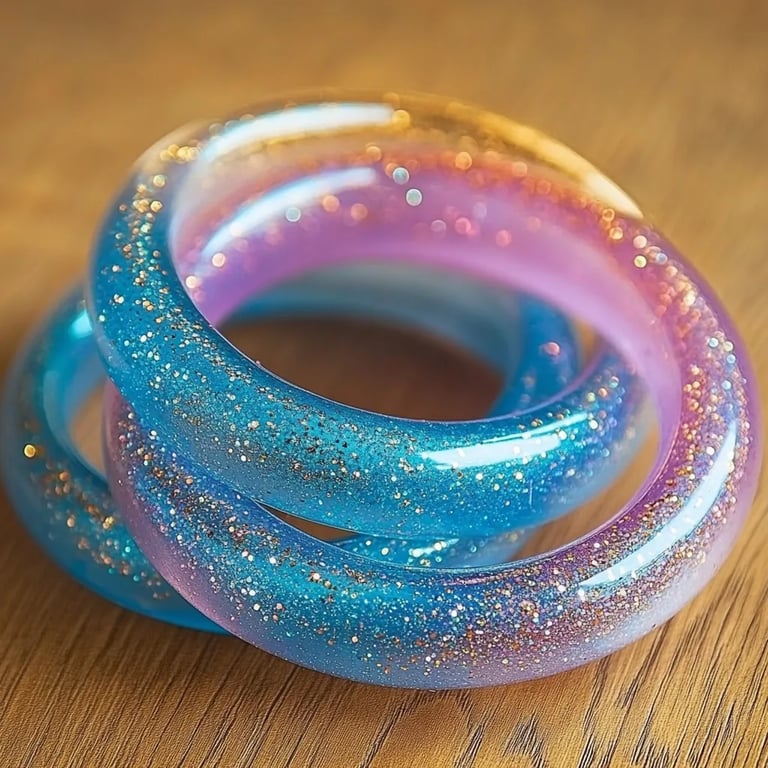
Using a funnel (or a rolled-up piece of paper if you don’t have a funnel), pour glitter into your plastic tubes. Aim for a mix of colors for a vibrant effect. I often do three tubes with different color palettes: one for warm hues, one for cool colors, and another for a dazzling mixed variety.
Why This Matters:
The filling process is crucial, as it sets the tone for your bracelet. Don’t skimp on the glitter—more means more sparkle!
Potential Pitfall:
Sometimes, the glitter can get stuck. If you’re having trouble, gently tap the tube or use tweezers to help dislodge it.
Step 4: Secure the Glitter
Once your tubes are filled, seal the ends using a small piece of tape or apply a line of clear-drying glue. This will ensure the glitter stays put and doesn’t spill out during the creation process.
Safety Warning:
Be careful with clear-glue fumes. Always work in a well-ventilated area, especially if you’re using a strong adhesive.
Step 5: String the Tubes on the Cord
Take one end of your cord and start threading the glitter-filled tubes onto it. Depending on your design, you can alternate the order of colors or even add beads or charms between the tubes.
Tip:
You can make the bracelet fit more snugly by adding fewer tubes, or you can create a looser fit by using more tubes.
Step 6: Tie a Secure Knot
Once you’ve reached your desired length, tie a knot to secure everything in place. I prefer using a double knot for added security. Trim any excess cord, leaving a little bit of a tail so that the knot holds firmly.
Why This Matters:
A well-tied knot ensures the bracelet won’t fall apart when you wear it. You don’t want to lose your gorgeous creation halfway through the day!
Step 7: Show Off Your Sparkling Work of Art!
Put on your newly crafted bracelet and admire your handiwork! These bracelets also make fantastic gifts—consider creating color themes for friends based on their favorite hues.
Creative Variations to Try
- Themed Bracelets: Try creating bracelets for different occasions like holidays or team colors. Think red, white, and blue for Independence Day or pastel tones for Easter.
- Glow-in-the-Dark Glitter: If you’re feeling adventurous, try using glow-in-the-dark glitter or tubes to make your bracelets stand out at nighttime events.
- Charm Bracelets: Add small charms that represent your interests, such as musical notes, stars, or anchors. They can enhance the design and tell a story.
Personal Anecdote
I remember the first time I made these glitter tube bracelets for a summer festival. My daughters and a few of their friends joined me for a crafting session, and we ended up with dozens of vibrant bracelets. Not only did we enjoy making them together, but they also became a hit at the festival. Many attendees complimented our unique creations, which made the experience all the more rewarding!
Troubleshooting Common Issues
- Glitter is Clumping Inside the Tube: If you find that the glitter isn’t flowing freely, try gently tapping the tube or giving it a little shake while making sure it doesn't open.
- Bracelet is Too Loose or Tight: If your bracelet feels too loose, consider adding more tubes or adjusting the cord. If it’s too tight, you might need to remake it with an extra length of cord.
Final Thoughts
DIY glitter tube bracelets are an incredible way to unleash your creativity, personalize your accessories, and enjoy some quality crafting time, whether solo or with loved ones. As with any crafting project, practice makes perfect; don’t hesitate to experiment with different colors, patterns, and sizes until you find what speaks to you.
So grab those materials, let your imagination run wild, and let’s get crafting! I can’t wait to see your sparkle-filled creations. Happy crafting!