How to Make DIY Gel Air Fresheners: A Crafting Guide
Hello there, fellow crafters! Today, I’m thrilled to share with you one of my favorite DIY projects: making gel air fresheners. As someone who loves crafting, I can tell you there’s something so satisfying about creating something that not only looks beautiful but also smells delightful. These gel air fresheners have gained popularity in recent years, and for good reason! They’re versatile, easy to customize, and safe compared to many store-bought options that can be packed with chemicals.
Imagine coming home after a long day to a space that smells like your favorite essential oil or a refreshing blend of fruits. Whether you want to eliminate odors in your kitchen, create a calming atmosphere in your bedroom, or add a festive scent for the holidays, these gel air fresheners are the perfect solution. Today, I’m going to guide you through a comprehensive, step-by-step tutorial on how to create your own gel air fresheners, brimming with insights I’ve learned along the way.
What You’ll Need
Materials:
- 1 cup of distilled water: Using distilled water ensures that you’re starting with a clean base, avoiding any unwanted impurities.
- 2 tablespoons of gelatin (unflavored): Gelatin gives the air fresheners their jelly-like consistency.
- 1 tablespoon of salt: This acts as a preservative, helping the gel to last longer.
- Essential oils or fragrance oils (about 20-30 drops): Choose your favorite scents! Lavender, lemon, peppermint, and eucalyptus are popular choices.
- Food color (optional): If you want to add a touch of color to your gel.
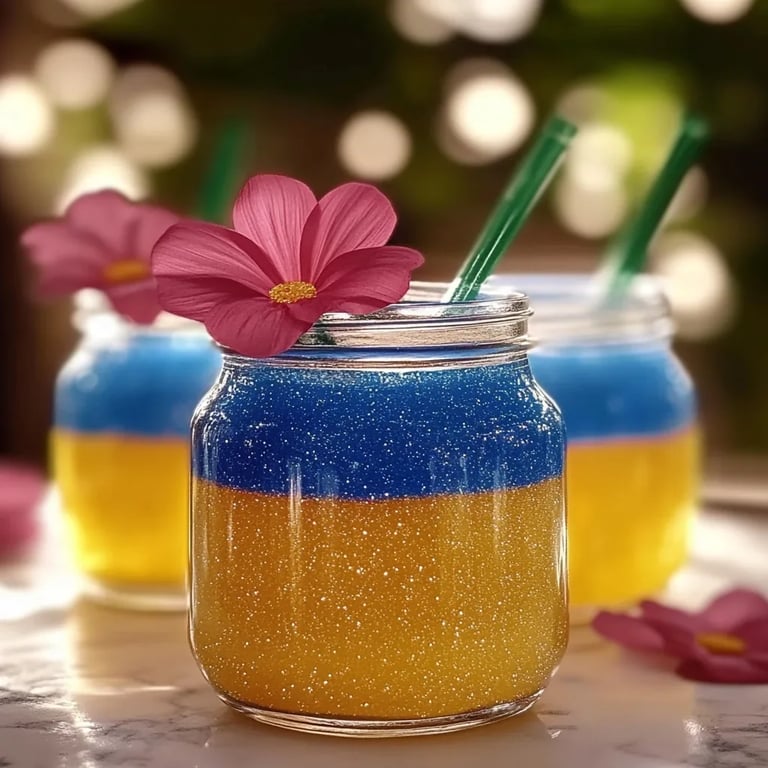
- Containers: Small jars or molds—think mason jars, decorative dishes, or any small containers that catch your eye.
Tools:
- Small saucepan: To mix your ingredients.
- Whisk or spoon: For stirring.
- Refrigerator: For setting the gel.
Step-by-Step Tutorial
Step 1: Prepare Your Gelatin Mixture
Start by heating 1 cup of distilled water in a small saucepan, but make sure not to bring it to a boil. It's important to handle the heat carefully to avoid scorching the water. Once the water is hot enough (just steaming), remove it from the heat.
Next, sprinkle the unflavored gelatin over the water. I like to whisk it in slowly to prevent any lumps from forming. This step is crucial because lumps can create an unsightly final product. If you do see lumps, no worries! Just keep whisking until the gelatin fully dissolves.
Step 2: Add Salt and Essential Oils
Once the gelatin is dissolved, stir in 1 tablespoon of salt using a whisk or spoon. The salt will help preserve your gel air freshener and prevent mold. After the salt has dissolved, it’s time to bring in the aromas. Add 20 to 30 drops of your favorite essential or fragrance oil. Now, this is where you can get creative! Mix and match scents to find your signature blend—perhaps a mix of lavender and vanilla for a calming sensation, or lemon and mint for an energizing vibe.
Step 3: Add Color (Optional)
If you want to add a little fun, drench your mixture in a few drops of food coloring. Remember, just a drop or two goes a long way! Stir it well to distribute the color evenly.
Step 4: Pour and Set
Carefully pour your mixture into the containers you’ve chosen. This is a great moment to customize! If you want to add decorative elements—like dried flowers, citrus peels, or herbs—now’s the time. Preserve these beauty elements in the gel for a lovely aesthetic when the air fresheners set.
Once poured, allow the gel to cool at room temperature before placing it in the refrigerator to fully set. Expect to wait a few hours or even overnight; patience is key!
Step 5: Enjoy and Display
After your gel air fresheners have set, they’re ready to be displayed! Place them around your home where you’d like a delightful fragrance. I often place them near windowsills, on desks, or in bathrooms. The subtle beauty of the gel can enhance décor and create lovely pockets of scent in your living space.
Tips and Insights
- Storage & Duration: Store your gel air fresheners in a cool, dry place away from direct sunlight. They can last several weeks, depending on the ingredients you used. When you notice the scent fading, it's time to toss or refresh.
- What Could Go Wrong: If your gel doesn’t set properly, it could be due to two reasons: either the gelatin wasn’t dissolved adequately, or the ratio of gelatin to water was off. Trying again is the best way to learn and perfect your technique.
- Refreshing the Scent: If you find that the scent is fading before you’re ready to toss it out, you can simply poke a few holes in the gel with a toothpick and add a drop or two more of essential oil to rejuvenate the fragrance.
Safety Warnings
- Keep Out of Reach: Make sure to keep your finished gel air fresheners out of reach of children and pets, as they might be tempted to taste them!
- Skin Sensitivity: If using essential oils, be mindful of any skin sensitivities. Some individuals may have allergic reactions to specific oils, so do a patch test if you're unsure.
Personal Anecdotes & Creative Variations
One of my favorite memories was a cozy winter evening when I decided to make gel air fresheners in festive scents—think cinnamon and orange. I placed them in cute, holiday-themed jars and gifted them to friends and family during the holidays. The joy of sharing a handmade item filled with love was simply priceless.
You can also create themed air fresheners for different seasons—think fresh floral scents for spring, pumpkin spice for autumn, and clean, crisp scents for summer.
Conclusion
And there you have it! A warm, inviting method to create beautiful DIY gel air fresheners. Not only are they an aesthetically pleasing addition to the home, but they also allow you to personalize the scent landscape of your space. So grab your materials, get crafty, and enjoy the delightful aromas you’ll create. Happy crafting, and may your home always smell like your favorite sanctuary!