How to Make DIY Flower Salt Painting for Kids: A Fun and Colorful Craft Experience
Hello fellow crafters! I’m thrilled to share one of my all-time favorite projects: DIY Flower Salt Painting for Kids. This enchanting art form combines the vibrant colors of watercolors with the whimsical texture of salt to create stunning, one-of-a-kind pieces that kids adore. Whether it's for a rainy day activity, a summer art camp, or just a fun afternoon at home, this project is bound to spark creativity and wonder.
What is DIY Flower Salt Painting?
DIY Flower Salt Painting is an engaging craft that involves creating flower designs using salt as a medium, which is then brought to life using vibrant watercolor paints. The glittering texture of salt combined with the flowing colors of paint produces mesmerizing results that capture the eye. It's a fantastic way to introduce children to artistic concepts such as color blending, texture, and how different materials interact. Plus, the final creations make beautiful gifts or room decorations!
Why is DIY Flower Salt Painting Popular?
This project has gained popularity for several reasons:
- Educational Value: It helps kids learn about color mixing and the properties of different materials.
- Sensory Play: The tactile experience of handling salt and paint is unique and stimulating for young hands.
- Creative Expression: Each child can produce their own unique artwork, allowing for personal expression.
- Accessibility: The materials can be easily found at home or at local stores.
When Can You Use This Craft?
I’ve found that DIY Flower Salt Painting is perfect for various occasions:
- Rainy days at home
- Birthday parties or playdates
- School art projects
- Summer camps
- Holiday decorations or gifts
Now, let me take you through the process step-by-step, ensuring you have all the tools and insights you’ll need for a successful crafting session.
Materials Needed
Here's a comprehensive list of materials you'll need:
Basic Supplies:
- White cardstock or watercolor paper: This will serve as your canvas and must be heavy enough to hold paint without warping.
- Salt (table salt or coarse salt): This enhances texture and helps create beautiful patterns.
- Liquid watercolors: These are vibrant and easier to use for this project compared to traditional paints. Alternatively, you can use food coloring mixed with water.
- Water: To dilute paints or clean brushes.
- Paintbrushes: A variety of sizes, including a larger one for broad strokes and finer ones for details.
- Glue: White school glue works best for this project.
- Container for Salt: To hold your salt and sprinkle it easily.
- Coffee filters or trays: For pouring excess salt.
- Optional: Tweezers (for adjusting salt patterns), small bowls for mixing colors.
Safety First
Before you begin, it’s wise to have some basic safety considerations in mind. While the materials are generally safe, it’s important to supervise younger children, especially to prevent them from consuming salt. Moreover, keep all art supplies away from younger siblings to avoid messy accidents.
Step-by-Step Tutorial
Step 1: Sketch Out Your Flower Design
Why This Matters: A rough outline helps give structure to your artwork and allows you to plan your color palette.
How to Do It:
- Start by lightly sketching a flower shape on your cardstock with a pencil. You can opt for simple outlines—think daisies or sunflowers. Kids can draw freehand or use stencils for guidance.
- Common Pitfall: If you press too hard with your pencil, the lines may be visible in your final piece. A light hand is key!
Step 2: Apply Glue Over Your Design
Why This Matters: Gluing the outline is crucial because it provides a surface for the salt to stick, forming the base of your painting.
How to Do It:
- Using a fine nozzle or a brush, trace over your pencil outline with white school glue.
- What Could Go Wrong: If the glue is too thick, the salt won't adhere properly. To fix it, gently scrape off excess glue before proceeding.
Step 3: Sprinkle Salt Over the Glue
Why This Matters: The salt will absorb the watercolor, allowing the colors to spread beautifully and creating texture.
How to Do It:
- Immediately after applying glue, sprinkle salt generously over the design, ensuring it is fully covered.
- Tip: Do this over a tray or coffee filter to catch the excess salt for future use.
- Allow the glue to sit for a few minutes; it should remain tacky.
Step 4: Remove Excess Salt
Why This Matters: Getting rid of excess salt will prevent unwanted clumping and ensures clean lines in your final artwork.
How to Do It:
- Gently shake off the excess salt onto your tray or filter. Tap the cardstock lightly to dislodge any clumps.
- Alternative Method: A soft paintbrush can also be used to gently sweep away excess salt if needed.
Step 5: Prepare Your Watercolors
Why This Matters: Watercolors need to be mixed to achieve desired brightness and consistency.
How to Do It:
- If using liquid watercolors, dilute them with a little water to create a wash that flows easily.
- Tip: Experiment with mixing colors beforehand to test how they interact.
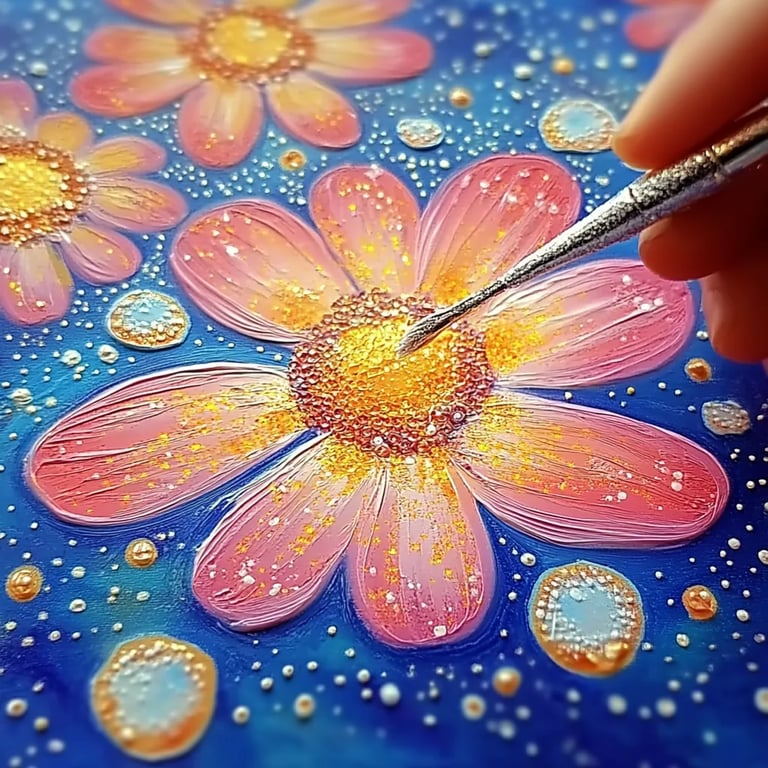
Step 6: Apply Watercolor to the Salt
Why This Matters: The real magic happens when paint interacts with salt and glue, allowing the colors to spread and mystically blend.
How to Do It:
- Use your paintbrush to apply the watercolor onto the salt-covered areas. Begin with lighter colors and build up.
- Common Pitfall: Don’t overload your brush; too much paint can drown the salt and disrupt patterns. If that happens, simply blot gently with a paper towel and allow it to dry before re-painting.
Step 7: Watch the Magic Unfold!
Why This Matters: Watching the paint and salt interact is one of the most exciting parts for kids!
How to Do It:
- Observe how the salt absorbs the water, creating intricate patterns and blending colors beautifully.
- Allow your artwork to dry completely—this can take around 24 hours depending on the thickness of the glue and paint used.
Step 8: Display and Enjoy
Creative Variations: After the painting is fully dry, consider framing it, creating a greeting card, or hanging it up as a colorful masterpiece in your home!
Personal Anecdotes and Tips
I remember the first time I introduced my kids to Flower Salt Painting; their faces lit up with excitement when they saw the colors blending. It was a memorable day filled with laughter, creativity, and a little bit of messy fun. I always emphasize the importance of not stressing about perfection—art is all about the process!
Final Tips
- Experiment! Don’t hesitate to try different shapes or designs—leaves, butterflies, or abstract patterns can all be beautiful.
- Stick to the Basics: If you find watercolor difficult, substituting with diluted food coloring works just as well in creating vibrant shades.
- Safety Precautions: Ensure your work area is covered to prevent spills and stains.
- Cleanup: Use vinegar and water to clean up glue or paint spills on surfaces.
In conclusion, DIY Flower Salt Painting is not just an art project—it’s a fun experience, a lesson in creativity, and a wonderful way to bond with kids. I hope you find this guide helpful for your crafting adventures. Grab your supplies, unleash your creativity, and enjoy the magical world of salt painting! Happy crafting!