How to Make DIY Essential Oil Stones: A Comprehensive Guide
Hello, fellow crafters! Today, I’m excited to share my passion for crafting aromatic wonders—specifically, how to create your very own DIY Essential Oil Stones. If you’re on the search for a unique and delightful way to infuse your home with fragrance, this project is for you. Whether you want to dispel unwanted odors or create a calming atmosphere after a long day, these stones are a fantastic addition to any corner of your living space.
What Are Essential Oil Stones?
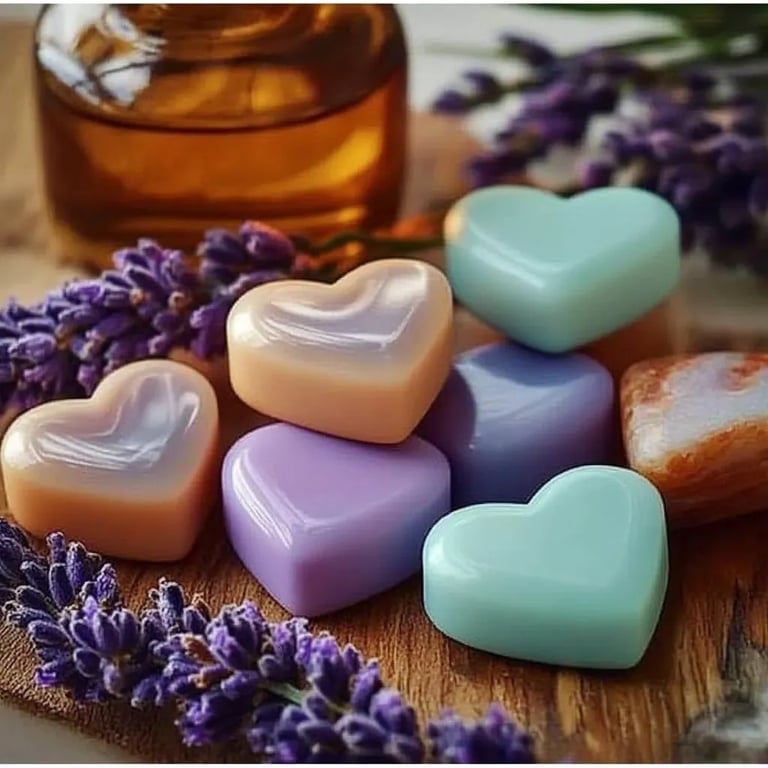
Essential Oil Stones are essentially decorative stones that absorb and hold the scent of your favorite essential oils. These charming little creations can be sprinkled throughout your home, adorning bookshelves, nightstands, or even your bathroom. They provide a natural alternative to chemical air fresheners, inviting invigorating fragrances straight from Mother Nature into your life.
I've found that they’re especially nice to use during meditation sessions, yoga classes, or even just while lounging around with a good book. The best part? They’re remarkably easy to make!
Why Make Essential Oil Stones?
- Natural Aroma: Unlike synthetic fragrances, essential oils provide not just delightful aromas but also therapeutic benefits.
- Economical: Making your own stones is budget-friendly and allows you to customize your scents.
- Sustainable: Create a waste-free version of air fresheners that’s both eco-friendly and long-lasting.
- Personalized Gift: Packed in a lovely bag, they make delightful gifts for friends, family, or even yourself.
Now, let’s dive into the crafting process! I’ll guide you step-by-step through making these adorable Essential Oil Stones.
What You’ll Need
- Materials
- 2 cups of baking soda
- 1 cup of cornstarch
- 1 cup of water
- Essential oils of your choice (lavender, eucalyptus, lemon, etc.)
- Mixing bowl
- Silicone molds or cookie cutters
- A baking sheet or drying rack
- A whisk or spatula for mixing
- Safety Gear
- Old clothes or an apron to protect against spills
- Gloves (optional, if you have sensitive skin)
Step-by-Step Tutorial: Crafting Your Essential Oil Stones
Step 1: Prepare Your Workstation
Start by setting up your workstation with all your materials within reach. The last thing you want is to scramble for ingredients mid-process! Lay down some old newspaper or a crafting mat to catch any spills.
Step 2: Combine the Dry Ingredients
In a mixing bowl, combine the baking soda and cornstarch, using a whisk to ensure there are no lumps. This mixture forms the base of your stones, and baking soda works wonders for odor absorption!
Tip: If the mixture is lumpy, it can lead to uneven stones. Mix well and check for any stubborn clumps.
Step 3: Add Water Gradually
Integrate the water into your dry mixture slowly, stirring as you go. You want to achieve a dough-like consistency without it being too wet.
What could go wrong? If you add too much water, your mixture will be too runny, and the stones won't hold their shape when set. If that happens, just add a bit more baking soda and cornstarch to balance it out.
Step 4: Choose Your Essential Oils
Now, the fun part! Add 10-20 drops of your preferred essential oil to the mixture. For a calming effect, I love using lavender, whereas citrus oils like lemon can create a refreshing, uplifting scent.
Tip: Always do a patch test for any new essential oil to ensure you don’t have any allergic reactions.
Step 5: Mix Thoroughly
Mix until all ingredients are well incorporated. Your mixture should be somewhat thick and moldable.
Step 6: Mold the Mixture
Scoop the mixture into your silicone molds or shape them using cookie cutters. Press down firmly to eliminate air bubbles and help the stones hold their shape.
Safety Warning: Avoid direct contact with your skin as the essential oils can be potent. Use gloves if necessary.
Step 7: Dry the Stones
Place your molds on a baking sheet or a drying rack to allow air circulation. Let the stones sit for about 24-48 hours to harden completely. If you live in a humid environment, consider letting them dry for a bit longer.
Creative Variation: To add a pop of color, consider mixing in natural colorants like spirulina, beet powder, or turmeric powder when adding your essential oils.
Step 8: Demold and Store
Once they’re dry, carefully pop your stones out of the molds. Store them in a breathable bag (like a mesh or fabric pouch) to allow their scent to diffuse into the air. I often label my bags with the essential oil used, which is especially fun if I’ve made a variety of scents.
Troubleshooting
- Too Brittle? If your stones break easily, you might need to adjust the recipe by adding more cornstarch or letting them dry a bit longer.
- Not Absorbing Scent? Ensure you’re using quality essential oils and consider letting them soak in the aroma by placing them in a sealed container with the oils for a few hours before demolding.
Final Thoughts and Personal Touches
As I wrap up this guide, I encourage you to explore the endless possibilities with your DIY Essential Oil Stones. Not only can you customize them with different oils, but you can also experiment with scents that correspond with the seasons—fresh florals for spring, warm citrus for summer, spicy scents for autumn, and earthy tones for winter.
Creating these stones has been a joyful experience for me, allowing not just a way to fragrance my space but also a moment of mindfulness and creativity. So grab your materials, and start crafting! I can’t wait to see what delightful combinations you create.
Don’t forget to share your Essential Oil Stones on social media; you might just inspire someone to dive into this aromatic adventure as well. Happy crafting!