How to Make DIY Cloud Dough: A Step-by-Step Guide to Unleashing Your Creativity
Hello, fellow crafting enthusiasts! Today, I’m thrilled to share my favorite DIY project: Cloud Dough. If you haven’t heard of it yet, let me tell you why it’s taken the sensory play world by storm. Cloud Dough is a wonderfully soft, fluffy, moldable substance that kids and adults alike find irresistible. It’s incredibly popular among parents, educators, and therapists for a good reason—it’s not only fun to play with, but it also encourages creativity and fine motor skills development in children.
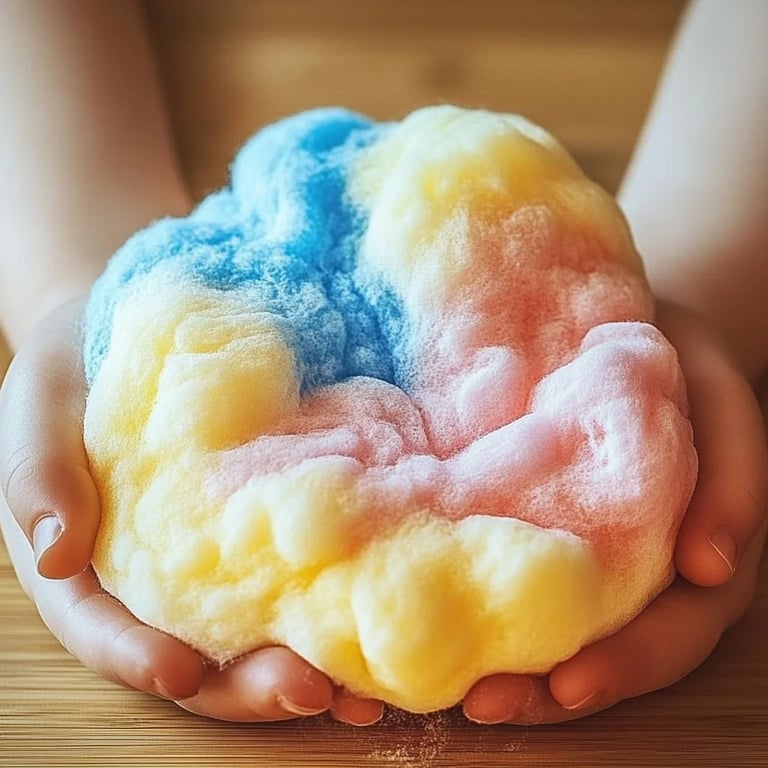
Imagine a snowy, silky texture that invites you to squeeze, shape, and create. Whether it’s a rainy day or a sunny afternoon, Cloud Dough provides the perfect opportunity for sensory exploration. You can use it for crafting, sensory bins, or just plain old fun! Plus, it’s simple to make, and I’ll guide you through every step of the process. So, roll up those sleeves, and let’s get our hands a bit floury!
What You’ll Need: The Simple Ingredients
Before we dive into the steps, here’s a convenient list of materials you’ll need to create this wonderful dough:
Main Ingredients:
- All-Purpose Flour – 8 cups
- This is the main foundation of your Cloud Dough. It provides structure and gives the dough its form.
- Vegetable Oil – 1 cup
- This adds that soft, silky texture we love about Cloud Dough. It also helps prevent the dough from drying out too quickly.
Optional Enhancements:
- Coloring Agents: You can use food coloring, washable paint, or even natural dyes like beet or turmeric for some fun colors.
- Scented Oils: If you want to elevate the sensory experience further, consider adding a few drops of essential oils like lavender or peppermint.
Tools:
- A large mixing bowl
- Measuring cups
- A whisk or mixing spoon
- A container for storage (airtight preferred)
Step-by-Step Tutorial: Making Cloud Dough
Step 1: Measure and Combine Your Dry Ingredients
Start by measuring 8 cups of all-purpose flour into your large mixing bowl. Make sure you scoop the flour lightly and level off the top for an accurate measurement. This foundation is crucial—too much flour can make your dough crumbly.
Step 2: Pour in the Vegetable Oil
Next, take 1 cup of vegetable oil and slowly pour it over the flour. This is where the magic happens! The oil will start to seep into the flour, creating a sandy-like texture. Use your hands or a whisk to mix the oils into the flour thoroughly.
Step 3: Mix Until Perfectly Combined
The goal here is to ensure that every grain of flour is coated with oil. This step is essential, as a poorly mixed dough can lead to a crumby, dry product that won’t hold shape well. If your Cloud Dough ends up too dry, you can remedy this later—just add a tiny bit more oil. Keep mixing until you achieve a soft, pliable consistency.
Step 4: Add Color and Scents (Optional)
At this stage, you can add a few drops of food coloring or scented oils to make your Cloud Dough even more inviting. Start with a couple of drops, mix thoroughly, and always add more if needed. Remember, it’s easier to add than to remove, so take your time to achieve your desired shade.
Step 5: Test the Consistency
Once you achieve the desired color and scent, it’s time to test the consistency! Grab a handful, squeeze it, and see how it holds together. It should be moldable and not sticky. If it feels too crumbly, add a bit more oil. If it's too sticky, knead in some more flour a tablespoon at a time until you reach the perfect texture.
Step 6: Store Your Cloud Dough
After mixing, transfer your Cloud Dough into an airtight container. Proper storage is key—this helps retain moisture and keeps it fresh for longer. When stored correctly, it can last up to a month!
Tips and Troubleshooting
Common Issues and Fixes
- Crumbling Dough: If you find that your Cloud Dough is falling apart, simply knead in a little more oil until it becomes pliable.
- Sticky Dough: For overly sticky dough, add small amounts of flour gradually until you get the right consistency.
Crafting Considerations
- If you have little ones helping you, consider doing the mixing stage together—it’s a fun way to bond and ensures they’re engaged in the crafting process.
- For added fun, consider creating themed variations! For example, you can make a pastel version for spring, vibrant colors for a summer playdate, or even spooky shades for Halloween.
Safety First!
Always supervise children during playtime with Cloud Dough, especially with younger toddlers. Ensure that they don’t attempt to eat the dough, as it isn’t edible. Stick to supervised as you measure and mix!
Creative Variations
Once you've mastered the basic recipe, the possibilities are endless! Here are some variations I love:
- Scented and Colored Clouds: Use lavender or chamomile essential oils for a sensory treat that’s soothing.
- Glittery Cloud Dough: Sprinkle in some biodegradable glitter for a magical twist! This makes it perfect for special occasions or themed crafts.
- Textured Additions: Incorporate different materials like dried herbs or oatmeal for added texture.
Final Thoughts: The Joy of Crafting
Making DIY Cloud Dough is not just about the end product; it’s about the experience of creation, connection, and play. Whether you’re crafting with kids, hosting a play date, or just enjoying some me-time, Cloud Dough offers a simple yet enriching experience. I hope this guide has inspired you to get crafty and let your creativity soar! So gather your materials, roll up your sleeves, and let’s make some clouds together!
Happy crafting, my friends!