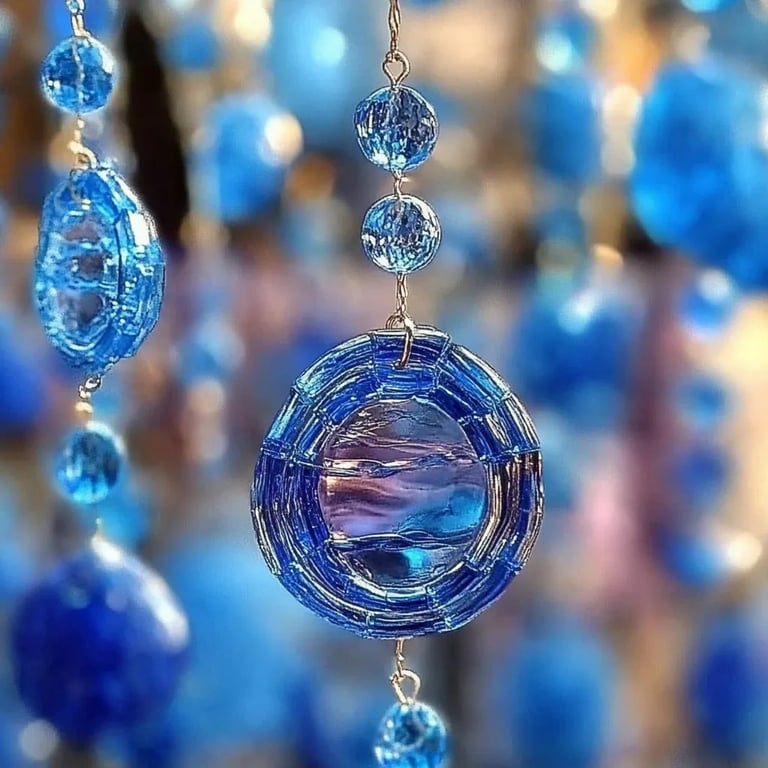
How to Make DIY Blue Suncatchers: A Step-by-Step Guide
As an avid crafter who finds immense joy in creating unique art for my home, I’m excited to share my latest obsession: blue suncatchers. These delightful pieces merge craftsmanship with the beauty of light, transforming any window into a kaleidoscope of colors. Whether they hang in your kitchen, brighten up a child's room, or serve as outdoor decor, blue suncatchers are not just pretty but also meaningful, catching the light and creating a cheerful atmosphere throughout the day.
Why Blue Suncatchers?
Why blue, you ask? Blue is often associated with calmness, serenity, and tranquility—the perfect colors for creating a peaceful environment. Suncatchers are popular for their ability to reflect light in stunning ways, bringing a touch of nature's beauty indoors. They are especially wonderful during spring and summer, but honestly, they can sprinkle a bit of happiness in any season.
Creating DIY blue suncatchers is straightforward, needs minimal materials, and offers plenty of room for creativity. If you’re ready to brighten your space with homemade art, let’s dive into this detailed, step-by-step tutorial!
Materials Needed
Before we jump into crafting, let’s get organized. Here’s what you’ll need:
- Blue Gelatin or Blue Jello (two packets)
- Clear Plastic Sheet or Parchment Paper
- Cookie Cutters (various shapes) or a Sharp Knife
- String or Fishing Line
- A Bowl and Spoon for mixing
- Liquid Food Coloring (optional for additional hues)
- Stickers or Dried Flowers (to embed)
- A Pot for boiling water
- A Tray or Baking Sheet
- Spray Cooking Oil (optional for easy removal)
Tips for Success:
- Ensure your workspace is covered; making gelatin can get a little sticky!
- Gather all your materials before starting to streamline your process.
Step-by-Step Instructions
Step 1: Prepare the Gelatin
Why This Matters: The gelatin forms the main structure of your suncatcher. Getting the right consistency is crucial for clarity and durability.
- Boil Water: Start by heating about 1 cup of water in a small pot until it reaches a boil.
- Mix Gelatin: In a bowl, pour in two packets of blue gelatin or blue Jello. Carefully add the boiling water and stir until completely dissolved. If you want variance in hues, adding a few drops of liquid food coloring can create beautiful depths!
Step 2: Add Decorative Elements
Why This Matters: Decor is what truly makes your suncatcher unique! Stickers and dried flowers add touch and texture.
- Incorporate Elements: Once the gelatin is mixed and still warm, you can gently fold in your chosen decorations. Stickers can be placed on the bottom of your suncatcher mold, while dried flowers can be suspended for an ethereal look.
- Pour Into Molds: Lightly grease your cookie cutter shapes or the area of parchment paper where you will pour the mixture (this is optional but can help with removal). Pour the gelatin mixture slowly into the molds, filling them about halfway.
Step 3: Chill and Set
What Could Go Wrong: If you pour the gelatin too high, it may not dry properly. Be conservative—it's better to add more later if needed.
- Refrigerate: Place your molds in the fridge for about 4-6 hours or until fully set. The jello should hold its shape firmly.
Step 4: Remove From Molds
Why This Matters: The success of this step can determine the look of your finished product.
- Carefully Remove: Once set, gently pull the jello away from the edges of the cookie cutter or the parchment paper. If you used paper, carefully peel it off. If it’s stuck, you can run a thin knife around the edges to loosen it.
Step 5: Add String for Hanging
- Detailing: Use a small drill or a sharp knife to make a hole at the top of your suncatcher. Thread a piece of string or fishing line through this hole and tie a knot, securing it so it won’t fall.
Step 6: Hang and Enjoy!
Why This Matters: How you hang your suncatcher can affect how it catches and refracts the light.
- Choose a Spot: Hang it in a well-lit window with direct sunlight. You’ll be amazed at how the light dances through your blue suncatcher, creating unique patterns on your walls.
Creative Variations
- Color Mixing: Instead of using just blue, try combining colors like green or violet in your gelatin mixture for multi-hued suncatchers.
- Seasonal Variations: Change up the decorations for holidays (think snowflakes for winter or leaves for fall).
Safety Warnings
- Be cautious when handling hot water during the gelatin preparation process.
- If using sharp tools, like knives or scissors, always supervise children or let someone inexperienced know to ask for help.
Troubleshooting Common Problems
- Cloudy Gelatin: This can occur if air bubbles formed during mixing. Stir gently to avoid this, and if it happens, you can slice the pieces to get rid of the imperfections.
- Stickiness: If your suncatcher is stickier than expected, it might need to set longer or you might have added too much decorative content. Allow them to dry further or consider adjusting your mixture ratios next time.
Conclusion: Crafting from the Heart
As I wrap up this DIY project, I hope you find the joy in crafting your own blue suncatchers just as I do. Each piece is not only a decoration but a reminder of creativity and tranquility. Hang them in your home, gift them to friends, or simply marvel at how the sunlight plays through them. Crafting brings us together, ignites our imaginations, and, importantly, adds a splash of color to our lives. So gather your materials, roll up your sleeves, and let’s make beautiful things! Happy crafting!