How to Make Cotton Candy Glitter Grapes: A Sweet and Sparkling Treat
Hello there, fellow crafters! Today, I’m thrilled to share a deliciously fun project that will not only tantalize your taste buds but also wow your friends with a burst of color and sparkle. I’m talking about the trend that’s taken social media by storm: Cotton Candy Glitter Grapes! These little bites of joy are perfect for parties, movie nights, or simply as a delightful snack to enjoy during a warm afternoon.
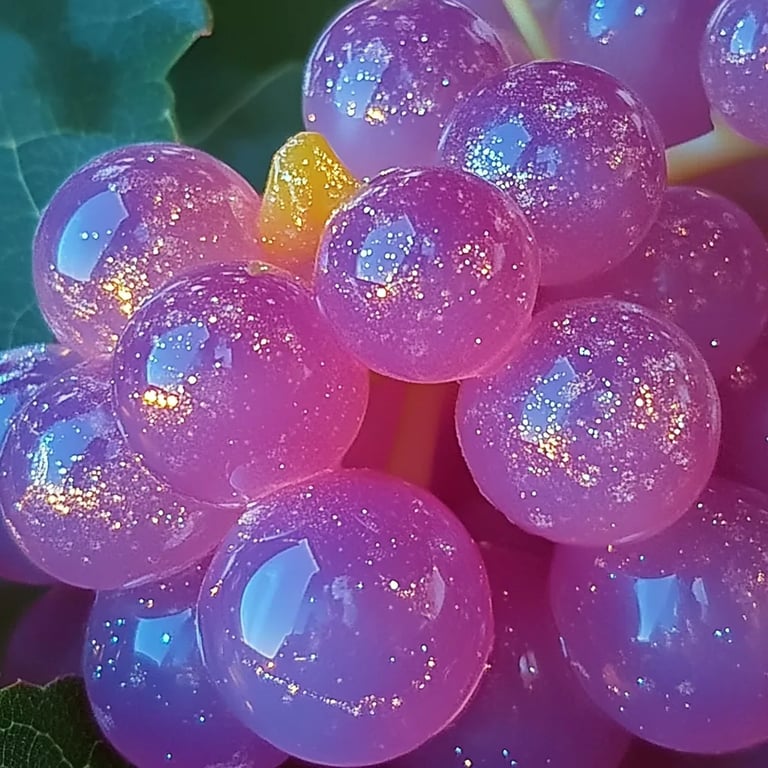
Cotton Candy Glitter Grapes are essentially grapes coated in sugary goodness that mimics the classic carnival treat, cotton candy. They not only provide the sweet, nostalgic flavor we all love but also add a beautiful, glittery touch thanks to edible glitter. Trust me, they make for an irresistible treat that is sure to captivate anyone who lays eyes (and taste buds) on them.
In this comprehensive guide, I'll walk you through every step of the process, share my secrets for success, and provide tips to ensure your Cotton Candy Glitter Grapes turn out perfectly. Let's get started!
Why Cotton Candy Glitter Grapes are So Popular
The popularity of Cotton Candy Glitter Grapes can be attributed to a few factors. First, their eye-catching appearance makes them perfect for Instagram-worthy posts. Second, they combine the natural sweetness of grapes with the playful nostalgia of cotton candy, bridging the gap between a healthy snack and a whimsical treat. Finally, they’re incredibly versatile; you can serve them at birthday parties, picnics, or even as a fun dessert option at adult gatherings.
What You’ll Need
Before diving into the tutorial, let’s gather our materials. For this project, you’ll need:
- Fresh grapes (seedless varieties work best)
- Cotton candy flavored powdered drink mix (like Kool-Aid)
- Granulated sugar
- Edible glitter (make sure it’s food-safe)
- Water
- Mixing bowl
- Baking sheet lined with parchment paper
- Toothpicks or skewers (optional, for easier handling)
Optional extras:
- Clear candy melts (to create a thicker coating)
- Food coloring (if you want to play with colors)
Step-by-Step Tutorial for Cotton Candy Glitter Grapes
Step 1: Prepare Your Grapes
First, I wash my grapes thoroughly under cool running water to remove any dirt and pesticides. It’s important to dry them gently with a clean kitchen towel or paper towels to ensure that the coating adheres well later on. If the grapes are wet, the coating won't stick properly, which could lead to a messy outcome.
Tip: If you have the time, letting grapes dry in the fridge for an hour enhances their firmness and makes them easier to coat.
Step 2: Make the Cotton Candy Coating
In a mixing bowl, combine 1 cup of granulated sugar with 2 tablespoons of cotton candy flavored powdered drink mix. This combination is what gives our grapes both sweetness and that delightful cotton candy flavor.
Why this matters: The balance of sugar to flavoring is key. If you use too much drink mix, your coating may end up too sweet or grainy.
Once mixed, feel free to add a drop of food coloring if you wish to achieve an even more vibrant appearance.
Step 3: Start Coating the Grapes
Now comes the fun part! If you want to use toothpicks for easy handling, skewer your grapes with them. Dip each grape into a bowl of water briefly—this step helps the sugar mixture adhere better. Be careful not to soak the grapes; a quick dip is all that's needed.
Then, roll the wet grape in the sugar mixture until it’s evenly coated.
What could go wrong: If you find that the sugar mixture isn’t sticking, your grape might be too wet. Shake off any excess water and try again. Conversely, if the mixture clumps or doesn’t adhere well, it may be too dry. Adding a bit of water or powdered mix can help.
Step 4: Add the Glitter
This is where your Cotton Candy Glitter Grapes transform into something extraordinary! After coating each grape, sprinkle edible glitter on top. Make sure you do this while the sugar coating is still moist, so the glitter sticks.
Creative Tip: Use a variety of edible glitter colors for a magical, rainbow effect that’s perfect for celebrations!
Step 5: Chill and Set
Place your coated grapes on a baking sheet lined with parchment paper. Once you've finished coating all of your grapes, pop the tray into the refrigerator for at least 30 minutes. This chilling step helps the sugar set and will make it easier to store or serve later.
Step 6: Serve and Enjoy!
Once chilled, your Cotton Candy Glitter Grapes are ready to serve! They make a lovely centerpiece for any festive table or an exciting snack for movie night.
Safety Tips and Considerations
As fabulous as these glitter grapes are, there are a few safety tips to keep in mind:
- Always ensure that your edible glitter is indeed food-safe. Some types of glitter are not meant for consumption.
- Consider the preferences and dietary restrictions of your guests; the added drink mix and sugar can be high in calories—it’s best to inform everyone of the ingredients.
Personal Anecdote
I remember the first time I made these for a family gathering. My niece, not much older than five, was completely enchanted by the sparkle. She squealed with delight, and her laughter as she bit into the sugary coating is a memory I cherish. It reminded me that food is not just about taste; it’s about creating joy and connection.
Alternative Methods and Variations
If you want to explore creative variations, consider these ideas:
- Chocolate Coating: Dip the grapes in melted chocolate after applying the sugar coating for an indulgent twist.
- Flavor Variations: Try using other flavored powdered drink mixes (like raspberry or lemon lime) for a unique flavor profile.
- Different Fruits: This method isn’t limited to grapes—try strawberries, bananas, or even pineapple chunks for a fun, tropical twist.
Final Thoughts
Making Cotton Candy Glitter Grapes is a delightful and straightforward process that I encourage you to try, whether you're a seasoned maker or a novice. Not only are they visually stunning, but they also evoke a sense of nostalgia that brings joy to any occasion. So, gather your ingredients, don your crafting apron, and get ready to whip up this sweet treat. You’ll find it’s not just a recipe; it’s an experience filled with joy, creativity, and a sprinkle of love. Happy crafting!