How to Make Cornstarch & Chalk Dough: Your Step-by-Step Guide to Crafting the Perfect Air-Dry Clay
Welcome, fellow crafters! I’m thrilled to share one of my all-time favorite crafting recipes with you: Cornstarch & Chalk Dough. This delightful, homemade air-dry dough is not only incredibly fun to make, but it’s also versatile and safe for children. As a seasoned crafter, I can personally vouch for its popularity within the DIY community, particularly for projects ranging from decorative ornaments to kids' crafts.
Why Cornstarch & Chalk Dough?
Unlike traditional clay, cornstarch and chalk dough is smooth, moldable, and dries to a beautiful, matte finish. The popularity of this dough lies in its accessibility – most of us have these ingredients in our kitchens or easily available at the grocery store. It’s ideal for school projects, holiday decorations, or simply to keep the little ones creatively engaged.
When can you use it? Think of it as your go-to crafting solution during rainy days, holiday seasons, or even for homemade gifts. I’ve even used it to create fun Christmas ornaments and Halloween decorations that have become family heirlooms!
Now, let's dive into the wonderful world of crafting. Grab your apron and let's get started!
What You’ll Need
Ingredients:
- 1 cup of cornstarch
- 2 cups of chalk (finely crushed, or alternative options below)
- 1 cup of water
- 1 tablespoon of white vinegar (optional, for added hardness)
- Food coloring (optional, for a pop of color)
Tools:
- A mixing bowl
- A stovetop or microwave (for heating)
- A spoon or spatula for mixing
- Wax paper or a clean work surface
- Plastic wrap or an airtight container for storage
Step-by-Step Tutorial
Step 1: Preparing Your Ingredients
Before you begin, it’s essential to gather all your ingredients and tools. This makes the process smooth and enjoyable! Finely crush your chalk; if you don’t have chalk, there are viable substitutes such as baking soda or flour. This might slightly change the dough's texture, but it can work perfectly with some adjustments.
Step 2: Mixing the Dry Ingredients
In a mixing bowl, combine 1 cup of cornstarch and 2 cups of crushed chalk (or your chosen substitute). Use a spoon or spatula to mix them thoroughly. This step is crucial because it ensures that the ingredients are evenly distributed, which contributes to a consistent dough texture.
*Tip:* If you notice chalk dust settling at the bottom, you might have crushed it too finely. Aim for a sandy texture rather than a powder.
Step 3: Adding Water and Vinegar
Now, slowly add 1 cup of water to your dry mixture. Depending on your environment, you might need slightly more or less water. Mixing this can get a little messy, but the key is to combine it gradually. If you're using vinegar, add 1 tablespoon at this stage. Vinegar will help your dough harden better as it dries.
*What could go wrong?* If the mixture is too watery, it will become soupy, making it hard to mold. If this happens, you can add a little more cornstarch until you reach your desired consistency.
Step 4: Heating the Mixture
Transfer your mixture to a saucepan and heat it over medium-low heat. Stir continuously. This is crucial as it prevents the dough from sticking to the pan or clumping.
You will notice the dough starting to come together, and it will become more consistent and sticky after a few minutes.
*What could go wrong?* If the heat is too high, the dough can burn. If this happens, unfortunately, you’ll need to start again. A watchful eye is key!
Step 5: Kneading the Dough
Once the dough starts to pull away from the sides of the pan and forms a ball, it’s done! Remove it from the heat and allow it to cool for a few minutes until it’s warm but manageable.
This is the perfect time to knead it with your hands. Kneading helps to ensure a uniform texture and removes any lumps.
*Tip:* If you notice the dough is too dry and crumbly, a few drops of water can help improve its consistency!
Step 6: Add Color
If you're feeling adventurous, this is when you can add food coloring. Start with a few drops and knead the dough until the color is evenly distributed. You can create a variety of shades and even mix colors!
Creative Variations
- Add Texture: Incorporate materials like glitter, sand, or dried herbs for unique textures and visual effects.
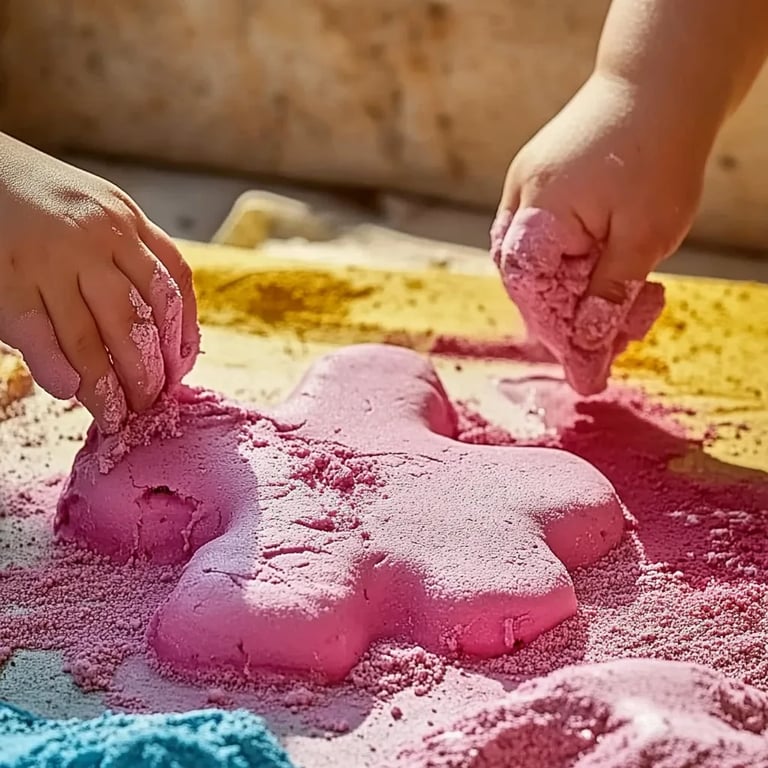
- Shape and Form: Use cookie cutters for fun shapes, molds, or even your handprints for lasting memories.
- Paint It: Once your pieces are dry (typically 24-48 hours), you can paint them with acrylic paint for added detail.
Safety Warnings
While cornstarch and chalk dough is generally safe, I advise adult supervision if children are involved – particularly when heating the mixture. Also, if anyone has skin sensitivities or allergies to chalk, be cautious and consider alternatives.
Storage
Once your crafting session is completed, your unused dough can be stored in plastic wrap or an airtight container to prevent drying out. It has a shelf life of about two weeks. If it dries out, a little water and kneading should bring it back to life!
Conclusion: The Joy of Creation
Crafting with cornstarch and chalk dough is a wonderfully therapeutic experience. There's something magical about shaping and molding materials with your hands. Through this recipe, I've created cherished decorations and festive moments with family and friends. As you embark on your crafting adventure, remember that the possibilities are endless. Don't hesitate to experiment and let your creativity soar!
I hope you enjoy making cornstarch and chalk dough as much as I do. Happy crafting!