How to Make Colorful Foam Bubble Pile: A Step-by-Step Guide
Introduction
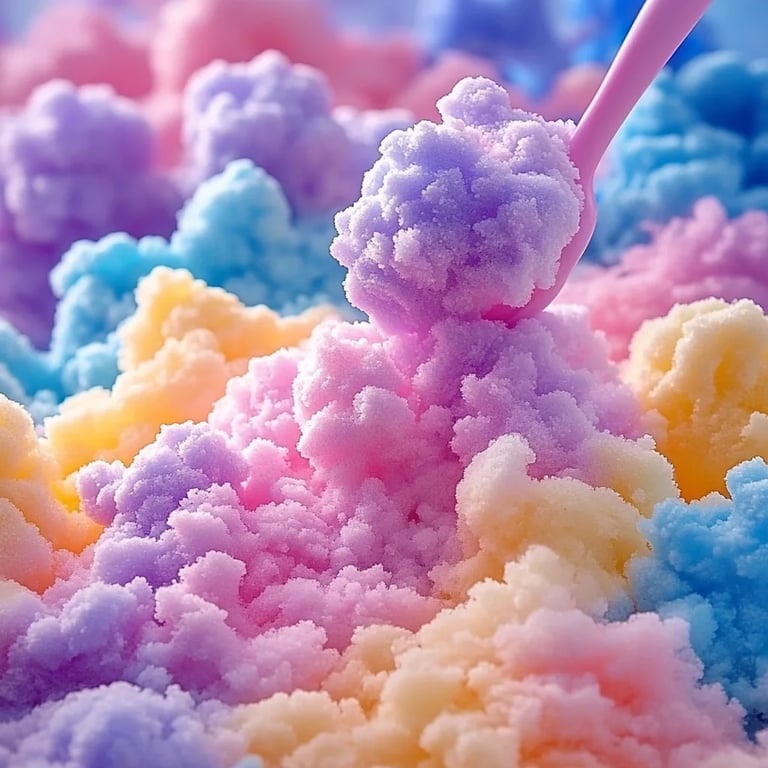
Hello, fellow crafters! Today, I’m excited to share with you one of my absolute favorite crafting projects: Colorful Foam Bubble Pile! If you haven’t come across it yet, let me introduce you. This vibrant pile of foam bubbles is not only visually stunning but also incredibly versatile. Whether used for sensory play, as a party decoration, or simply as a delightful craft project for kids and adults alike, the Colorful Foam Bubble Pile is sure to enchant everyone.
As a seasoned crafter with years of experience under my belt, I can confidently say that making this colorful concoction is a joyful activity. Drawing from my personal experiences—and a few mishaps along the way—I'm here to guide you through the process, share useful tips, and spark your creativity. So, let’s dive in!
The Allure of Colorful Foam Bubble Pile
The Colorful Foam Bubble Pile has skyrocketed in popularity due to several factors: it's visually captivating, great for play, and an interesting addition to any craft project. The foam bubbles provide a unique tactile experience, making it perfect for children's activities or even as a fun addition to your home decor. I often use it for birthday parties—imagine how excited the kids are to throw themselves into a whimsical pile of colorful foam!
What You’ll Need
To make this magical foam bubble creation, you'll need some simple and accessible materials:
Materials
- Foam Soap: Look for a foaming hand soap (preferably unscented or lightly scented) for best results.
- Food Coloring: Choose vibrant colors that you love. Gel food coloring works great since it provides a more intense color.
- Cornstarch: This will help thicken the foam mixture and add that fluffy texture.
- Water: Room temperature water for mixing.
- Mixing Bowls: Several bowls, preferably clear, so you can see your colors.
- Whisk or Electric Mixer: A whisk for a good workout, or an electric mixer for a quicker and easier option.
- Measuring Cups and Spoons: Precision is key for achieving the right consistency.
Safety Precautions
Before we begin, let’s talk safety. While the materials listed are generally safe, it's always a good idea to have adult supervision for young crafters, especially when using food coloring to avoid stains.
Step-by-Step Tutorial
Step 1: Prepare Your Workspace
Set up your crafting area by covering surfaces with newspapers or old tablecloths; this will protect against any potential spills or stains from the food coloring. Making a mess is part of the fun, but we don’t need to add cleanup stress to our project!
Step 2: Mix the Base Foam
In a mixing bowl, add about 1 cup of foam soap and ¼ cup of water. Using a whisk (or electric mixer, if you prefer), combine the two until well blended. The water helps to loosen the foam, allowing for easy mixing later.
Why This Matters
Mixing the soap and water creates a lighter foam bubble that will expand with air, leading to those light, airy bubbles we’re aiming for.
Potential Pitfalls
If your mixture seems too runny, add a touch more foam soap to restore thickness. If it’s too thick, add a little more water. We’re looking for a consistency that feels just slightly thicker than whipped cream.
Step 3: Incorporate Cornstarch
Now, add ½ cup of cornstarch into the foam mixture. This will give your bubbles some stability and a velvety texture. Mix briskly until fully incorporated. You’ll notice the mixture becoming fluffier!
Step 4: Add Color
Here comes the fun part! Divide your foam mixture equally into several bowls, depending on how many colors you want to create. Add a few drops of food coloring into each bowl and mix until you reach your desired vibrancy.
Tips for Creative Variations
- Layering Colors: Instead of creating separate colors from scratch, mix two colors into one bowl for a marbled effect.
- Test Run: Always test a small amount of food coloring first to see how it looks when dried.
Common Mistakes
Be cautious with food coloring; just a few drops can go a long way! If you accidentally overdo it on one color, consider adding a little more foam soap and cornstarch to dilute it.
Step 5: Whip the Mixture
Using your whisk or electric mixer, whip your colored foam mixtures until they become light and airy. This step is essential as it helps to introduce air into the foam, which gives that fluffy bubble texture.
Step 6: Assemble Your Bubble Pile
Once you have your colorful mixtures ready, it’s time to combine them into a vibrant pile! On a large clean surface, scoop out spoonfuls of your colored foam and start layering them together to form your Bubble Pile.
Safety Reminder
As tempting as it may be to sample, avoid tasting the foam bubble mixture; it’s made for play, not consumption!
Step 7: Let It Set
For the best results, let your Colorful Foam Bubble Pile sit for about 20-30 minutes. This resting period helps stabilize the structure of the bubbles. If you notice that some foam begins to flatten, gently fold it back into the pile.
Step 8: Show It Off
Once you have your completed pile, it’s ready for exploration! Let the kids dive in, or use it as a centerpiece for a party or photo opportunity. The colorful foam bubbles can also be used for art projects—imagine printing on paper with the fluffy colors!
Troubleshooting Common Issues
- Foam Doesn’t Rise: If your foam isn’t fluffy, you may have added too much liquid or not whipped it enough. Try adding a bit of foaming soap and re-whipping.
- Colors Mixing: If your colors start blending too much, it’s a sign to let them ‘rest’ for a moment without mixing much.
- Bubbles Deflate Quickly: This can happen due to air exposure. If you notice them deflating after some time, gently fluff them up to reintroduce air.
Personal Anecdotes
I remember hosting a birthday party for my daughter when she turned six. I made a huge vibrant Bubble Pile, and the kids dove right in! The laughter was contagious, and it became the highlight of the day. The best part? It was so easy to set up in advance, leaving me free to enjoy the celebration without stress.
Conclusion
And there you have it—your very own Colorful Foam Bubble Pile! This delightful creation is not just a fun craft, but also a wonderful way to explore colors, textures, and sensory experiences. I hope my tips and insights help you navigate this exciting project with confidence. Don’t hesitate to play around with different colors, consistency, or themes—you might just invent a variation that becomes a cherished tradition in your crafting repertoire.
Happy crafting, and don’t forget to share your results! I would love to see the colorful masterpieces you create. ✨