How to Make Clear Glue Flower Suncatcher: Your Ultimate Guide
Hi there, fellow crafters! I'm thrilled to share one of my absolute favorite projects with you: the Clear Glue Flower Suncatcher. If you're looking for a fun and easy craft that brings a touch of seasonal beauty to your home, this is it! Not only are suncatchers beautiful, but they're also a fantastic way to introduce kids to crafting, make heartfelt gifts, or simply brighten your own space while enjoying a bit of creative time.
Why Are Clear Glue Flower Suncatchers Popular?
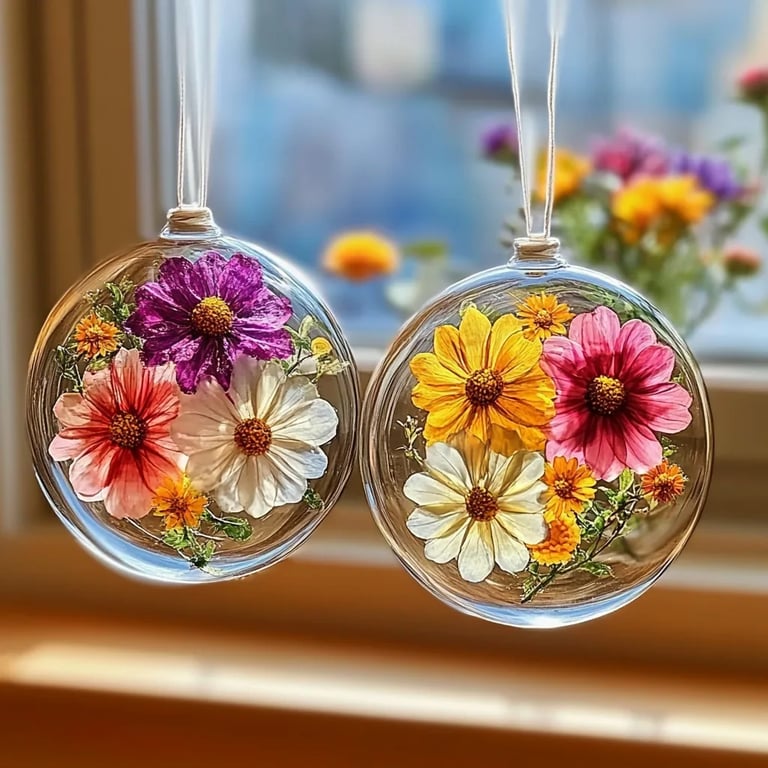
Clear glue flower suncatchers have surged in popularity due to their simplicity, vibrant colors, and the joy they bring into spaces when sunlight filters through them. They can enhance your windows, help you celebrate holidays, or simply be a year-round decor item that adds beauty to your life. Plus, they make perfect presents for friends and family; I’ve given several as gifts, and their smiles are worth a thousand words!
The Importance of Light
One of the beautiful things about suncatchers is how they interact with light. When sunlight hits them, they cast colorful reflections and shadows across your walls, creating a dynamic and ever-changing piece of art. Being able to harness light and color in this way is like holding a mini prism in your home!
Ready to Start Crafting?
Let's dive into this delightful project! You’ll be amazed at how easy it is to make something spectacular with just a few materials. Here’s what you’ll need:
Materials
- Clear Craft Glue: A large bottle or squeeze tube—this is the primary ingredient and essential for holding your design.
- Flower Petals/Leaves: Fresh or dried flowers and leaves work beautifully. I love using varieties like pansies, daisies, and ferns for their vibrant colors and shapes.
- Wax Paper or Parchment Paper: This will serve as your base and ensures that your suncatcher can be removed easily once dry.
- Food Coloring or Liquid Watercolors: These are optional, but they provide a fantastic opportunity to play with colors.
- Scissors: For trimming flower petals or finessing your design.
- Small Paint Brush (optional): For spreading glue in detailed areas if needed.
- A Clean Workspace: Don’t forget a space where you can let your creativity flow without worrying about spills.
Step-by-Step Tutorial
Step 1: Prepare Your Workspace
Before I get started, I always make sure my crafting space is organized and clean. Lay down some newspaper or old towels to protect your surfaces from glue spills. It’s a good idea to have all your materials within reach; that makes the process much smoother!
Step 2: Arrange Your Flowers
Choose which petals or leaves you want to use for your suncatcher. This is where you can get creative! Lay out the flowers on the wax paper in a design you love. You can go for a random spread or a symmetrical pattern—either can look stunning.
Tip: If you're unsure, take a photo of your arrangement before gluing, so you can reference it later.
Step 3: Adhere the Flowers
Now comes the fun part! Squeeze out a generous amount of clear glue onto the petals and leaves. You want to cover the flowers completely to ensure they're well adhered and integrated into the suncatcher design. If you want to add color, mix in a few drops of food coloring to the glue before application for a tinted effect.
Warning: Be careful not to use too much glue, or it may take longer to dry and could become cloudy.
Step 4: Let It Dry
Once you're satisfied with your arrangement and have glued everything down, let the piece dry completely. This may take 24 hours, depending on the thickness of the glue. Patience is key!
Common Mistake: Don’t rush this step. If you try to remove the suncatcher too early, it might tear or lose its shape.
Step 5: Remove the Suncatcher
Once fully dry, gently peel the suncatcher away from the wax or parchment paper. Use scissors to trim any excess glue around the edges if necessary.
Step 6: Display Your Masterpiece!
Now it’s time to show off your suncatcher! You can hang it with string or suction cups in your window, or place it on a window sill. Imagine how lovely it will look when the sun shines through the colors, casting a dazzling array of light.
Personal Insights and Troubleshooting
Over my years of crafting, I’ve learned that sometimes things don’t turn out as planned—but that’s okay! If you experience any issues, here’s how to fix them:
- Cloudy Appearance: This might happen if the glue has been applied too thickly. Next time, try a thinner layer and experiment with using a brush to spread the glue evenly.
- Flowers Losing Shape: If flowers don't maintain form, consider pressing them between heavy books before using—this helps them lie flatter and look more uniform.
Creative Variations
Want to take your suncatcher to the next level? Here are some ideas to spark inspiration:
- Layered Designs: Try adding multiple layers of flowers for a more dimensional look.
- Seasonal Themes: Use fall leaves, winter berries, or spring blossoms to celebrate the season.
- Mixed Media: Incorporate glitter, sequins, or pieces of colored film for added texture and sparkle.
Final Thoughts
Crafting should be a joyful and relaxing experience, and I hope you find so much fulfillment in creating your Clear Glue Flower Suncatcher! Allow your personality to shine through in each design, because it’s all about what makes you happy.
Remember, every suncatcher you create is a unique work of art that brightens not only your space but also your spirit. So gather your materials, get your creative juices flowing, and enjoy every moment! Happy crafting!