How to Make Chromatography Coffee Filter Butterflies: A DIY Crafting Adventure
Hello, fellow crafters! Today, I'm excited to share one of my absolute favorite crafting projects: Chromatography Coffee Filter Butterflies. If you’re looking for a fun, educational, and visually stunning activity, then you’ve landed in the right spot!
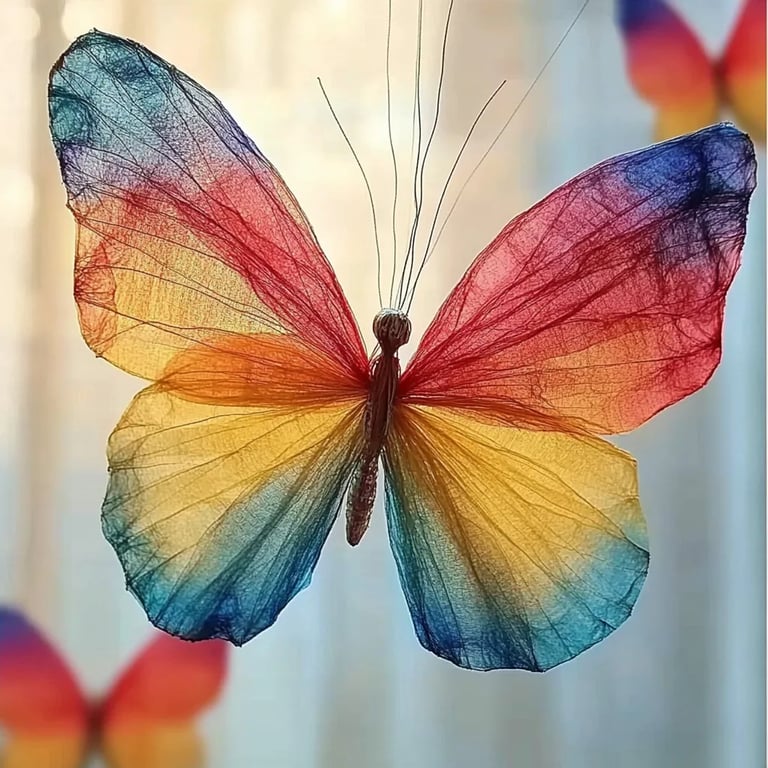
What Are Chromatography Coffee Filter Butterflies?
Chromatography Coffee Filter Butterflies are crafted by using the science of chromatography—a method to separate components of a substance through a process that involves paper (in this case, coffee filters) and water-based markers. They’re not just beautiful; they also serve as a perfect hands-on project for children and adults alike. Whether you’re decorating your home, preparing for a themed event, or looking for a delightful learning experience with kids, these butterflies can be made year-round and are surprisingly easy to create!
Why Are They Popular?
These butterflies have soared in popularity in classrooms and among crafters for good reason. The vibrant colors, scientific aspect, and simple process make them a perfect project for anyone, regardless of crafting experience. Plus, they make for fantastic decorations for spring, summer, and even as colorful classroom displays.
Materials Needed
Before we dive into the process, let’s gather our materials. Here’s what you’ll need to get started:
- Coffee Filters: The classic round, white, paper filters work best.
- Washable Markers: Any colors you like—think vibrant hues!
- Spray Bottle (or dropper): Fill it with water.
- Pipe Cleaners: Choose colors that contrast or match with your markers.
- Scissors: Just in case you want to trim your butterflies.
- Paper Towels or Newspaper: For protecting your workspace.
- String or Yarn (optional): If you’d like to hang your butterflies.
- Small Container (optional): To catch excess water.
Step-by-Step Tutorial
Step 1: Prepare Your Workspace
First things first, let’s create a safe crafting environment. Lay down some newspaper or paper towels to catch any spills. You’ll want to keep your workspace clean because we’re going to be using markers and water, and things can get a bit messy!
Step 2: Create Your Butterfly's Wings
- Flatten the Coffee Filters: Take your coffee filter and gently flatten it. You want it to look like a perfect circle as it will be the base of your butterfly.
- Color the Center: Using your washable markers, start by coloring the center of the coffee filter. Use different colors, making sure to fill in a significant patch. Tip: The more color you apply, the more vibrant the final product will be!
- Add More Layers: Spread outwards from the center with additional colors, using different color combinations. Note: Avoid coloring all the way to the edge, as you're going to fold it.
Step 3: The Magic of Chromatography
- Spray with Water: Now, here’s where the magic happens! Lightly spray your colored filter with water using a spray bottle. If you don't have a spray bottle, you can use a dropper to carefully add drops on the filter. Caution: Don’t soak it; just enough to dampen the colors. If too much water is applied, the colors may bleed together excessively, resulting in a muddy look.
- Watch the Colors Spread: It’s so exciting to see your colors merge and spread! Let the filter sit and dry for about 30 minutes. If it seems too wet after this initial drying, you can carefully pat it dry with a paper towel.
Step 4: Forming the Butterfly
- Folding Time: Once dry, take the filter and pinch the center to create the butterfly's body. Fold it in half, then gently fold the ends downwards.
- Secure with Pipe Cleaner: Using a pipe cleaner, wrap it around the middle to hold the wings together and create the butterfly's "body." Twist it tightly to secure. Tip: Feel free to make a loop at the top of the pipe cleaner, which can be used to hang your butterfly later.
Step 5: Display Your Our Butterflies
Your butterflies are finished! You can hang them using string or yarn, attach them to cards, or stick them onto the walls for decoration. The possibilities are endless!
Common Mistakes and Troubleshooting
- Colors Are Too Muddy: If you find the colors have blended too much, try using fewer colors next time, or apply them in more distinct sections.
- Butterflies Are Falling Apart: Ensure you twist the pipe cleaner tight enough around the middle of the filter to create a secure hold.
- Too Much Water: Remember, a little goes a long way! Control the amount of water you use when spraying to maintain optimal results.
Personal Anecdotes and Tips
My first attempt at making chromatography butterflies was a TOTAL disaster! I got a little overzealous with the spray and ended up with a messy-looking blob instead of colorful wings. But the best part of crafting is learning from your mistakes. I learned the hard way to lightly mist the filters for that beautiful, vibrant separation of colors.
Data reveals creativity: Encouraging children to explore different designs and colors is important. Consider incorporating a little science lesson about color mixing while you craft—it's a win-win!
Creative Variations
If you're feeling adventurous, why not try these fun variations:
- Glow-in-the-Dark Butterflies: After the butterflies are dry, you can lightly paint them with glow-in-the-dark paint for a fantastic nighttime decor.
- Themed Colors: For holidays or themes, try using specific colors like orange and black for Halloween or red and green for Christmas.
- Mixed Media: Add decorations like sequins or glitter to give your butterflies even more personality!
Conclusion
Crafting Chromatography Coffee Filter Butterflies is not only a delightful way to express creativity, but it's also a fantastic educational experience for all ages. By following these steps, I hope you feel empowered to create your own unique designs and to enjoy the process without fear of failure.
Now gather your supplies and let your imagination take flight! I can’t wait to see the butterflies you create. Happy crafting!