How to Make Charming Glue Suncatchers: A Comprehensive Guide
Hello there! I’m so excited to share my passion for crafting with you today. One of my favorite projects to create and gift are Charming Glue Suncatchers. These beautiful creations not only brighten up your living space, but they also make for perfect gifts for friends and family. Plus, they’re a wonderful activity to engage children and adults alike.
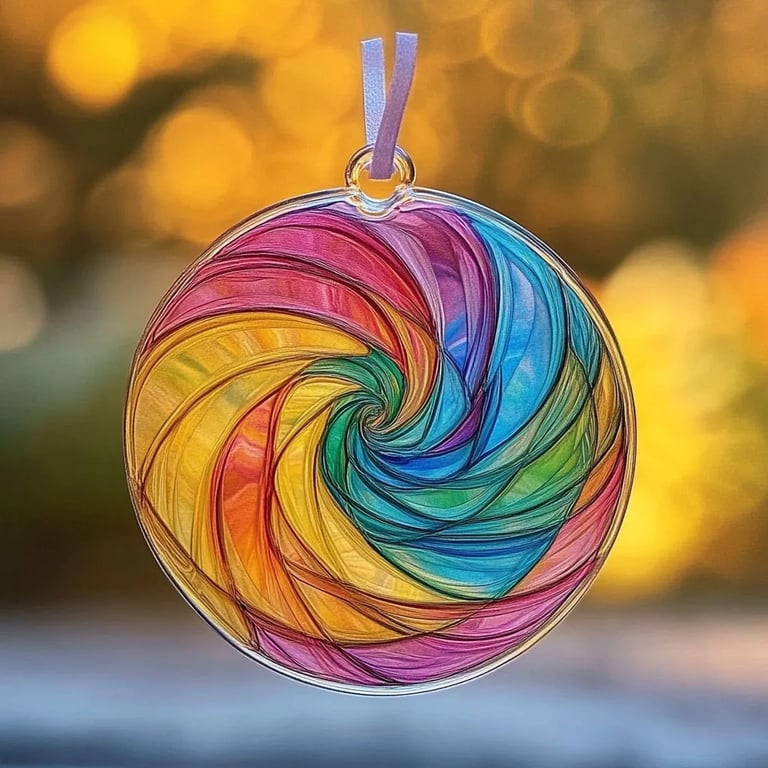
Whether you hang them in your windows to catch the sun’s rays, use them to add a dash of color to your garden, or give them as heartfelt gifts, suncatchers have a unique charm that many people adore. Their appealing designs are not just visual delights; they reflect the joy of creation itself. I love making them for every season, and they always hold a special place in my home.
What Are Charming Glue Suncatchers?
Charming Glue Suncatchers are crafted using simple materials like clear glue, food coloring, and a variety of embellishments. When hung by a sunny window, they become stunning art pieces as light passes through them, creating a colorful spectacle. Young and old can enjoy this craft, making it a staple for family gatherings, school projects, or even guided workshops.
Why Are They Popular?
What makes these suncatchers so popular is their ease of creation and the flexibility they offer in design. You can create different shapes and sizes, play with colors, and incorporate personal touches, allowing everyone to showcase their creativity. Plus, they’re a rewarding way to spend time with loved ones or unwind by yourself.
What You’ll Need
Before diving into the fun, let’s gather the necessary materials. Here’s what you’ll need:
Materials
- Clear School Glue: This will be the main medium for your suncatcher, providing a glass-like finish.
- Food Coloring: Choose any colors you love; you can blend them to create unique shades.
- Wax Paper or Parchment Paper: This is what your glue design will be built on.
- Anatomical Tool (optional): I often use a spoon or a toothpick to shape and define my suncatchers.
- Scissors: For cutting out shapes once your suncatcher is dry.
- A Dropper or Pipette (optional): This helps in applying food coloring precisely.
- Brush (optional): Use for spreading glue if desired.
- Tempera Paint or Colored Tissue Paper (optional): For additional texture.
Safety Precautions
Before we begin, it’s important to note a few safety tips:
- Supervision for Children: If kids are crafting with you, ensure they are supervised, especially when using scissors.
- Mess Control: Lay down newspaper or cardboard to protect your workspace, as things might get gooey!
Step-by-Step Tutorial
Now that we have everything ready, let’s jump into creating your Charming Glue Suncatchers!
Step 1: Prepare Your Workspace
Find a flat, clean workspace, ideally with good lighting. Lay down your wax or parchment paper, ensuring it’s large enough to accommodate the size of the suncatcher you plan to create.
Step 2: Create Your Base
Pour a generous amount of clear school glue onto your wax paper. Don’t be shy! This part is crucial as your glue will dry, creating a sturdy base for your suncatcher. If you want a thicker design, you can add more glue. You can shape it into a sun, heart, flower, or any design that appeals to you.
Tip: If your glue looks too thin in some areas after it’s poured, just add more in those sections to ensure uniform thickness. This is essential because the suncatcher’s overall appearance depends on an even coat.
Step 3: Add Colors
Here comes the fun part—adding color! Using food coloring, drop it into the glue puddles. You can create swirls, dots, or whatever pattern you prefer. I love mixing colors to create beautiful gradients.
Expert Insight: For a more rounded effect, consider mixing colors directly in a small bowl before adding them to your suncatcher. This way, the blending is more controlled.
Step 4: Embellishments (Optional)
This step allows your creative spirit to roam free! You can add sparkles, glitter, beads, or even small flower petals onto the glue. These embellishments will provide texture and make your suncatcher truly one-of-a-kind.
Step 5: Drying Time
Now that everything is in place, it’s essential to let your suncatcher dry completely. This can take anywhere from 12 to 24 hours, depending on the thickness of the glue used.
What Could Go Wrong: If you rush this drying process, your suncatcher may not hold its shape, leading to tears or uneven designs later. So, patience is key!
Step 6: Removing the Suncatcher
Once the glue has dried completely, gently peel off the wax paper. Take your time here; if the suncatcher sticks, you can use a thin spatula to help lift it away.
Step 7: Trimming and Finishing Touches
Using scissors, trim any excess glue to perfect the shape. Here, you can also make a small hole at the top to thread string or wire for hanging.
Step 8: Hang and Enjoy!
Find a sunny spot in your home! I get the best results near windows where natural light shines in constantly. Hang your suncatcher and watch as the sunlight dances through it, casting colorful reflections around your space.
Creative Variations
Want to switch up your suncatcher game? Here are a few fun ideas:
- Seasonal Themes: Decorate your suncatchers to match the seasons—think snowflakes for winter, flowers for spring, and leaves for fall.
- Animal Shapes: Create simple designs inspired by your favorite animals, mixing colors to match their natural tones.
- Mixed Media: For added creativity, use scraps of colored paper or fabric behind the glue to introduce additional layers.
Troubleshooting and Common Issues
Let's address a few common problems and how to fix them:
- Cloudy Appearance: Letting the glue dry too quickly can give a cloudy look. Next time, slow it down and let it dry undisturbed!
- Peeling: If your suncatcher peels off the wax paper, moisture from the air could be to blame! Ensure your workspace is dry.
- Color Bleeding: Too much food coloring can cause bleeding. A little goes a long way, so stick to a few drops at a time.
Final Thoughts
Making Charming Glue Suncatchers is not just a craft; it’s an experience that brings joy and creativity to your life. Each suncatcher tells a personal story, whether it’s through the colors you choose or the shapes you design.
So, gather your materials, invite a friend or your little ones to join in, and let the sun shine upon your handiwork. Remember, crafting is not merely about the finished product; it’s about the journey, the laughs, and the memories created along the way.
Happy crafting! I can't wait to hear about your suncatcher adventures!