How to Make Butterfly Suncatchers: A Step-by-Step Guide to Crafting Colorful Art for Your Home
Hello, fellow crafters! I’m excited to share one of my absolute favorite projects with you today—making butterfly suncatchers. If you’re anything like me, you love creating art that brings a bit of nature indoors, and what better way to do that than with beautiful butterfly designs? These delightful decorations not only brighten up any room but also add a touch of whimsy and charm.
What Are Butterfly Suncatchers?
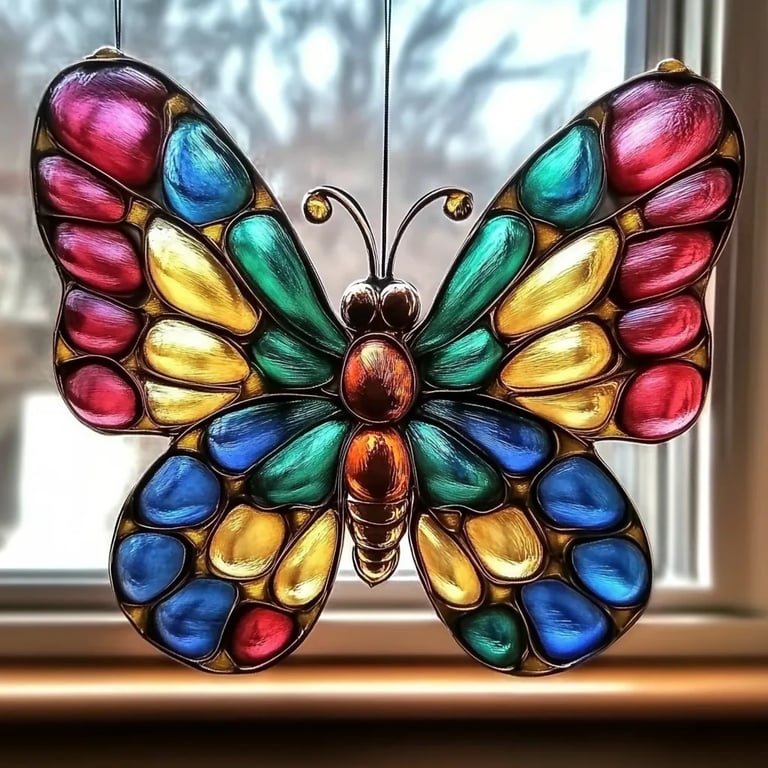
Butterfly suncatchers are ornamental pieces that capture the sunlight, casting colorful reflections and patterns around your space. They can be hung in windows, in gardens, or even from trees during outdoor gatherings. Kids and adults alike love them, making them perfect for family crafting sessions, school projects, or just a bit of weekend fun! Plus, they serve as a wonderful way to express your creativity and mindfulness.
Why Are Butterfly Suncatchers Popular?
Their popularity stems from a few key factors:
- Ease of Crafting: With simple materials and clear instructions, even novices can make suncatchers with stunning results.
- Versatility: They can be made in various colors, sizes, and styles to match any decor or personal preference.
- Seasonal or Year-Round Decor: Butterfly suncatchers can be used in spring and summer for a floral theme, or in vibrant fall colors for autumn aesthetics.
Ready to dive in? Let’s gather our materials and get crafting!
Materials Needed
Before we start, here's a comprehensive list of materials you’ll need:
- Parchment paper or wax paper: This serves as a base for your suncatcher.
- Colored tissue paper: Butterfly colors are endless! Choose your favorites.
- Mod Podge: This will act as both adhesive and sealant.
- Scissors: For cutting your tissue paper and designs.
- Paintbrush: To apply the Mod Podge.
- Black construction paper: For the butterfly outlines.
- String or fishing line: For hanging your suncatcher.
- Hole puncher (optional): For creating hanging points.
Step-by-Step Tutorial
Step 1: Prepare Your Workspace
Before you get started, it’s essential to set up your workspace. Make sure you have ample room and cover your table with newspaper or an old cloth to catch any spills. This is an important step to keep the mess contained, especially when working with glue!
Step 2: Cut Out Butterfly Shapes
Grab your black construction paper and start cutting out butterfly shapes. You can create your own designs or find templates online. I recommend making a variety of sizes. Each butterfly is unique, so let your creativity flow here!
Tip: If you’re not confident in your cutting skills, fold the paper in half and cut half a butterfly pattern. When you unfold it, you’ll have a symmetrical shape!
Step 3: Prepare Your Tissue Paper
Now, based on the size of your butterfly cutouts, cut pieces of colored tissue paper into small squares or shapes. I love using vibrant colors like blues, pinks, and yellows because they create stunning effects when the sunlight hits them.
Common Pitfall: If your tissue pieces are too big, they may cover more area than desired. Aim for small, manageable pieces, about 1-2 inches each.
Step 4: Assemble Your Suncatcher
Place a piece of parchment paper on your workspace. Lay your butterfly cutout in the center of the parchment. Using your paintbrush, apply a thin layer of Mod Podge over the butterfly cutout, then begin layering your tissue pieces on top. Use overlapping patterns to create a beautiful stained glass effect.
Why This Matters: The Mod Podge not only adheres the tissue paper but also ensures it stays intact and vibrant when exposed to light.
Step 5: Seal the Design
Once you’ve covered the entire butterfly, apply another layer of Mod Podge on top of the tissue paper. This step is crucial because it protects the delicate paper and enhances the colors.
Caution: Avoid applying too much Mod Podge at once—this could cause the tissue paper to warp. A light touch is key!
Step 6: Drying Time
Let your creation dry completely, which usually takes about 30 minutes to an hour. Place it in a location away from drafts or direct sunlight while it dries to avoid any mishaps.
Step 7: Cut and Hang
Once dry, carefully cut around the edges of your butterfly shape to remove excess parchment paper. If you want to hang your suncatcher, use a hole puncher to create a small hole at the top of the butterfly. String it up with fishing line or decorative string.
Creative Variations
One of the magical aspects of crafting is the possibilities are endless! Here are some creative variations you might experiment with:
- Layered Suncatchers: Create multiple layers of butterflies in varying sizes and colors to add depth.
- Seasonal Themes: Adapt your colors and shapes for holidays or seasonal events; think fall leaves or winter snowflakes.
- Nature Collage: Consider incorporating small, dried flowers or leaves under the tissue paper for an added touch of nature.
Troubleshooting
As with any crafting project, things may not always go as planned. Here are a few common issues and how to address them:
- Bubbling: If the tissue paper bubbles when applying Mod Podge, gently press it down while the glue is still wet to smooth it out.
- Tearing: If you tear a piece of tissue paper, don’t panic! You can easily cover it with another small piece.
- Cloudy Appearance: If your butterfly looks cloudy once dry, it could be a sign of too much glue. Don’t apply so thickly next time, but rest assured: it often clears slightly after proper drying.
Final Thoughts
Making butterfly suncatchers is a joyful, rewarding process that celebrates creativity and nature. I hope you find this guide helpful and inspiring! There’s something incredibly soothing about watching the sunlight flicker through a colorful suncatcher, and I can assure you that no two suncatchers will ever be the same.
As you get started, remember to take your time and enjoy the process. Crafting should be fun, so put on some music, gather your family or friends, and let your creativity soar. Don’t forget to share your completed butterfly suncatchers online; I would love to see what you create!
Happy crafting!