How to Make Butter Slime Magic: A Comprehensive Guide for Crafters
Hello fellow crafters! Today, I’m thrilled to share my magical journey into the world of butter slime—a soft, squishy substance that’s not just a joy to play with, but also a delight to create! Butter slime has skyrocketed in popularity in recent years, and for good reason. Its creamy texture, pleasant stretch, and unique consistency make it a favorite among children and adults alike. Whether you’re looking for a fun sensory activity for the kids, a stress-relief tool, or just a creative outlet for yourself, butter slime fits the bill perfectly!
In this article, I’ll guide you through the entire process of making butter slime from scratch, share tips on troubleshooting, and even sprinkle in some creative variations to make it your own. So, let’s get started!
Understanding Butter Slime
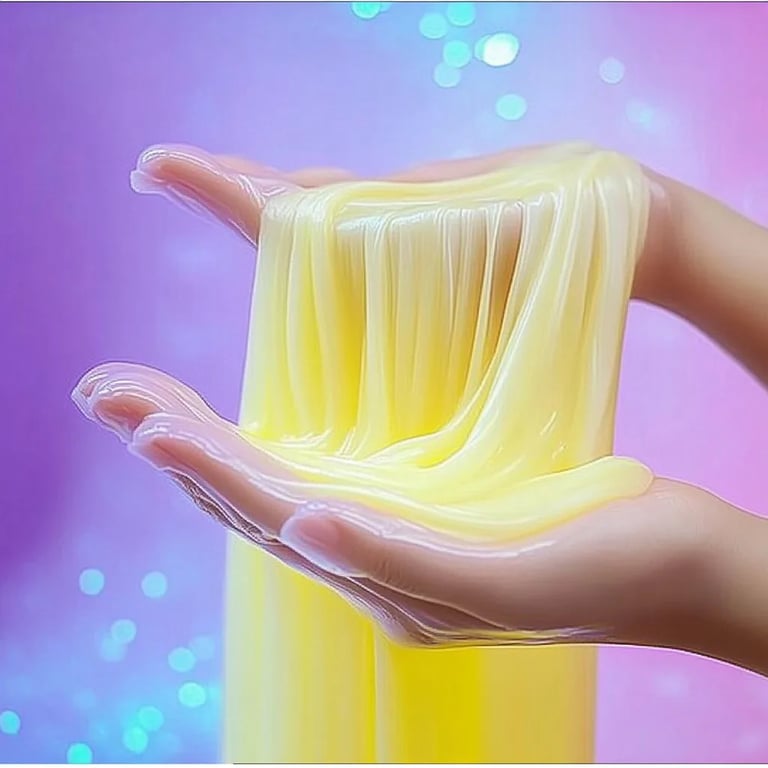
Before diving into the tutorial, let’s take a moment to understand what butter slime is. Unlike traditional slime that’s often stretchy and gooey, butter slime has a velvety, smooth texture that resembles soft butter—hence the name! It’s made by mixing regular slime with something called “clay,” which gives it that unique buttery feel.
You can use butter slime for various purposes: as a stress reliever, a fidget tool, or simply as a fun and creative crafting project. Plus, it’s a fantastic way to engage kids in hands-on learning while encouraging sensory exploration. Perfect for rainy days or crafting parties, butter slime truly is a versatile treat!
What You’ll Need
To start our butter slime making journey, let’s gather the following materials. Most of these should be easy to find around your home or at craft stores:
Basic Ingredients
- White school glue (1 cup): This will be the base for your slime.
- Baking soda (½ teaspoon): This helps to firm up the slime a bit.
- Contact lens solution (1 tablespoon): Make sure it contains boric acid; this will act as the slime activator.
- Clay (air-dry clay is best, around ½ cup): This gives butter slime its signature texture. You can use model magic or any soft, pliable air-dry clay.
- Optional food coloring: To add a personal touch and vibrant colors.
- Cornstarch (2 tablespoons): This helps absorb moisture and makes the slime even smoother.
- Mixing bowl: For combining your ingredients.
- Spoon or spatula: For mixing.
Step-by-Step Tutorial
Step 1: Making the Base Slime
Why this step matters: The initial mixture forms the base of your butter slime, setting up the right foundation for texture and flexibility.
- Pour the white school glue into a mixing bowl.
- Add the baking soda and stir until fully combined. The baking soda will help with the texture; if you skip this, your slime might be too runny.
- Incorporate contact lens solution. Start adding it a little at a time while mixing. You’ll notice the mixture start to pull away from the sides of the bowl.
- Knead the slime. After about 2-3 minutes of mixing, you can start kneading it with your hands. If it’s still too sticky, add more contact solution one drop at a time until you achieve the desired consistency.
Step 2: Creating the Butter Texture
Potential pitfalls: If the slime is too sticky from the start or the clay isn’t perfectly incorporated, you might end up with an inconsistent texture.
- Add cornstarch to your slime mixture. This will help reduce stickiness and create that buttery feel.
- Gradually mix in your soft air-dry clay. Break it into smaller pieces as you add it to the slime. Blend thoroughly for about 5 minutes until the clay fully incorporates—this is key! This step transforms your typical slime into something special.
- Knead your mixture until it feels silky smooth. It should be soft but not too sticky or greasy. If it feels too sticky, add a little more cornstarch; if it’s too dry or crumbly, you may need a drop of lotion or a little water.
Step 3: Add Color and Fragrance
- If desired, add food coloring. Just a drop or two will do! Knead the slime until the color is evenly distributed. Don’t be afraid to experiment with mixing different colors!
- Optional: Consider adding a few drops of essential oil or fragrance for a delightful scent. Just ensure it's skin-safe if little hands will be using it!
Tips for Troubleshooting
- Too Sticky? If your butter slime remains sticky after the initial kneading, simply add a few drops of contact lens solution and knead again.
- Too Dry? If your slime feels crumbly, add water or lotion a tiny bit at a time to rehydrate it.
- Color Mixing: If you want interesting colors, try swirling different colored slimes together instead of mixing them completely—this creates a beautiful marbled effect!
Creative Variations
Once you've mastered the basic butter slime, why not get creative? Here are some fun variations I’ve tried in my crafting adventures:
- Glitter Butter Slime: Stir in a tablespoon of fine glitter to make your slime sparkle and shine!
- Scented Butter Slime: Instead of using plain clay, use a scented air-dry clay for an enhanced sensory experience.
- Themed Colors: Make seasonal variations! Try orange and black for Halloween, red and green for Christmas!
Safety Warnings
While making and playing with butter slime is incredibly fun, remember to:
- Supervise younger children. While the ingredients are generally safe, small parts (like beads) can pose choking hazards.
- Check for allergies to specific ingredients, especially for those with sensitive skin.
- Wash hands thoroughly after playtime. Slime can get messy, and it’s always good to maintain hygiene!
Final Thoughts
Creating butter slime is not only a fantastic way to spend your time, but it also taps into your creativity and can be a lovely bonding experience with family or friends. I hope this guide has empowered you to embark on your butter slime-making journey. Remember, every crafter's journey is unique, so don’t be afraid to experiment and make this project your own. Happy crafting!