How to Make Bouncing Rainbow Balls: A Crafting Adventure
Hello there, fellow crafting enthusiast! If you’ve found your way to this article, you’re probably curious about how to make your very own Bouncing Rainbow Balls. Let me assure you, this delightful little project is as fun to create as it is to play with! Rainbow balls have become increasingly popular not just for their striking colors and whimsical design, but also for the joy they bring to both kids and adults alike. They’re perfect for parties, rainy day activities, or simply for keeping your hands busy while you relax.
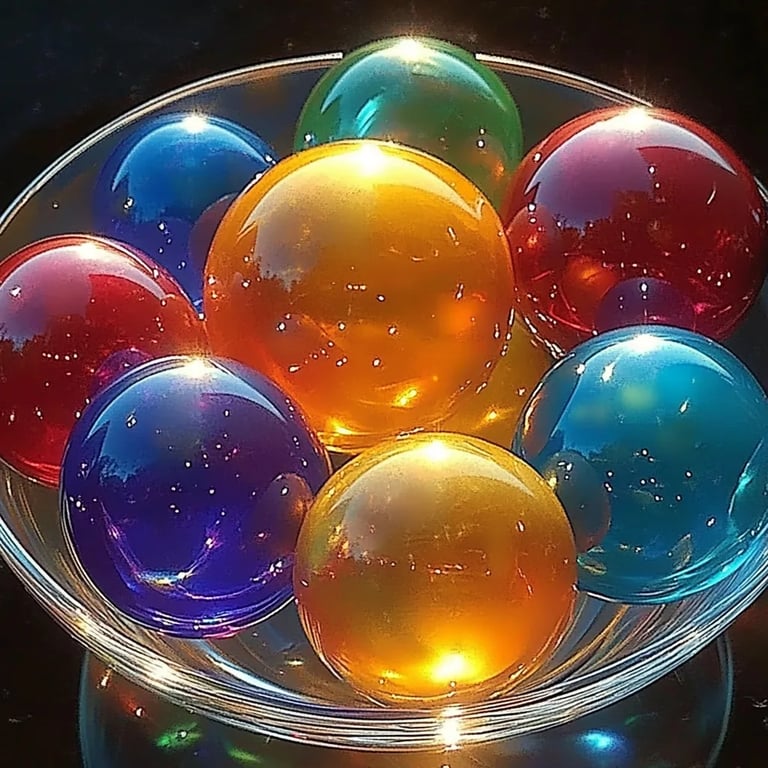
The Allure of Bouncing Rainbow Balls
I remember the first time I saw a bouncing rainbow ball. It was like magic—a simple sphere that defied gravity with its playful bounces while radiating a spectrum of colors. It’s not just a simple toy; it's an experience, a nostalgic reminder of endless summer days and carefree play. Plus, the process of making them is incredibly rewarding, allowing you to inject your personal creativity into each ball you craft.
In this guide, I'm going to walk you through the step-by-step process of creating your very own Bouncing Rainbow Balls using simple, accessible materials. I’ll also share tips, insights, and even a few troubleshooting steps to ensure your crafting adventure is as seamless as it is enjoyable. Ready? Let’s dive in!
Materials Needed
Before we jump into the actual crafting, let’s gather what you’ll need. Here’s a simple list of materials:
- Balloons: Clear or white balloons work best as a base.
- Cornstarch: This will provide the bouncy texture.
- Water: Needed to mix with the cornstarch.
- Food Coloring: A variety of colors for the rainbow effect.
- Funnel or plastic bottle: To help fill the balloon.
- Scissors: For cutting the balloons.
- Bowls or cups: For mixing your ingredients.
- Spoon or whisk: For stirring the mixture.
- Gloves (optional): To keep your hands clean.
Step-by-Step Tutorial: Crafting Your Bouncing Rainbow Balls
Step 1: Prepare Your Mixture
The first thing we need to do is create the bouncy mixture that will fill our balloons. In a bowl, combine about 2 tablespoons of cornstarch with 1 tablespoon of water. You can adjust the quantities based on how many balls you want to make, but keep the ratio consistent.
Why This Step Matters: The cornstarch will provide the bounce factor, while the water will help it mix smoothly.
Tip: Use a whisk to ensure that there are no lumps. A smooth mixture is key to achieving bouncy balls.
Step 2: Add Color
Next, divide your mixture into separate bowls based on the number of colors you wish to use. Add a few drops of food coloring to each bowl, mixing until you achieve your desired shade.
Personal Insight: I love using vibrant colors like neon pink, electric blue, and bright yellow. They not only look stunning, but they also add a sense of joy and excitement to the finished product!
Caution: If you’re using food coloring, be wary of stains. It’s best to wear gloves during this step, or make sure to work on a surface that can be easily cleaned.
Step 3: Fill the Balloons
Now comes the fun (but slightly tricky) part: filling the balloons! Use a funnel or a plastic bottle cut in half to make this easier. Stretch the balloon opening over the funnel and pour the colored mixture inside. Aim to fill it about halfway.
Why This Matters: If you overfill the balloon, it may rupture. A halfway fill allows for plenty of bounce without risk.
Troubleshooting: If your balloon has a small hole or doesn't inflate right, simply retry with a new balloon. It’s best not to rush this step; take your time.
Step 4: Tie It Off
Once your balloons are filled, it’s time to secure them. Tie a knot at the opening to ensure that the mixture stays inside.
Tip: Make sure to tie tightly but don't pull too hard; you don’t want to burst the balloon.
Step 5: Drying Time
Now that your balloons are tied off, they need a little time to set. Let them cure for 24 hours in a cool, dry spot. This helps the mixture inside to firm up and become bouncy.
Personal Anecdote: The waiting game can be tough, especially when the excitement builds! I often distract myself by planning colorful designs or thinking of creative ways to use the balls once finished.
Step 6: Enjoy Your Bouncing Rainbow Balls
After the drying period, it’s time to unleash your creations! Gently squeeze them to feel the bounce and earn your reward. Experiment with throwing them against surfaces to see their delightful trajectories.
Creative Variations
Once you’ve mastered the basic bouncing rainbow balls, why not go a step further? Here are a few creative variations to consider:
- Sparkly Balls: Add glitter to the cornstarch mixture before filling the balloons for an extra sparkle effect.
- Scented Balls: A few drops of essential oils mixed into the cornstarch can create a delightful sensory experience.
- Themed Colors: Create holiday-themed balls, such as red and green for Christmas or pastels for Easter.
Safety Warnings
While this is a fun activity, please be cautious. Here are a few safety tips:
- Supervision: If children are involved, be sure to supervise the crafting process, especially during balloon handling.
- Balloon hazards: If a balloon pops, ensure no small pieces are scattered. Latex balloons can pose choking hazards for young children.
Final Thoughts
Crafting Bouncing Rainbow Balls can be a joyful, therapeutic experience that sparks creativity and imagination. I've shared my best tips and insights, but remember, the key to crafting is to enjoy the process and embrace the messiness. Mistakes can lead to creativity and innovation—don’t be afraid to experiment or to share your creations with others!
So, what are you waiting for? Grab those materials, invite a friend, and start making your own Bouncing Rainbow Balls. You might just find a new favorite hobby along the way! Happy crafting! 🌈✨