How to Make Borax Crystal Star Ornaments: A Detailed Guide from My Crafting Journey
Hello fellow crafters! Today, I'm thrilled to share with you one of my favorite projects: making Borax crystal star ornaments. Not only do these stunning decorations add a sparkle to any space, but they’re also a fun and educational crafting activity. Whether you're looking to deck the halls for the holiday season or simply enjoy a creative afternoon, this project is a wonderful way to explore the fascinating world of crystal growth.
What Are Borax Crystal Star Ornaments?
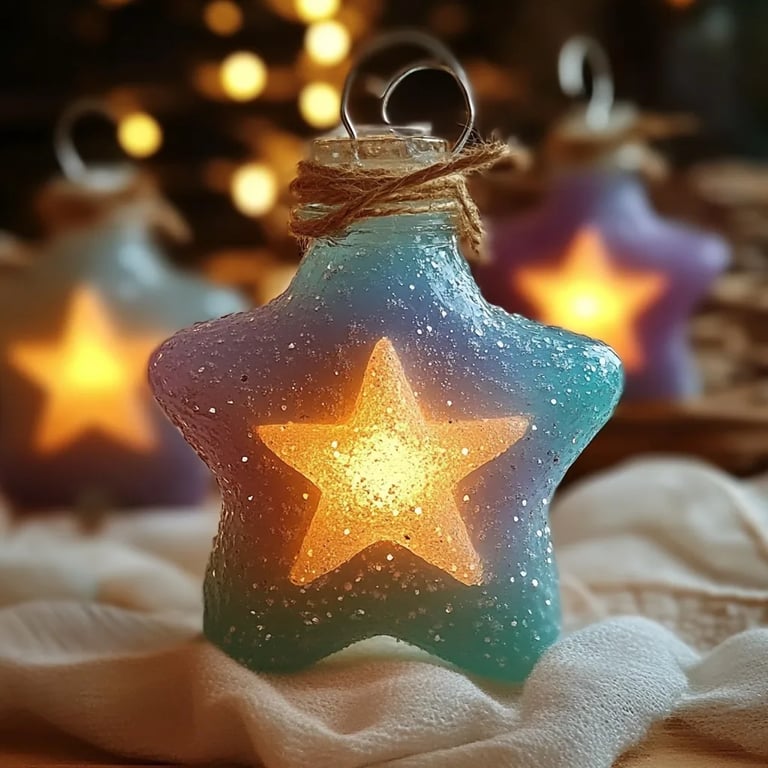
Borax crystal star ornaments are beautiful, transparent stars that are created through a simple process of boiling water and dissolving Borax, a naturally occurring mineral. As the solution cools, the crystals form stunning, intricate structures that catch the light in the most magical way. Their popularity can be attributed to their striking aesthetic and the science behind them, making them perfect for educational settings or as family crafts. You can hang them on your Christmas tree, use them to decorate windows, or even give them away as unique gifts.
Why Make Borax Crystal Ornaments?
In addition to the fun of crafting, here are a few reasons why I love making Borax crystal ornaments:
- Educational Value: It's a fantastic way to introduce kids to concepts like crystallization and solubility in a hands-on manner.
- Cost-Effectiveness: The materials are inexpensive and easily sourced. You can often find Borax in your laundry aisle, and the rest of the supplies are common items around the house.
- Creativity: You can personalize these ornaments with colors and shapes, adding your own artistic flair.
- Versatility: They can be made for any occasion, not just the holidays!
What You'll Need
Gather these simple materials that form the foundation of our project:
- Borax: The star of the show! You’ll find this in the cleaning aisle of most grocery stores.
- Water: Essential for dissolving the Borax.
- Glass jar or bowl: This is where the magical process happens. A wider jar will give your crystals more room to grow.
- String: You’ll need this to hang your ornaments.
- Pencil or stick: This will help keep your string suspended above the bottom of the jar.
- Pipe cleaners: These are perfect for creating star shapes. You can also use other materials like shapes cut from paper.
- Food coloring (optional): Add a pop of color to your ornaments!
Step-by-Step Tutorial: Making Borax Crystal Star Ornaments
Now, let’s dive into the crafting process!
Step 1: Prepare Your Shapes
- Create Star Shapes: Begin by twisting several pipe cleaners into star shapes. If you’re using paper, cut out star shapes that are about 3 to 4 inches across. The thicker the shape, the more pronounced the crystals will appear, so don’t skimp on the pipe cleaners!
Tip: Make sure your shapes are well-formed, as they will dictate how the crystals grow.
Step 2: Prepare Your Solution
- Boil Water: In a kettle, bring about 2 cups of water to a boil.
- Dissolve the Borax: As the water is boiling, gradually add 1/2 cup of Borax. Stir continuously until all the Borax has dissolved. At this stage, you can add food coloring if desired—just a few drops will do!
Why This Matters: The more Borax you dissolve, the more crystals you'll be able to grow. However, there’s a limit to how much can be dissolved in a certain amount of water (about 3 cups of Borax per 1 cup of water), so keeping the right ratio is crucial.
- Cool the Solution: Allow your solution to cool for a few minutes before pouring it into your jar.
Step 3: Assemble the Ornament
- Suspend Your Star: Tie a piece of string to the top of your star shape and attach the other end to the pencil or stick, which will rest across the top of the jar. Ensure the star is hanging freely and doesn’t touch the bottom of the jar—this will allow the crystals to grow evenly.
Safety Warning: Be cautious with the hot water and ensure supervision if kids are involved in this step.
Step 4: Crystal Growth
- Let It Sit: Carefully pour the Borax solution into the jar until your star is completely submerged. Set the jar in a safe place and leave it undisturbed for at least 6 hours—overnight works best.
Tip: The longer it sits, the larger the crystals will grow. However, if there are undissolved particles left at the bottom, sometimes those can affect the clarity, so try to keep the solution settled.
Step 5: Final Touches
- Remove and Rinse: After allowed time, gently pull your star out of the jar. Rinse it under cool water to wash away any excess Borax powder. This will make your ornament look even shinier!
- Dry and Display: Set the ornament on a paper towel to dry. Once dried, you can hang it on your tree, in a window, or wherever you like.
Troubleshooting Common Issues
Sometimes crafting doesn't go exactly as planned, and that’s okay! Here are some common issues and how to address them:
- Crystals Too Small: If your crystals didn’t grow or were very small, it could be that the solution didn’t contain enough Borax or that the water cooled too quickly. Try again with a hotter solution and check your ratios!
- Bubbles or Cloudiness: If you notice bubbles or cloudiness on your crystals, it often indicates that the solution was disturbed, or the temperature fluctuated during the process. Handle your jar carefully in the future!
Creative Variations
Once you’re comfortable with the basic star shape, let your creativity shine! Here are some variations to consider:
- Different Shapes: Make snowflakes, hearts, or any designs you fancy using the same pipe cleaner method.
- Layered Colors: Use multiple colors of food dye at different stages to create a multi-colored ornament.
- Glitter: Add glitter to the shaped pipe cleaners before dipping in the solution for an extra sparkle.
Final Thoughts
Making Borax crystal star ornaments is not just a project; it’s an experience that brings together science and art. It’s satisfying to watch the crystals form and grow into stunning decorations that you can be proud of! I hope this step-by-step guide inspires you to create something beautiful and allows you to share the joy of crafting with others.
Happy crafting, and may your ornaments sparkle as brightly as your creativity! If you have any questions or want to share your creations, feel free to leave a comment below. I can’t wait to see what you create!