How to Make Blue Crayon Raindrop Suncatchers: A Step-by-Step Guide
As a dedicated crafter who has spent countless hours experimenting with various DIY projects, I’m excited to share one of my favorite creations: Blue Crayon Raindrop Suncatchers! Not only are these whimsical creations an eye-catching addition to your window decor, but they are also a fantastic way to recycle old crayons and bring a splash of color and joy into your home. Ideal for brightening up a cloudy day or making a stunning statement during sunny hours, these suncatchers are a delightful project for all ages—whether you’re a seasoned crafter or a curious beginner.
What Are Blue Crayon Raindrop Suncatchers?
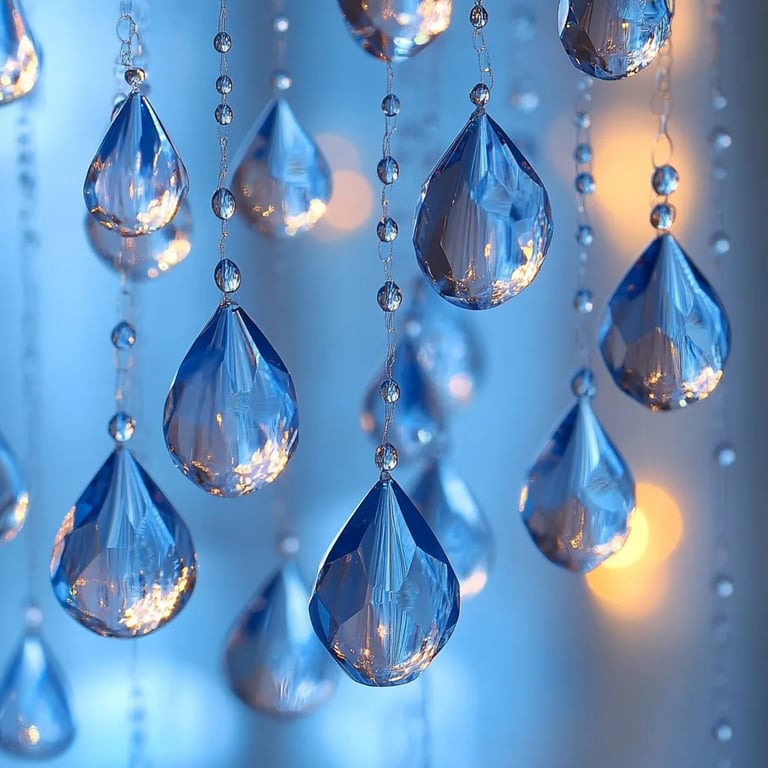
Blue Crayon Raindrop Suncatchers are lightweight, vibrant decorations that mimic the beauty of raindrops glistening in the sun. When sunlight passes through them, these suncatchers create dazzling reflections and colorful shadows, making any window feel more inviting and magical. They’re perfect for decorating your home, gifting to friends and family, or even using in educational settings to teach kids about color and light.
Why They’re So Popular
The popularity of these suncatchers can be attributed to their simplicity, affordability, and versatility. You can easily customize them to fit autumn hues or summer themes, but my personal favorite will always be the serene blues evoked by blue crayons. Not only are they stunning to look at, but the process of crafting them is equally satisfying and allows for plenty of creativity. Plus, creating these suncatchers is a wonderful rainy day project to do with children, offering a unique opportunity for bonding and learning.
When and How to Use Them
You can hang these suncatchers inside your home to create enchanting ambiance, decorate a child’s room, or even adorn your front porch. They are particularly impressive around holidays or seasons, such as brightening up your home in the spring or hanging as a centerpiece in a winter wonderland theme.
Let’s dive into the fun part—creating your very own Blue Crayon Raindrop Suncatchers.
Materials You'll Need
Before we get started, here's a comprehensive list of materials you'll need for this project. Gathering everything beforehand will make the crafting process smoother and more enjoyable.
Required Materials:
- Blue crayons (old or new)
- Wax paper
- An iron (with adult supervision, if children are involved)
- Scissors
- A pencil or marker for tracing
- A droplet template (you can easily draw your own or find an image online)
- String or fishing line for hanging
- A hole punch (optional)
Safety Warnings
- Iron Use: Be sure to exercise caution when using an iron, and consider having an adult supervise if young children are involved.
- Melted Crayons: It’s important to work in a well-ventilated area because melting crayons can emit a faint scent.
- Hot Surfaces: Always use heat-resistant materials when working near hot surfaces to prevent burns.
Step-by-Step Process
Now that we have our materials, let’s get crafting! Follow these steps carefully, and you’ll have beautiful Blue Crayon Raindrop Suncatchers in no time.
Step 1: Prepare Your Crayons
First, take your blue crayons and carefully peel off the paper wrappers. This is an excellent time to involve kids in the project—let them help with this simple task. Once peeled, break the crayons into smaller pieces (about 1 to 2 inches long) so they'll melt more evenly.
Tip: Mix different shades of blue, like light blue, navy, and teal, for a captivating gradient effect.
Step 2: Melt the Crayons
Now, lay out a large piece of wax paper on a flat, heat-resistant surface.
- Layout Tips: Place the broken crayon pieces on one half of the wax paper, spreading them out as evenly as possible. Overcrowding can lead to uneven melting, which can ruin the suncatcher’s aesthetics.
Fold the other half of the wax paper over the crayon pieces, creating a pocket.
Step 3: Heat the Crayons
With your iron set to a low heat setting, gently press down on the wax paper pocket for 10 to 15 seconds, lifting it occasionally to check if the crayon pieces are melting.
What Could Go Wrong: If you leave the iron on for too long, the wax paper can burn, and the crayons can become too runny. If this happens, simply start over with a fresh piece of wax paper, keeping a close eye on the melting process.
Step 4: Shape Your Suncatcher
Once the crayon pieces have melted into a beautiful blue sheet, carefully remove the wax paper from heat and let it cool for a minute or two.
Now it’s time to create your raindrop shapes:
- Template Use: Place your droplet template on top of the melted crayon sheet and trace around it with a pencil or marker.
- Cutting: Use scissors to cut out the raindrop shapes, being cautious not to tear the wax paper.
Step 5: Punch a Hole
If you want to hang your suncatchers, punch a small hole at the top of each raindrop. This step is optional but makes the process of hanging them a lot easier.
Step 6: Hang and Enjoy!
Finally, use string or fishing line to hang your Blue Crayon Raindrop Suncatchers in your desired location—near a window or on the porch for maximum sunlight.
Tips for Success
- Involve Kids: This project is a fantastic way to engage children in crafting while also teaching them about colors and melting processes.
- Experiment: Don’t hesitate to try mixing other colors with blue, such as white for softer raindrops or a splash of silver for a more dynamic look.
Creative Variations
Get creative with your suncatchers! You can try:
- Layering: Melt several layers of different colored wax paper to create a more complex design.
- Themed Shapes: Cut out other shapes like hearts, stars, or even animals to complement your raindrops.
- Seasonal Decorations: Adjust colors based on various seasons—perhaps pastel colors for spring or earthy tones for autumn.
Final Thoughts
As you embark on your adventure to create Blue Crayon Raindrop Suncatchers, I'll remind you that the essence of crafting lies in enjoying the process. Don’t hesitate to make your creations unique; let your creativity shine. Embrace any mishaps—they can lead to wonderful surprises!
I hope this guide inspires you to bring a little more color into your life, one handmade suncatcher at a time. Happy crafting!