How to Make Baking Soda Painting: A Step-by-Step Guide from an Experienced Crafter
As a seasoned crafter, I’ve always been drawn to materials that transform everyday experiences into extraordinary art. One of my all-time favorite creative outlets is baking soda painting. This simple, fun, and affordable method offers kids and adults an engaging way to express creativity without the mess of traditional painting. The unique texture and bubbly quality that baking soda adds to paint create captivating effects that can elevate any craft project.
Why Baking Soda Painting is Popular
Baking soda painting has surged in popularity because it uses non-toxic materials that are safe for children, making it an excellent choice for family activities. It’s perfect for crafting sessions at home, classroom projects, or even therapeutic art exercises. The process evokes creativity while teaching basic principles of science—like the reaction between baking soda and vinegar—which adds an educational element.
Whether you’re planning a fun craft day with your kids, seeking a low-cost art project for your classroom, or simply wanting to create something beautiful while unwinding, baking soda painting is a delightful choice. Plus, the soft textures and vibrant colors make it an appealing activity for all ages.
The Simple Materials You’ll Need
Before we get started, let’s gather some basic materials that you probably have around your home. This project is incredibly accessible!
Materials Required:
- Baking Soda – This will be the star of the show, adding texture to your paints.
- White Vinegar – The fizzing reaction with baking soda creates bursts of fun.
- Food Coloring or Liquid Watercolors – These will add color to our mixture. Watercolors give a fun artistic flair, while food coloring is vibrant and easily accessible.
- Water – To help achieve desired paint consistency.
- Small Bowls or Containers – These will hold your mixtures.
- Paintbrushes – Choose a variety of sizes for different effects.
- Paper – Thick watercolor paper or canvas works best for this project.
Optional Materials:
- Glitter – For an extra sprinkle of magic.
- Syringes or Pipettes – For added precision when applying paint.
- Plastic Wrap – To cover your workspace for easy cleanup.
Step-by-Step Tutorial: Making Baking Soda Painting
Now that we have our materials, let’s dive into the joyful process of baking soda painting. I'll break it down step-by-step so that you can follow easily.
Step 1: Create Your Baking Soda Mixture
In a small bowl, combine 1/2 cup of baking soda with 1/4 cup of water. This will create a basic paint base.
Why This Matters: The water helps the baking soda dissolve, ensuring a smooth application. If it’s too thick, your paints won’t spread well.
What Could Go Wrong: If you add too much water, it’ll become too runny and lose that lovely texture. If this happens, simply add a bit more baking soda until you reach the desired consistency.
Step 2: Color Your Mixture
Divide the baking soda mixture into smaller bowls depending on how many colors you want. Add several drops of food coloring or liquid watercolors to each bowl, mixing well.
Pro Tip: Start with one drop of color; you can always deepen the shade by adding more.
Safety Warning: Always wash your hands after handling food coloring, as it can stain skin and surfaces. I learned this the hard way during a very colorful crafting session!
Step 3: Get Ready for the Fun!
Set up your workspace by spreading plastic wrap or old newspapers over your crafting surface to protect it from spills.
Why This Matters: It makes cleaning up a breeze and protects your space from potential stains.
Step 4: Paint Away!
Now comes the exciting part! Use your paintbrushes to apply the colorful baking soda mixtures to your chosen paper. You can create patterns, doodles, or anything that inspires you.
What Could Go Wrong: If your brush is too dry, the paint may not spread evenly. Keep a cup of water nearby to dip your brush in occasionally to keep it moist.
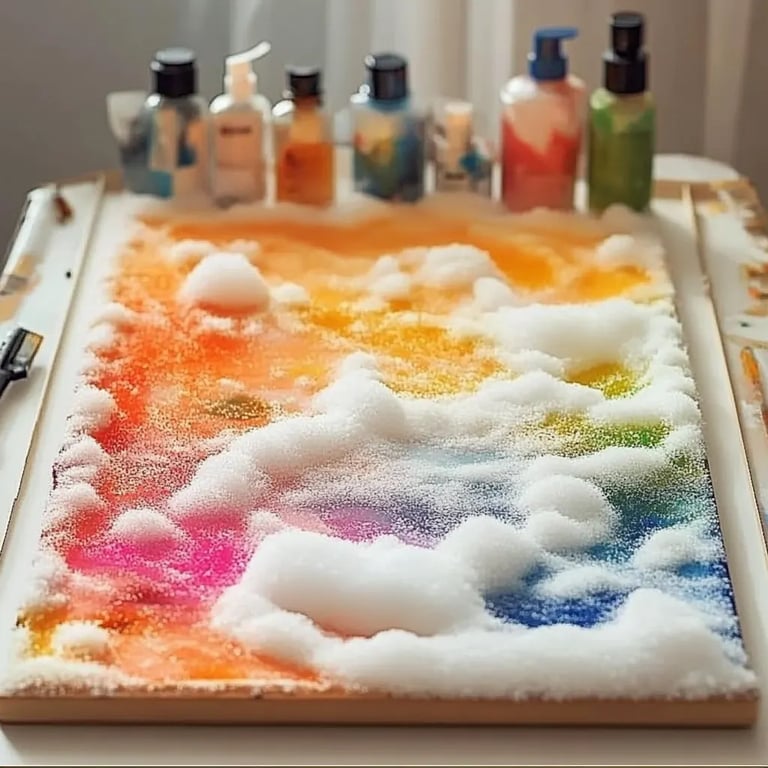
Step 5: Add the Fizz!
Here’s where the magic happens: after the paint dries a bit, use a dropper or syringe to apply white vinegar onto your painted areas. It will bubble up and create fascinating textures.
Why This Matters: The reaction between baking soda and vinegar not only creates a wonderful visual but also enhances the paint’s tactile quality. The fizz adds a 3D effect, turning your flat artwork into something dynamic and engaging.
What Could Go Wrong: If you add too much vinegar at once, it can wash away some of your colors. Use a small amount and adjust as necessary.
Step 6: Let It Dry
Once you’re satisfied with the fizz and texture, let your masterpiece dry completely. Depending on the humidity, this could take anywhere from 30 minutes to a few hours.
Tips and Creative Variations
- Texture Play: Experiment with different brush techniques. A sponge brush creates a lovely stippled effect, while a thin brush is great for detailed work.
- Stencils: Use stencils to create interesting designs with your baking soda paint.
- Layering: Once the first layer dries, add more colors and layers for depth and complexity.
- Mixed Media: Combine baking soda painting with other crafts, like collaging or drawing with pastels.
Personal Anecdote: Overcoming Challenges
One time, I decided to host a baking soda painting workshop for my local community center. Things started off great, but I underestimated how excited the kids would be! Many of them mixed too much vinegar into their paints, leading to some messy, washed-out pieces.
Instead of getting frustrated, I turned it into a teaching moment. We discussed how art is all about experimenting, and that mistakes can lead to unexpected beauty. The kids ended up with some truly unique artwork—and valuable lessons on adaptability.
Conclusion
Baking soda painting is a delightful, engaging way to explore art-making with friends and family. By using simple ingredients, we can create beautiful, textured works of art together. Remember, crafting isn’t just about the final product; it’s about the process and the joy it brings.
Embrace your creativity, don’t fear mistakes, and most importantly, have fun! I can’t wait to see your amazing baking soda paintings, so feel free to share your creations and any variations you try. Happy crafting!