How to Make Aroma Gel Jars: A Comprehensive Guide for Crafting Enthusiasts
Hello, fellow crafters! Today, I’m elated to dive into the enchanting world of aroma gel jars with you. As an experienced crafter, I’ve found that there’s something magical about these little jars, both in their aesthetics and their aromatherapy benefits. Whether you're beautifying your home, creating a thoughtful gift, or simply indulging in a moment of self-care, aroma gel jars are versatile and delightful creations that anyone can make.
What Are Aroma Gel Jars?
Aroma gel jars are essentially small, decorative containers filled with a gel that releases soothing scents. They are popular for a multitude of reasons: they offer a fantastic way to naturally freshen up spaces, they can serve as beautiful home decor, and they make great gifts for friends and family. The aromatic properties of essential oils can uplift your mood, reduce stress, and create a relaxing atmosphere, making these jars perfect for use in your living room, bathroom, or even your workspace.
I personally love using these jars during long workdays to keep my spirits high or when welcoming guests to provide a warm and inviting ambiance.
Gather Your Materials
Before we plunge into the crafting process, let’s gather everything you need. Here’s what I typically use for making aroma gel jars:
- Gelatin (unflavored): 1 packet (about ¼ ounce)
- Water: 1 cup
- Salt: 1 tablespoon (to help preserve the gel)
- Essential oils: Your choice (around 15-20 drops)
- Food coloring: Optional, for a pop of color
- Glass jars: Small, decorative jars or any container you prefer
- Whisk or spoon
- Heatproof bowl or saucepan
Make sure to have everything ready; it makes the process smoother!
Step-by-Step Tutorial
Step 1: Prepare the Gelatin
First off, pour a cup of water into your saucepan and heat it on medium until it’s almost boiling. You don’t need it to boil vigorously, just hot enough. This is important because hot water helps the gelatin dissolve more effectively.
*Tip:* If you’re using a microwave, heat the water in a heatproof bowl for about 2 minutes.
Step 2: Dissolve the Gelatin
Once your water is hot, remove it from the heat. Add the unflavored gelatin packet and stir well with your whisk or spoon until it’s completely dissolved. This step is crucial—as undissolved gelatin will lead to a jarring texture in the final product. If you notice any clumps, simply whisk a bit harder until smooth.
*Common Pitfall:* It’s possible to scald the gelatin if the water gets too hot. If this happens, simply let it cool down a bit before continuing.
Step 3: Add in Ingredients
Now comes the fun part! Remove the gelatin mixture from heat and stir in the salt. The salt not only acts as a preservative but also enhances the durability of your gel.
Next, it’s time to add your essential oils. This is where you can personalize your aroma gel jar. You can use a single scent, like lavender for relaxation, or blend several oils. As a rule of thumb, around 15-20 drops total should work well.
If you want to add color, this is the moment to do it! Just a few drops of food coloring can make your gel not only functional but beautiful.
Step 4: Pour into Jars
Carefully pour the mixture into your jars. It’s okay if the mixture is still a bit warm; it will set as it cools. I usually fill them up about three-quarters full, leaving some room for any embellishments you might want to add later.
*Tip:* If you're using jars with narrower openings, use a funnel to avoid spills.
Step 5: Let it Set
Once you’ve filled the jars, place them in the fridge for at least 2 hours. The waiting game is always the hardest part, but trust me—it’s worth it.
*Optional Personal Anecdote:* I remember the first time I made aroma gel jars. I was so impatient that I tried to set them in the freezer. While they solidified quickly, the texture wasn’t nearly as smooth. So, patience is key!
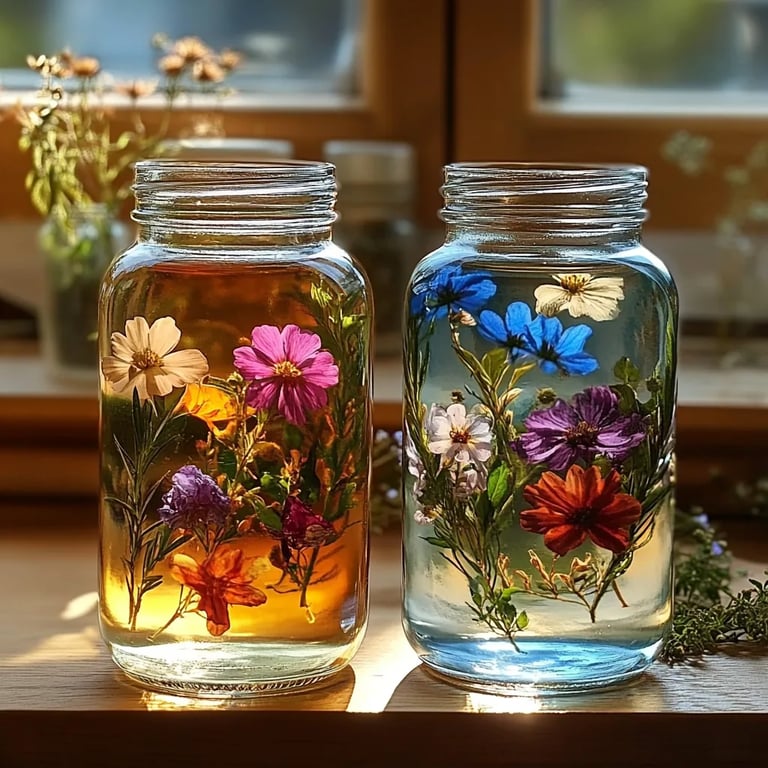
Step 6: Embellish (Optional)
After the gel has set, you can get creative! Add decorative touches like dried flowers or glitter on top for an aesthetic burst. Just ensure that any added elements are safe to be in the gel and appropriate for your chosen essential oils!
Troubleshooting Common Issues
- Gel Not Setting? Check if you used enough gelatin. If poorly dissolved, it may not set properly. You can remedy this by reheating with more gelatin added to the mixture.
- Cloudy Gel? This might occur if the salt added was too hot. Ensure it's mixed properly and doesn’t clump.
- Scent Too Strong or Weak? The beauty of crafting is adjusting as you go. If it's too strong, mix in a bit more gelatin and water if the gel hasn’t fully set. If too weak, you can always add in more drops of essential oil.
Tips and Safety Warnings
- Always work in a well-ventilated area when using essential oils to avoid overwhelming scents.
- Ensure that the jars you use are clean and dry.
- Keep the jars out of direct sunlight to preserve their scent longer.
Creative Variations
- Seasonal Scents: Create variations based on seasons—think cinnamon and clove for winter or citrus based scents for summer.
- Layering Colors: Mix colors and scents by pouring different layers, allowing each layer to set before adding the next. This adds artistic flair.
Conclusion
Creating aroma gel jars is not only a fun project but also an opportunity to bring a personal touch or sentiment into your space. Through trial and tweaks, I've perfected this process, and I hope my insights encourage you to enjoy crafting your unique jars. So, roll up those sleeves and let your creative spirit flow! Whether gifting or keeping for yourself, I know you’ll take pride in your aroma gel jars. Happy crafting!