How to Make an Apple Volcano: A Fun and Festive Craft for All Ages
Hello there, fellow crafters! Today, I’m thrilled to share with you a delightful project that combines the joy of crafting with the wonders of science—the Apple Volcano! This charming and interactive craft isn’t just a visual delight; it’s a fantastic way to engage children and adults alike. Whether you're hosting a birthday party, a family gathering, or simply looking for a creative weekend activity, making an Apple Volcano is sure to impress.
What is an Apple Volcano?
An Apple Volcano is a fun and whimsical experiment that mimics a volcanic eruption using simple ingredients. You essentially carve a volcano shape from an apple and create a fizzing eruption using baking soda and vinegar. The result is a mesmerizing display that not only captivates the eye but also ignites curiosity about chemistry!
This project is popular among kids for its hands-on nature, and it can be a great educational tool for teachers looking to combine art with science. But it’s not only for children; adults can appreciate the creativity and nostalgic fun too. When done right, it’s perfect for themed parties, school science fairs, or just a rainy day indoors.
What You’ll Need
For this project, gather the following materials:
- 1 large apple (preferably red or green for vibrant colors)
- Baking soda (about 1 tablespoon)
- Vinegar (1/4 cup, white or apple cider will work)
- Food coloring (optional, but highly recommended for visual appeal)
- Small cup or container (to hold the vinegar)
- Knife (for carving; be careful!)
- Spoon (for adding baking soda)
- Plate or baking sheet (to catch the overflow)
- Paper towels (for quick clean-up)
Safety First!
Before we dive into crafting, it's crucial to ensure safety, especially if young ones are involved. Always supervise children when using a knife, and ensure you have a clean workspace to prevent any mess.
Remember, this project can get a bit bubbly, so make sure you're either outdoors or have a protective layer over your surfaces to catch any spills.
Step-by-Step Tutorial: Creating Your Apple Volcano
Step 1: Prepare Your Apple
Start with a solid apple. I love using Granny Smith apples for their vibrant green color, but any sturdy apple will do.
- Wash and Dry the Apple: Rinse the apple under cool water to remove any residue. Dry it thoroughly to ensure it's clean for carving.
- Cut a Base: Using your knife, slice a small portion off the bottom of the apple. This will help your volcano stand upright without wobbling. Be very gentle; you want to create a flat surface for stability.
- Create the Volcano Crater: Carefully create a crater on top of the apple. Cut a cone shape, with the base of the cone on the top of the apple. You want to hollow out a small bowl-like shape, enough to hold your vinegar without leaking over.
Why Does This Step Matter?
This step is crucial because a securely placed apple ensures that your volcano maintains its shape during the eruption. An unstable base may lead to an unintended mess.
Step 2: Add Some Color
For an extra dash of excitement, consider adding food coloring to the vinegar. It elevates your eruption to a whole new level!
- Add Food Coloring: Just a few drops in your small cup of vinegar will do the trick. Stir it gently to mix. Choose a color that stands out against your apple—red or blue can create striking visuals.
Step 3: Prepare for Eruption
Now for the fun part!
- Mix in the Baking Soda: Place about one tablespoon of baking soda in the crater of your apple. Make sure it’s packed in there nicely; this will enhance the bubbling reaction.
- Get Ready to Erupt: Set your apple volcano on a plate or a baking sheet to catch the mess.
- Pour in the Vinegar: When you’re ready for the eruption, quickly pour the colored vinegar into the crater of the apple.
What Could Go Wrong?
Sometimes, the reaction could be less than spectacular. If that happens, here are a few troubleshooting tips:
- Too Little Vinegar or Baking Soda: If the eruption is weak, try adding more of both ingredients for a stronger reaction.
- Crater Too Shallow: If your crater is not deep enough to hold the vinegar, it may spill out without creating a bubbling eruption. Carefully carve a deeper crater if necessary.
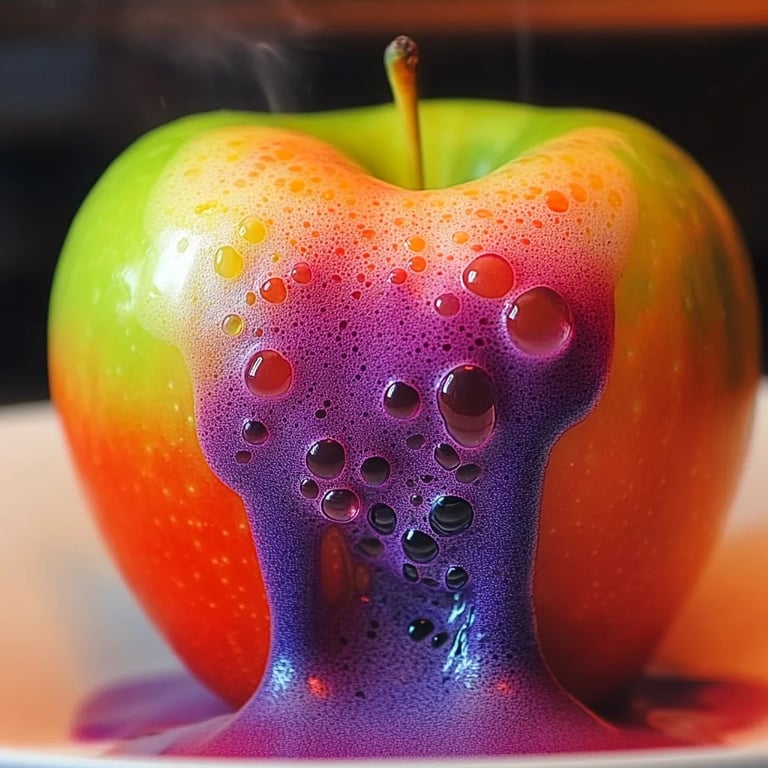
Step 4: Enjoy the Show!
Watch in awe as your apple volcano erupts! The reaction between the baking soda and vinegar produces carbon dioxide bubbles, creating a fun fizzy volcano effect. It’s this delightful chemistry that creates the charming "lava" flow, and you’ll get to see it all unfold right in front of you!
Clean-Up Time
Once the eruption is complete, it’s time to clean up. The reaction can get a bit sticky, so have those paper towels handy.
Creative Variations to Try
Once you’ve mastered the basic Apple Volcano, consider these fun variations:
- Dye with Different Colors: Experiment with various food colors, creating a rainbow eruption for even more visual delight.
- Flavor the Vinegar: Use flavored vinegar (like raspberry or lemon) for a unique scent and taste!
- Mini Volcanos: Make mini apple volcanoes using smaller apples or even different fruits like pears or oranges for variety.
- Decorate Your Volcano: Paint the outside of your apple or stick on decorative elements like googly eyes or stickers to make it a cute creature before it erupts.
Conclusion
Making an Apple Volcano is not just a craft; it's an experience that sparks joy, creativity, and curiosity. As you navigate through the steps of creating your very own erupting volcano, you’re not just making a craft; you’re exploring the fascinating interactions of chemistry while enjoying quality time with friends and family.
Remember, the key to crafting, much like science, is patience and creativity. Don’t hesitate to experiment, add your personal touch, and let your imagination soar. Happy crafting, and may your Apple Volcano creations erupt with joy!